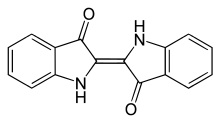
I recently took a class at the Oregon College of Art and Craft, on how to create a quick, environmentally friendly indigo fruit vat. This method was developed by Michel Garcia, a French chemist, botanist and natural dyer. This post is how to go about it. This other post tells you why it works.
The recipe is very simple: 1 part indigo, 2 parts pickling lime, 3 parts fructose, by weight. If you want to use powdered fructose, you just weigh all your ingredients out on a scale.
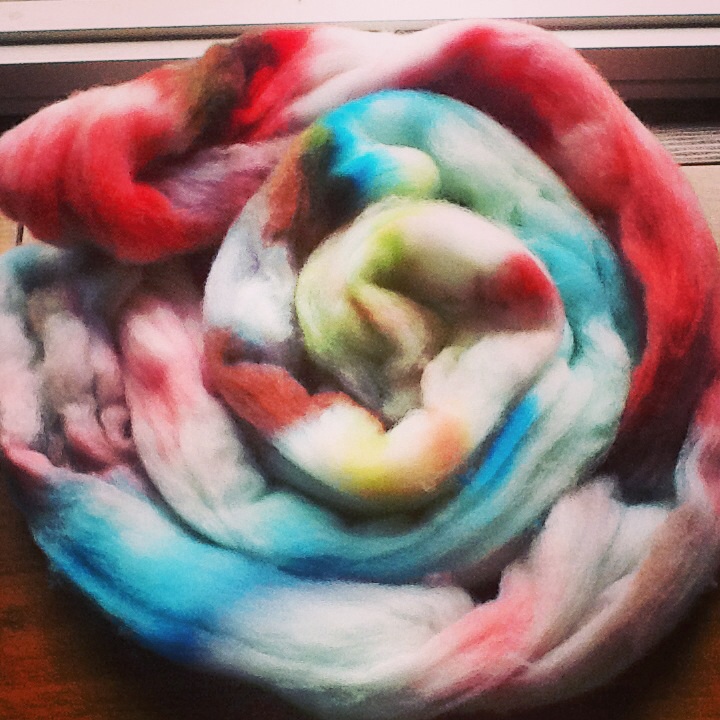
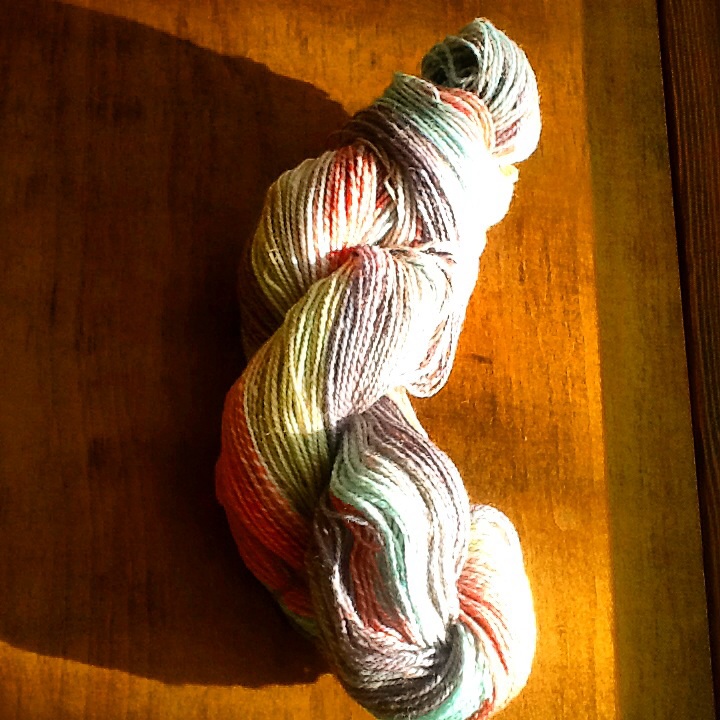
We used apple juice— cooked-down, mashed apples in water. Any sweet fruit will work, as will dates, or agave or honey, anything with fructose. The only thing not to use is citrus, which will change the Ph of the solution.
By volume, we filled the stockpots we were using about 1/4-1/3 full, then added warm tap water to about 2/3-3/4 full. From the approximate measurements, you can see that the fruit vat is very forgiving. The apple juice was hot and the tap water warm. A warm vat is desirable, but not over 140F, or the chemical reactions won’t take place. The amount of water is not important, other than to have enough space to dye under, because it must all be done below the surface.
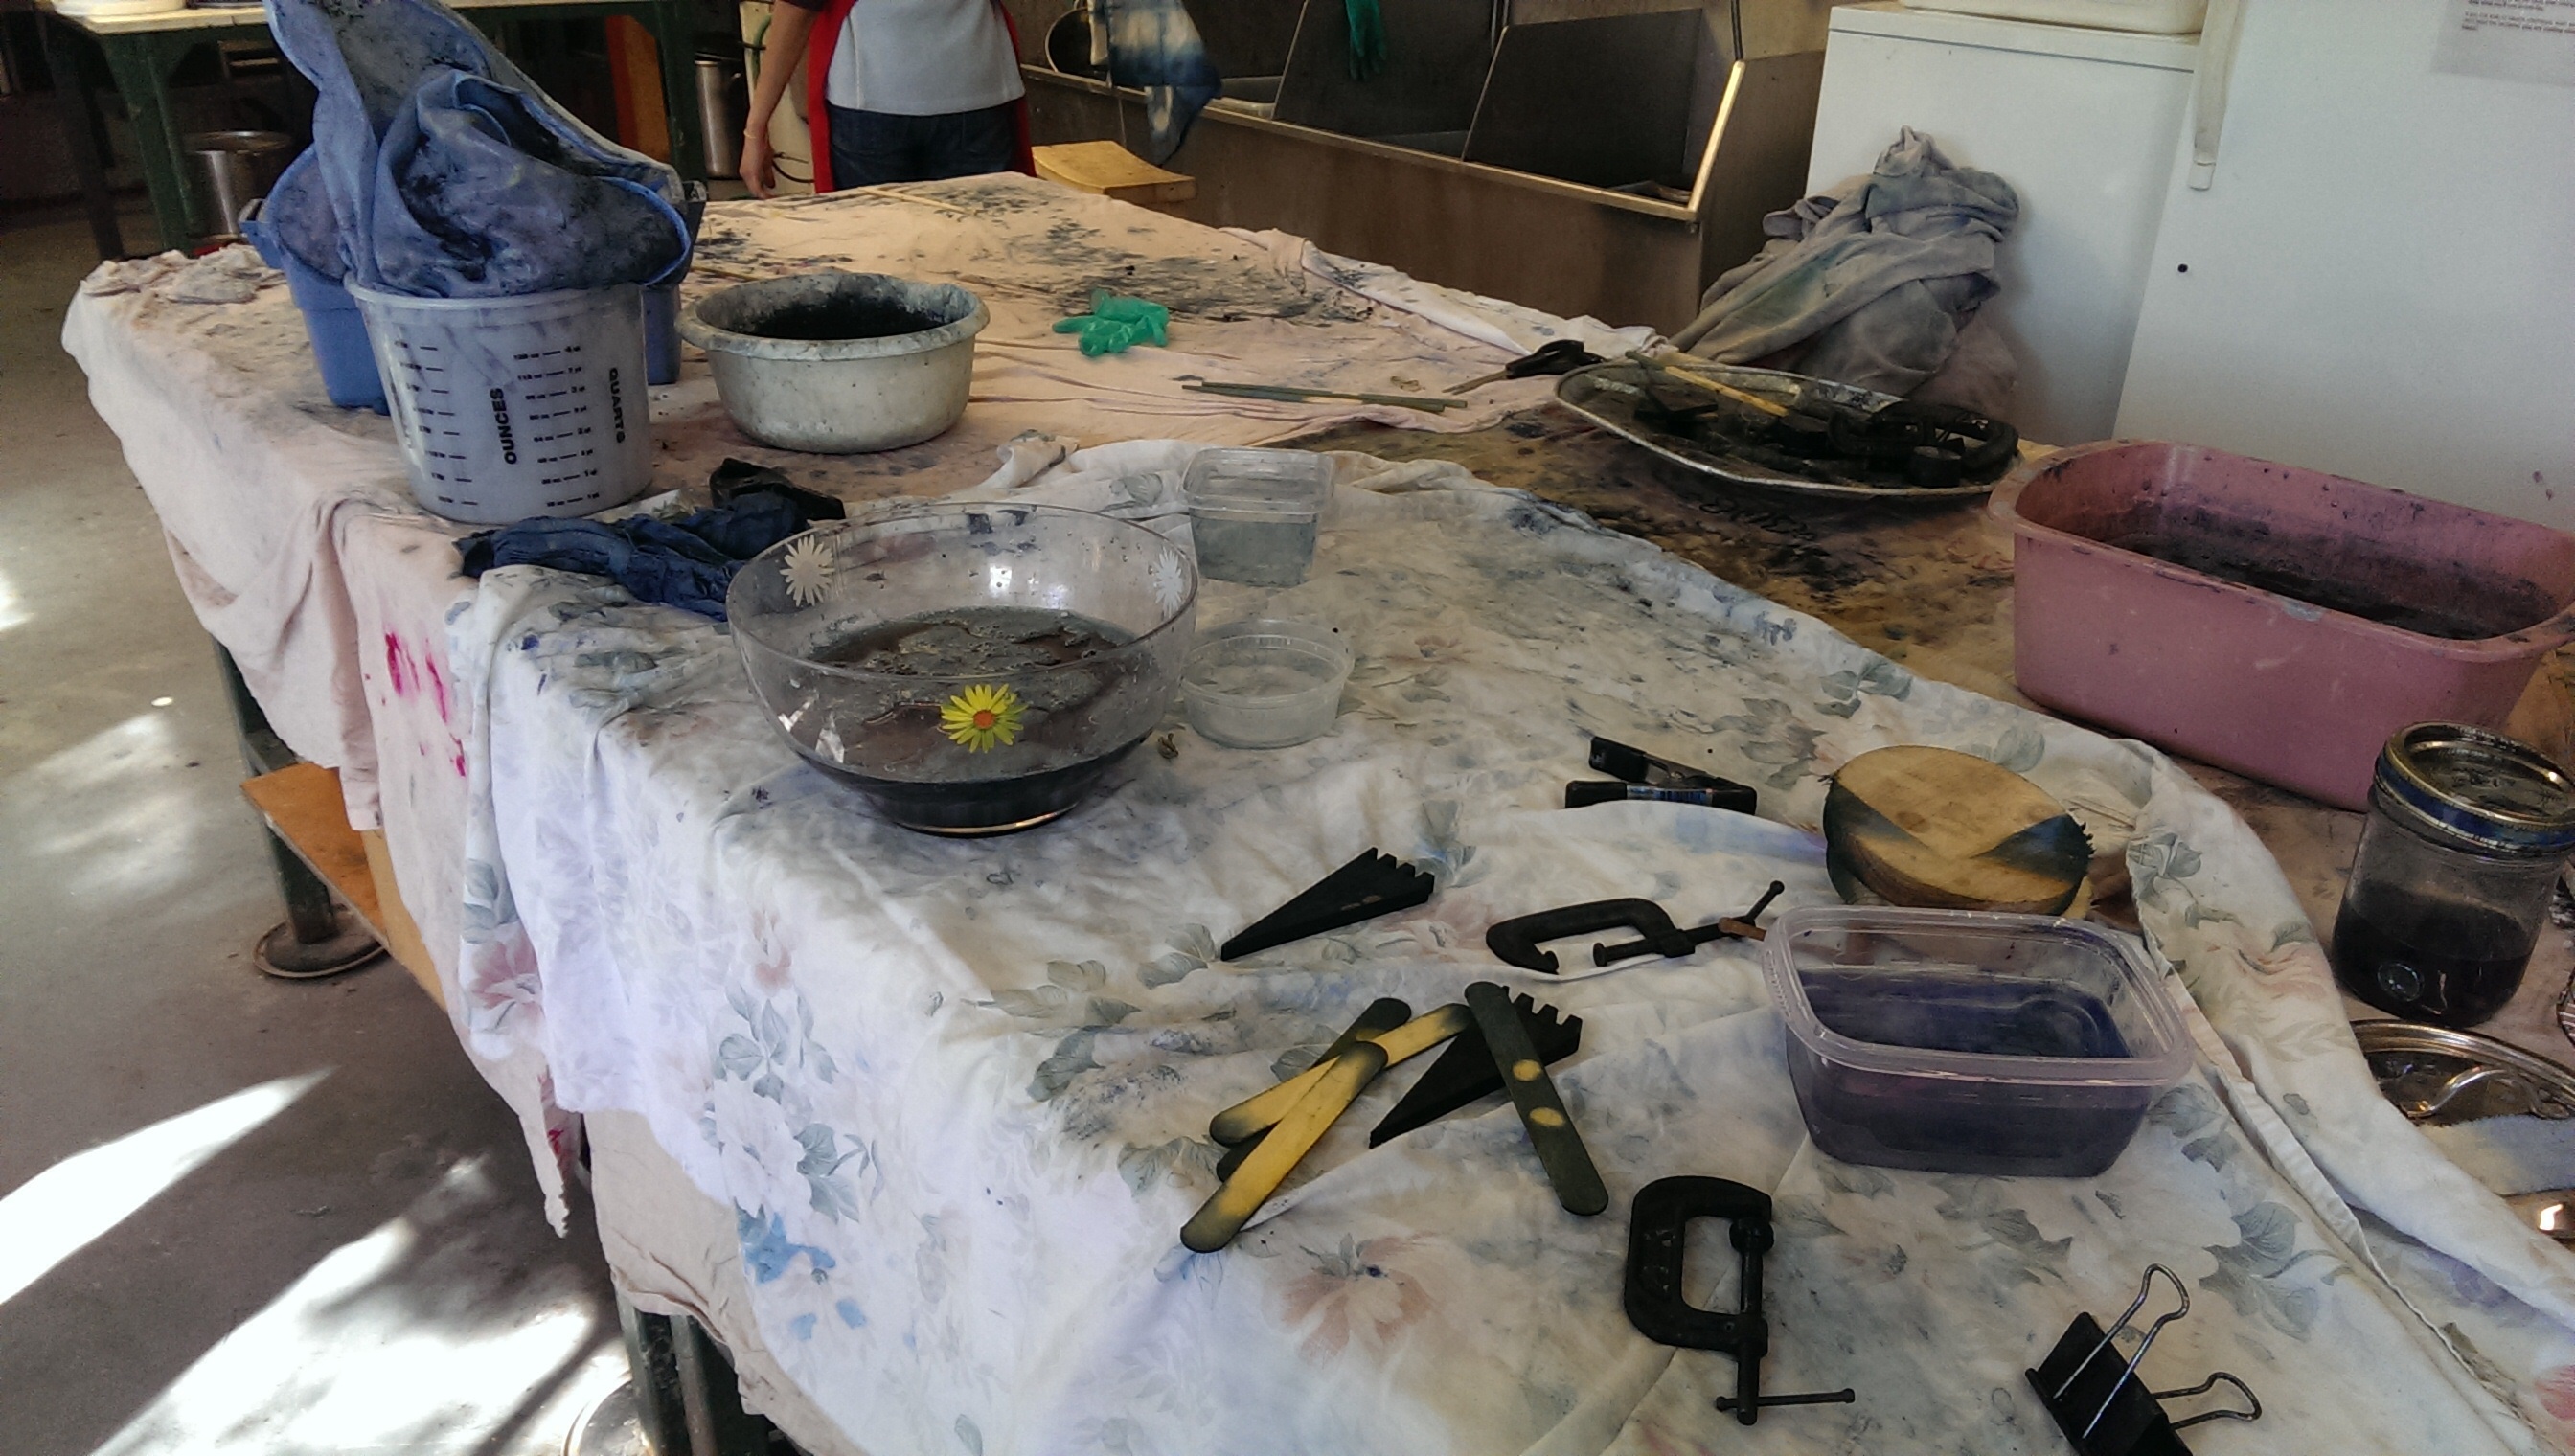
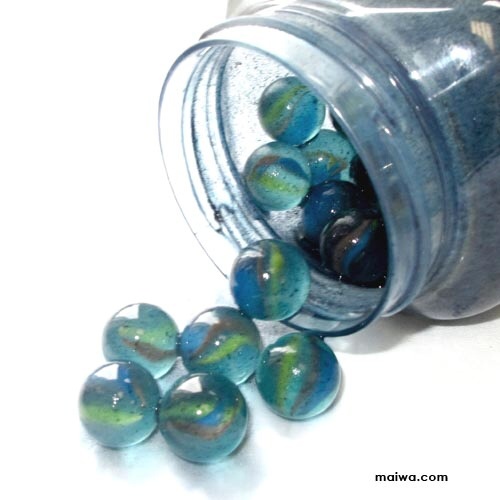
Next the indigo is added. We used 20g of powdered indigo for our stockpot. Since indigo is insoluble, it’s hard to stir in without either agitating (i.e. adding oxygen) the pot quite a bit, or having it sit on the surface. To get around this, we put the indigo and some water in a small mason jar with marbles and shook that mixture around vigorously for a few minutes, essentially making a slurry. That was then carefully poured down the side of the pot, to again, minimize the amount of air being introduced into the vat. Any indigo left in the mason jar was swirled around with more water and added as before.
Then we added the pickling lime, also hydrated with some water, and again, carefully poured down the side of the pot. Since we used 20g of indigo, we used 40g of pickling lime.
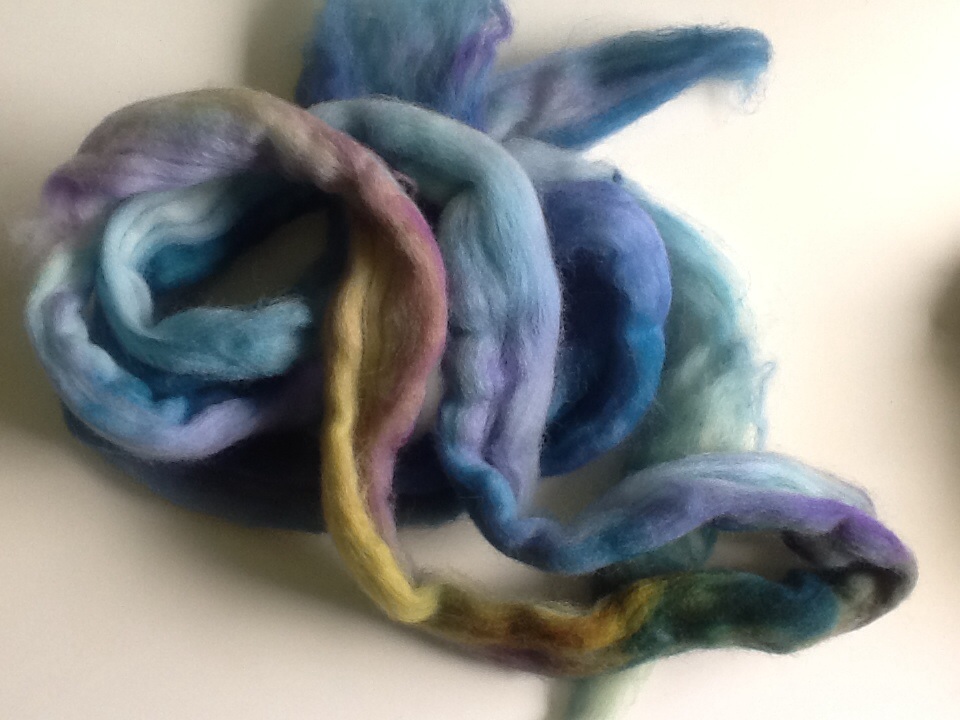
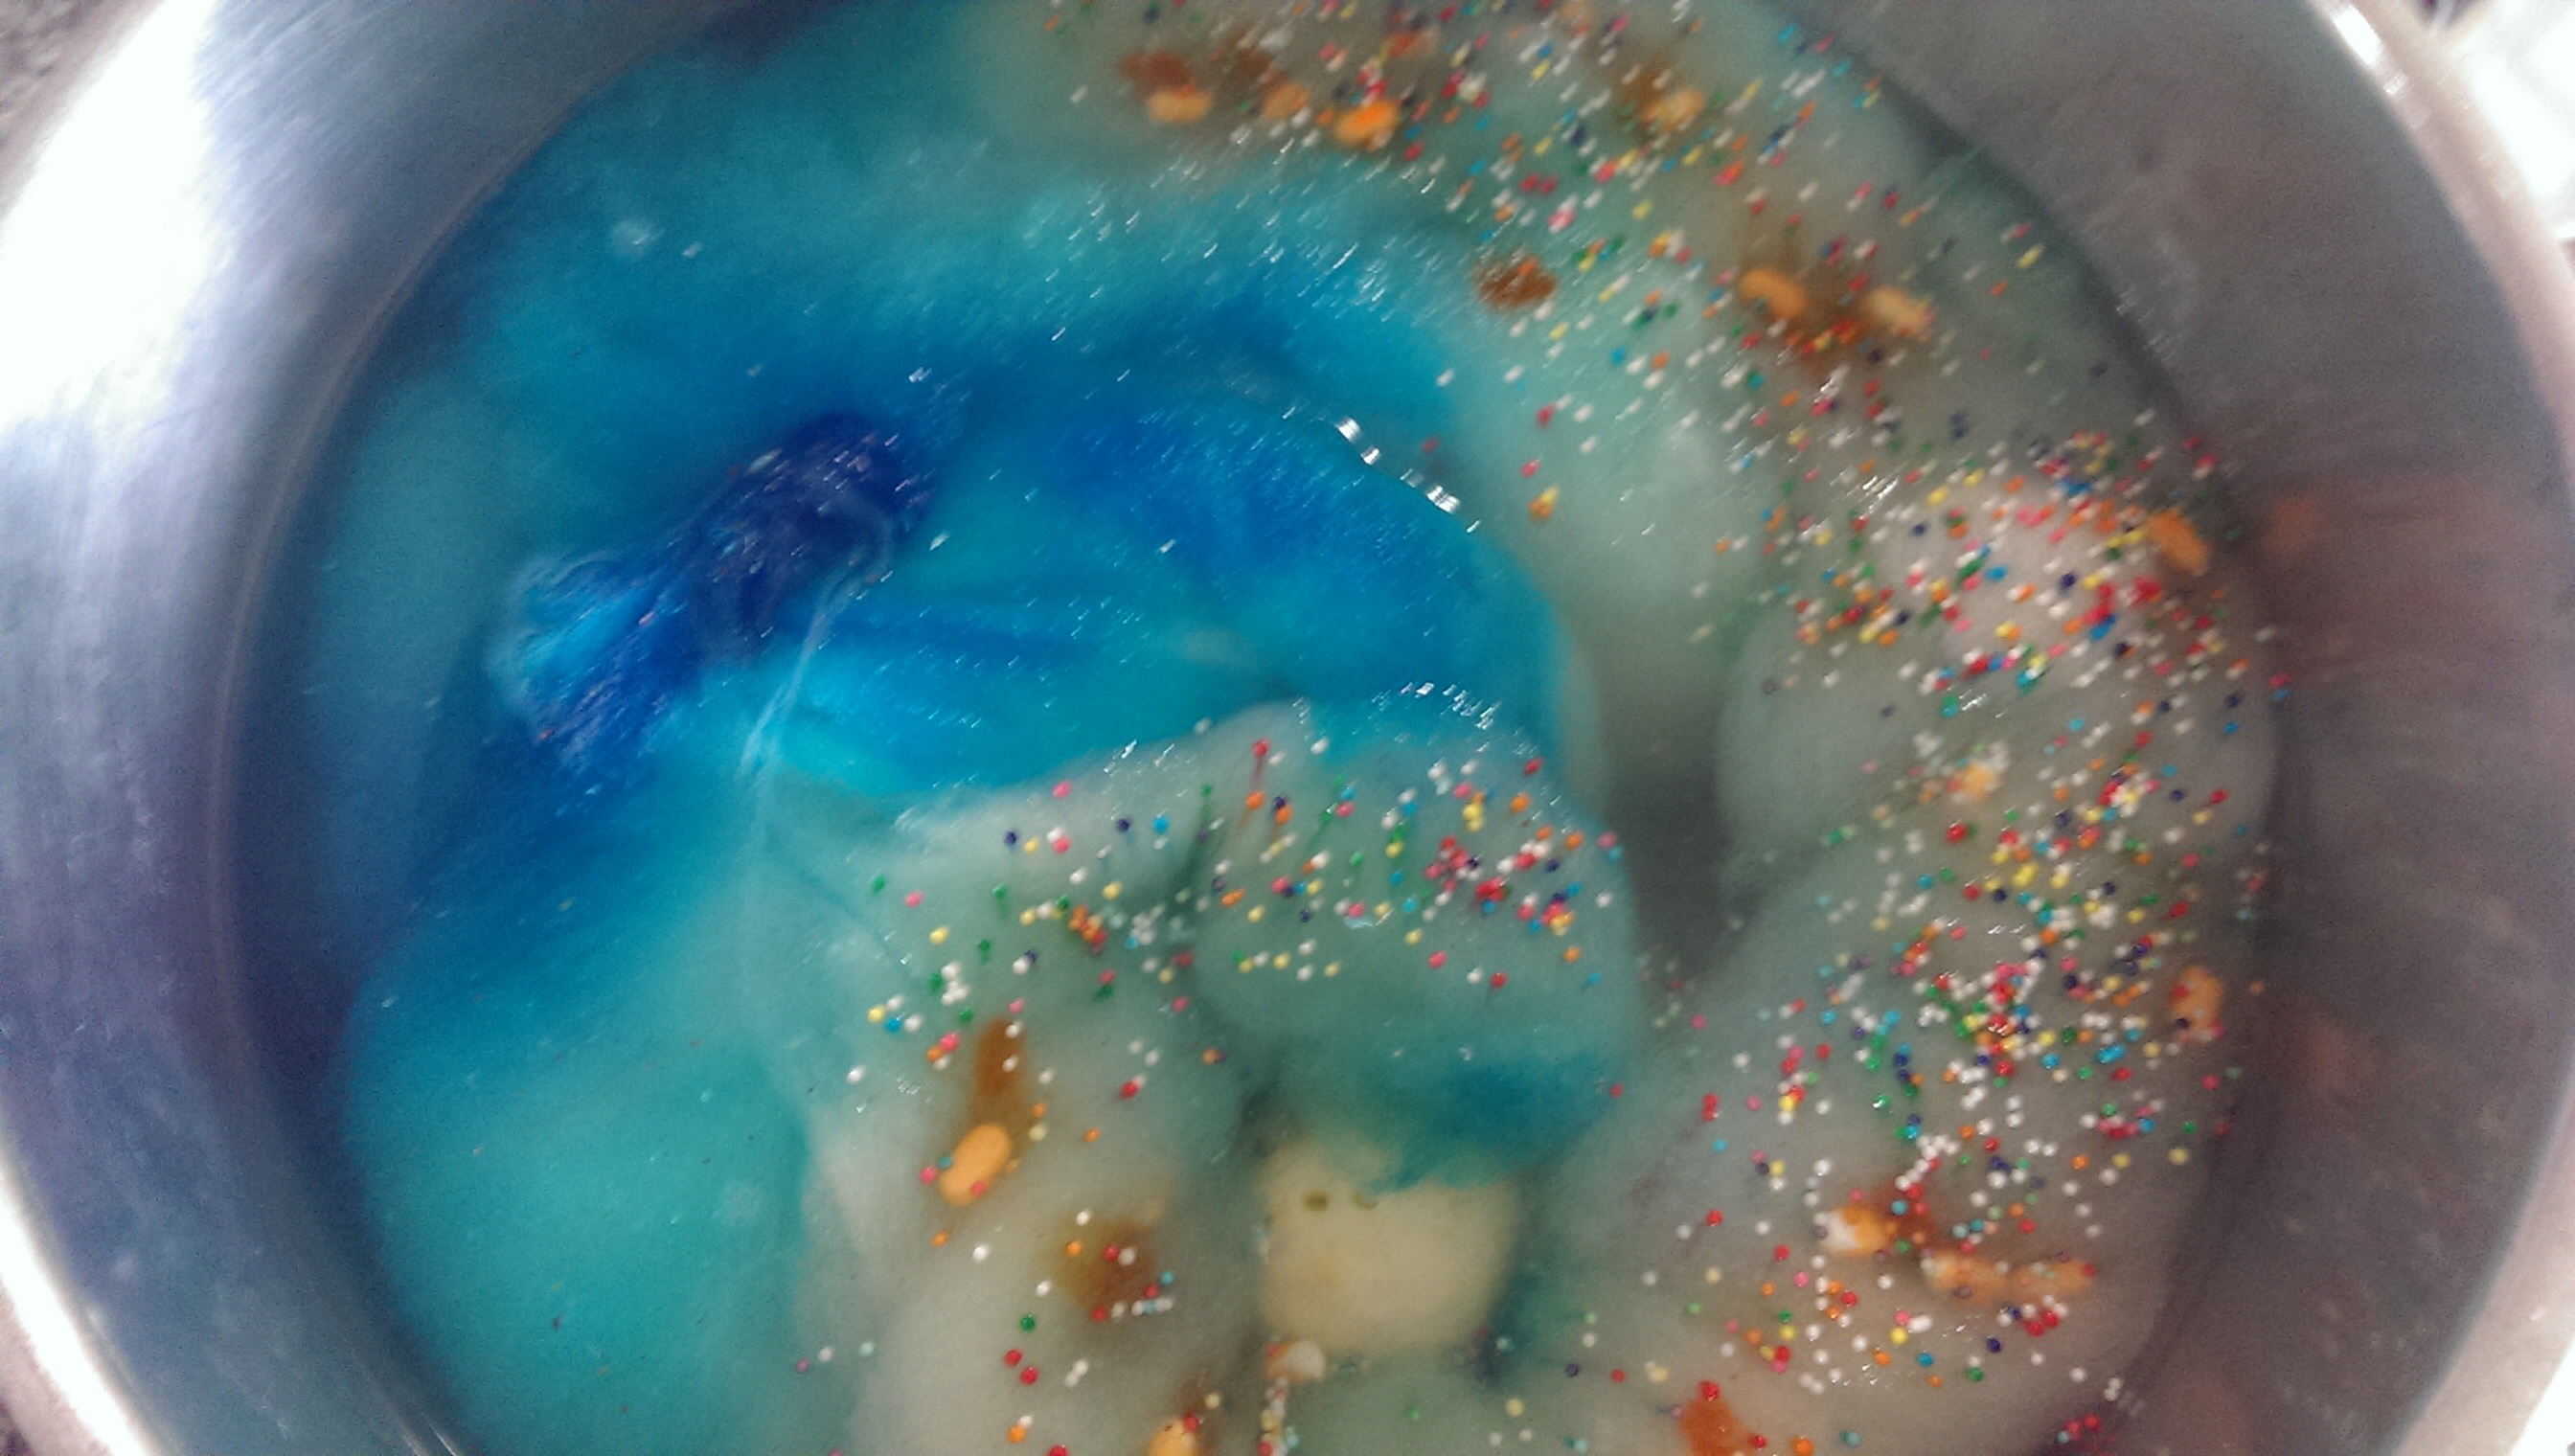
Then everything was given a good stir. By this I mean creating a vortex in the center of the pot, but not so much to be adding air back in. Once a good swirl was going, we held our spoons still against the side of the pot and let everything swirl to the center. At this point any oxygen bubbles come to the surface in the center of the pot. This is called the “flower”, and if the vat is working properly it should be a deep blue. The vat itself will be a clear greenish-yellow, and it will form a skin on top.
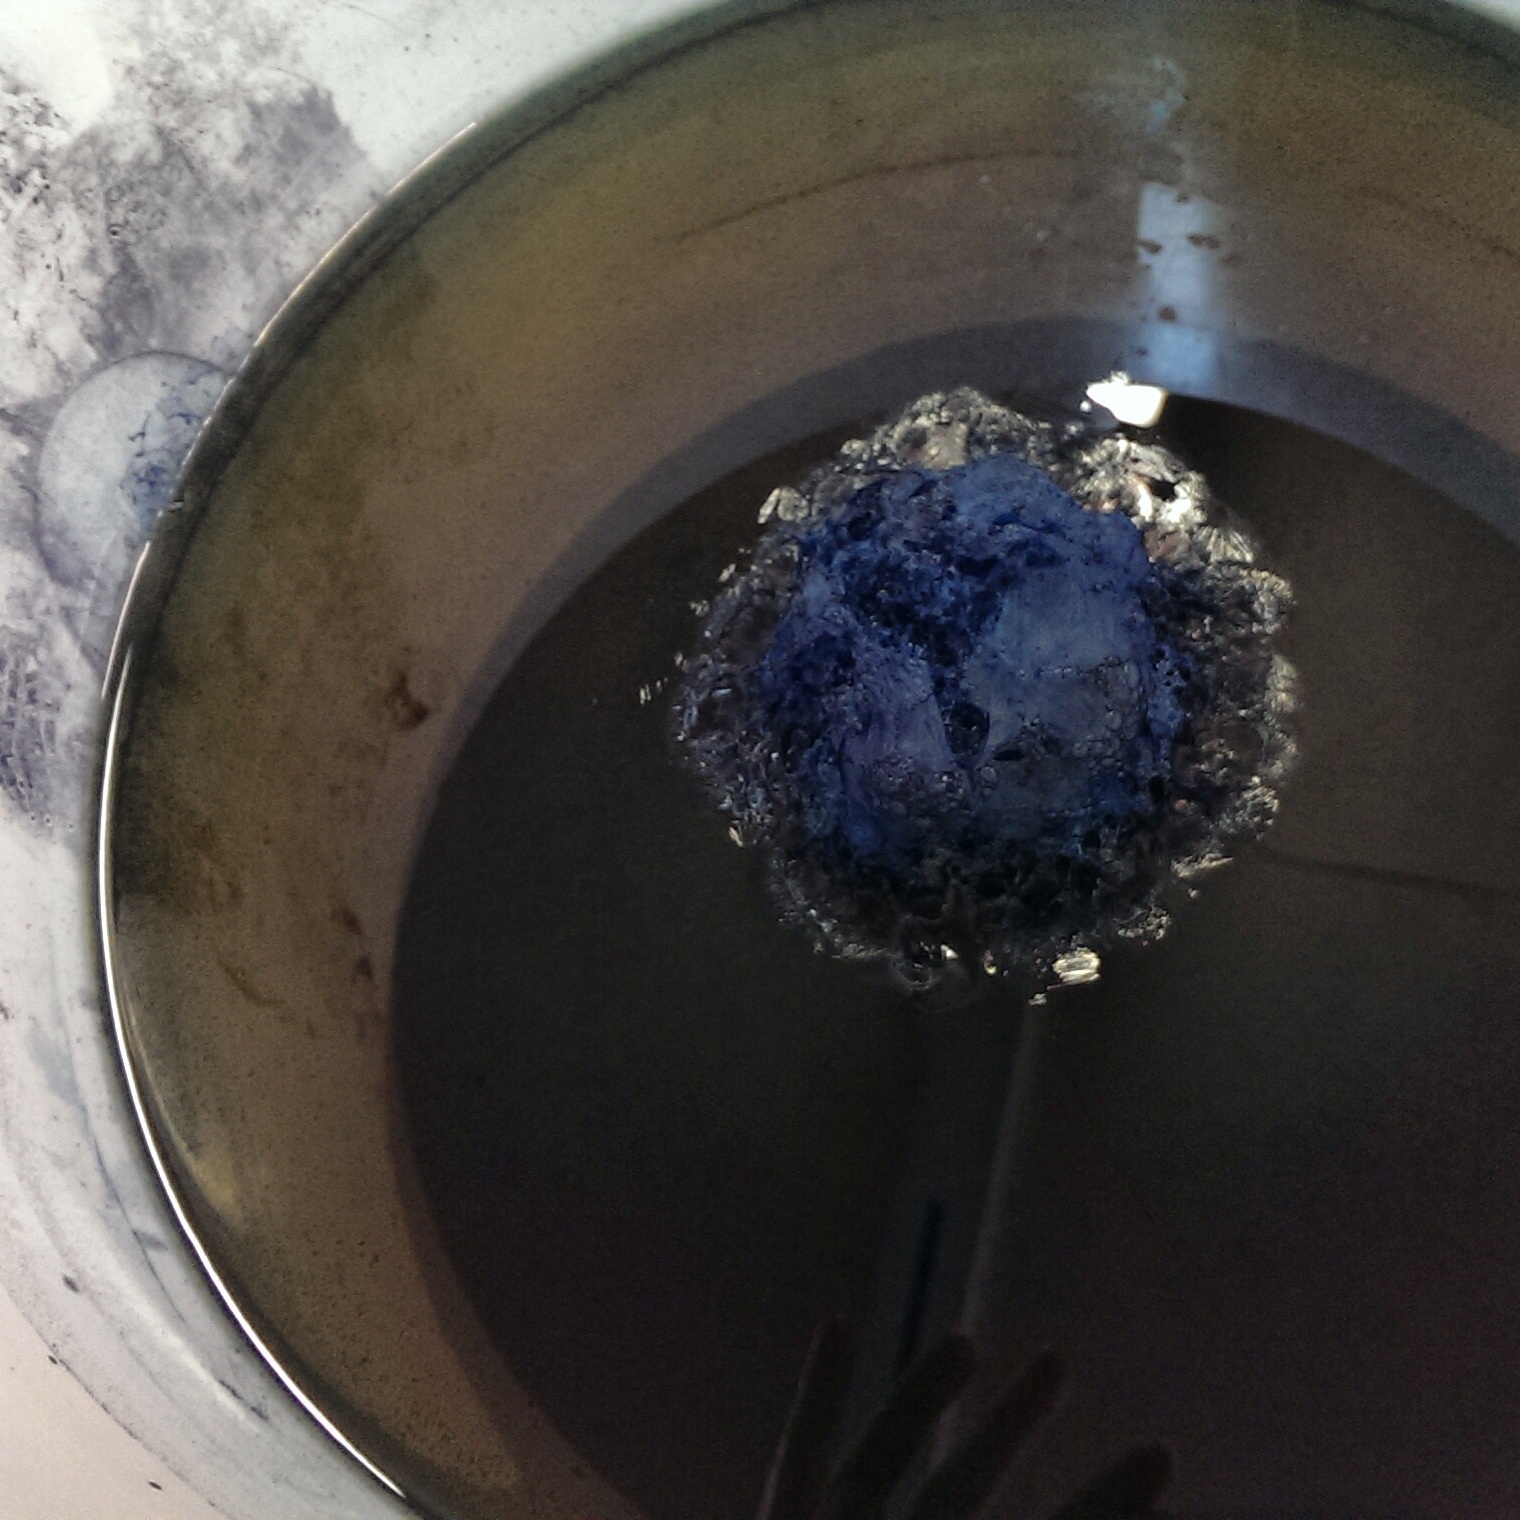
Indigo fruit vat flower
We let the vats sit about an hour for the fruit solids to settle in the bottom of the pot, and for the reducing process to take place. However, out instructor dipped a piece of cloth into her vat about 5 minutes after she stirred hers, and it was already turning a light blue. It’s very fast!
As for the dyeing itself, it must be done below the surface of the liquid, to keep the oxygen out. The fiber should be wetted in warm water prior to dipping, again, to replace the air molecules in the fiber with water molecules. Dip gently down the side of the pot, and hold underneath for at least three minutes. YES WEAR GLOVES! Indigo doesn’t need a mordant, so you will dye your hands, too. During this time massage the fiber. This helps move the indigo into the fiber. As our instructor described it, “Indigo is a large, slow moving molecule. Give it some help.” Depending on what fiber is being dyed, it may be more or less tolerant of the alkaline solution it’s in. Cotton doesn’t mind, but silk and wool can be damaged from too long of contact— they can lose their luster. This is why traditionally cottons are dyed first, then silks, then wools. As the vat is used, it becomes less effective and also less alkaline. Because of the fiber structure of wool, it requires less of the indigo to achieve good color.
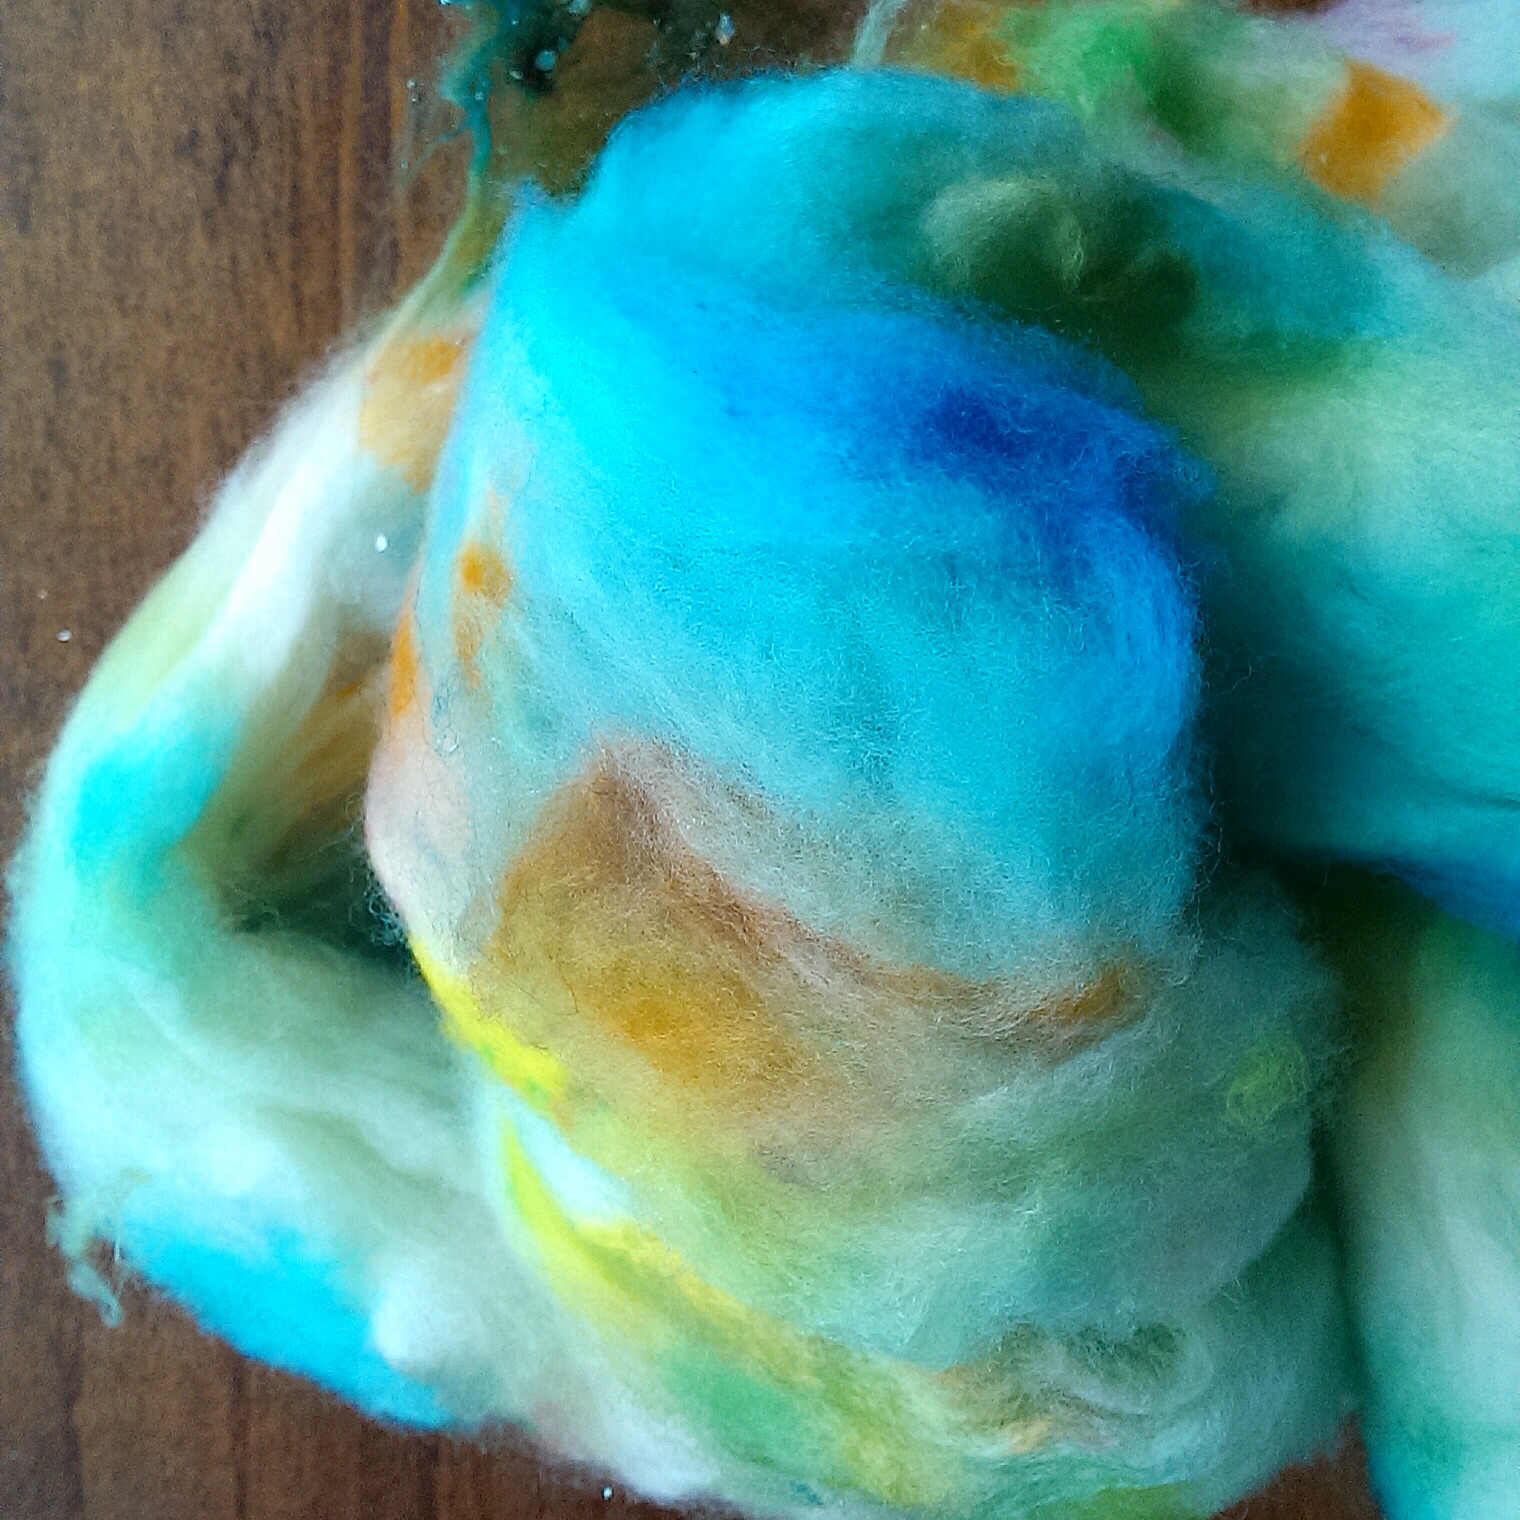
After your three minutes or so, bring the material out of the dye vat, and quickly hold it over another bowl to drip in. Any drips back into the vat also add air. Then you must expose the areas that you wanted dyed to the air, so that the indigo re-oxides and forms it’s electrostatic bond with the fiber. You will see it turn from yellow to green to blue, as this process happens. The rule of thumb is to have to material exposed to the air for at least as long as it was in the vat. If the material doesn’t oxidize, it hasn’t been dyed. The other rule of thumb is that at least three dips into the vat a required to achieve a good color. Each subsequent dip happens in the same way, with airing out in between.
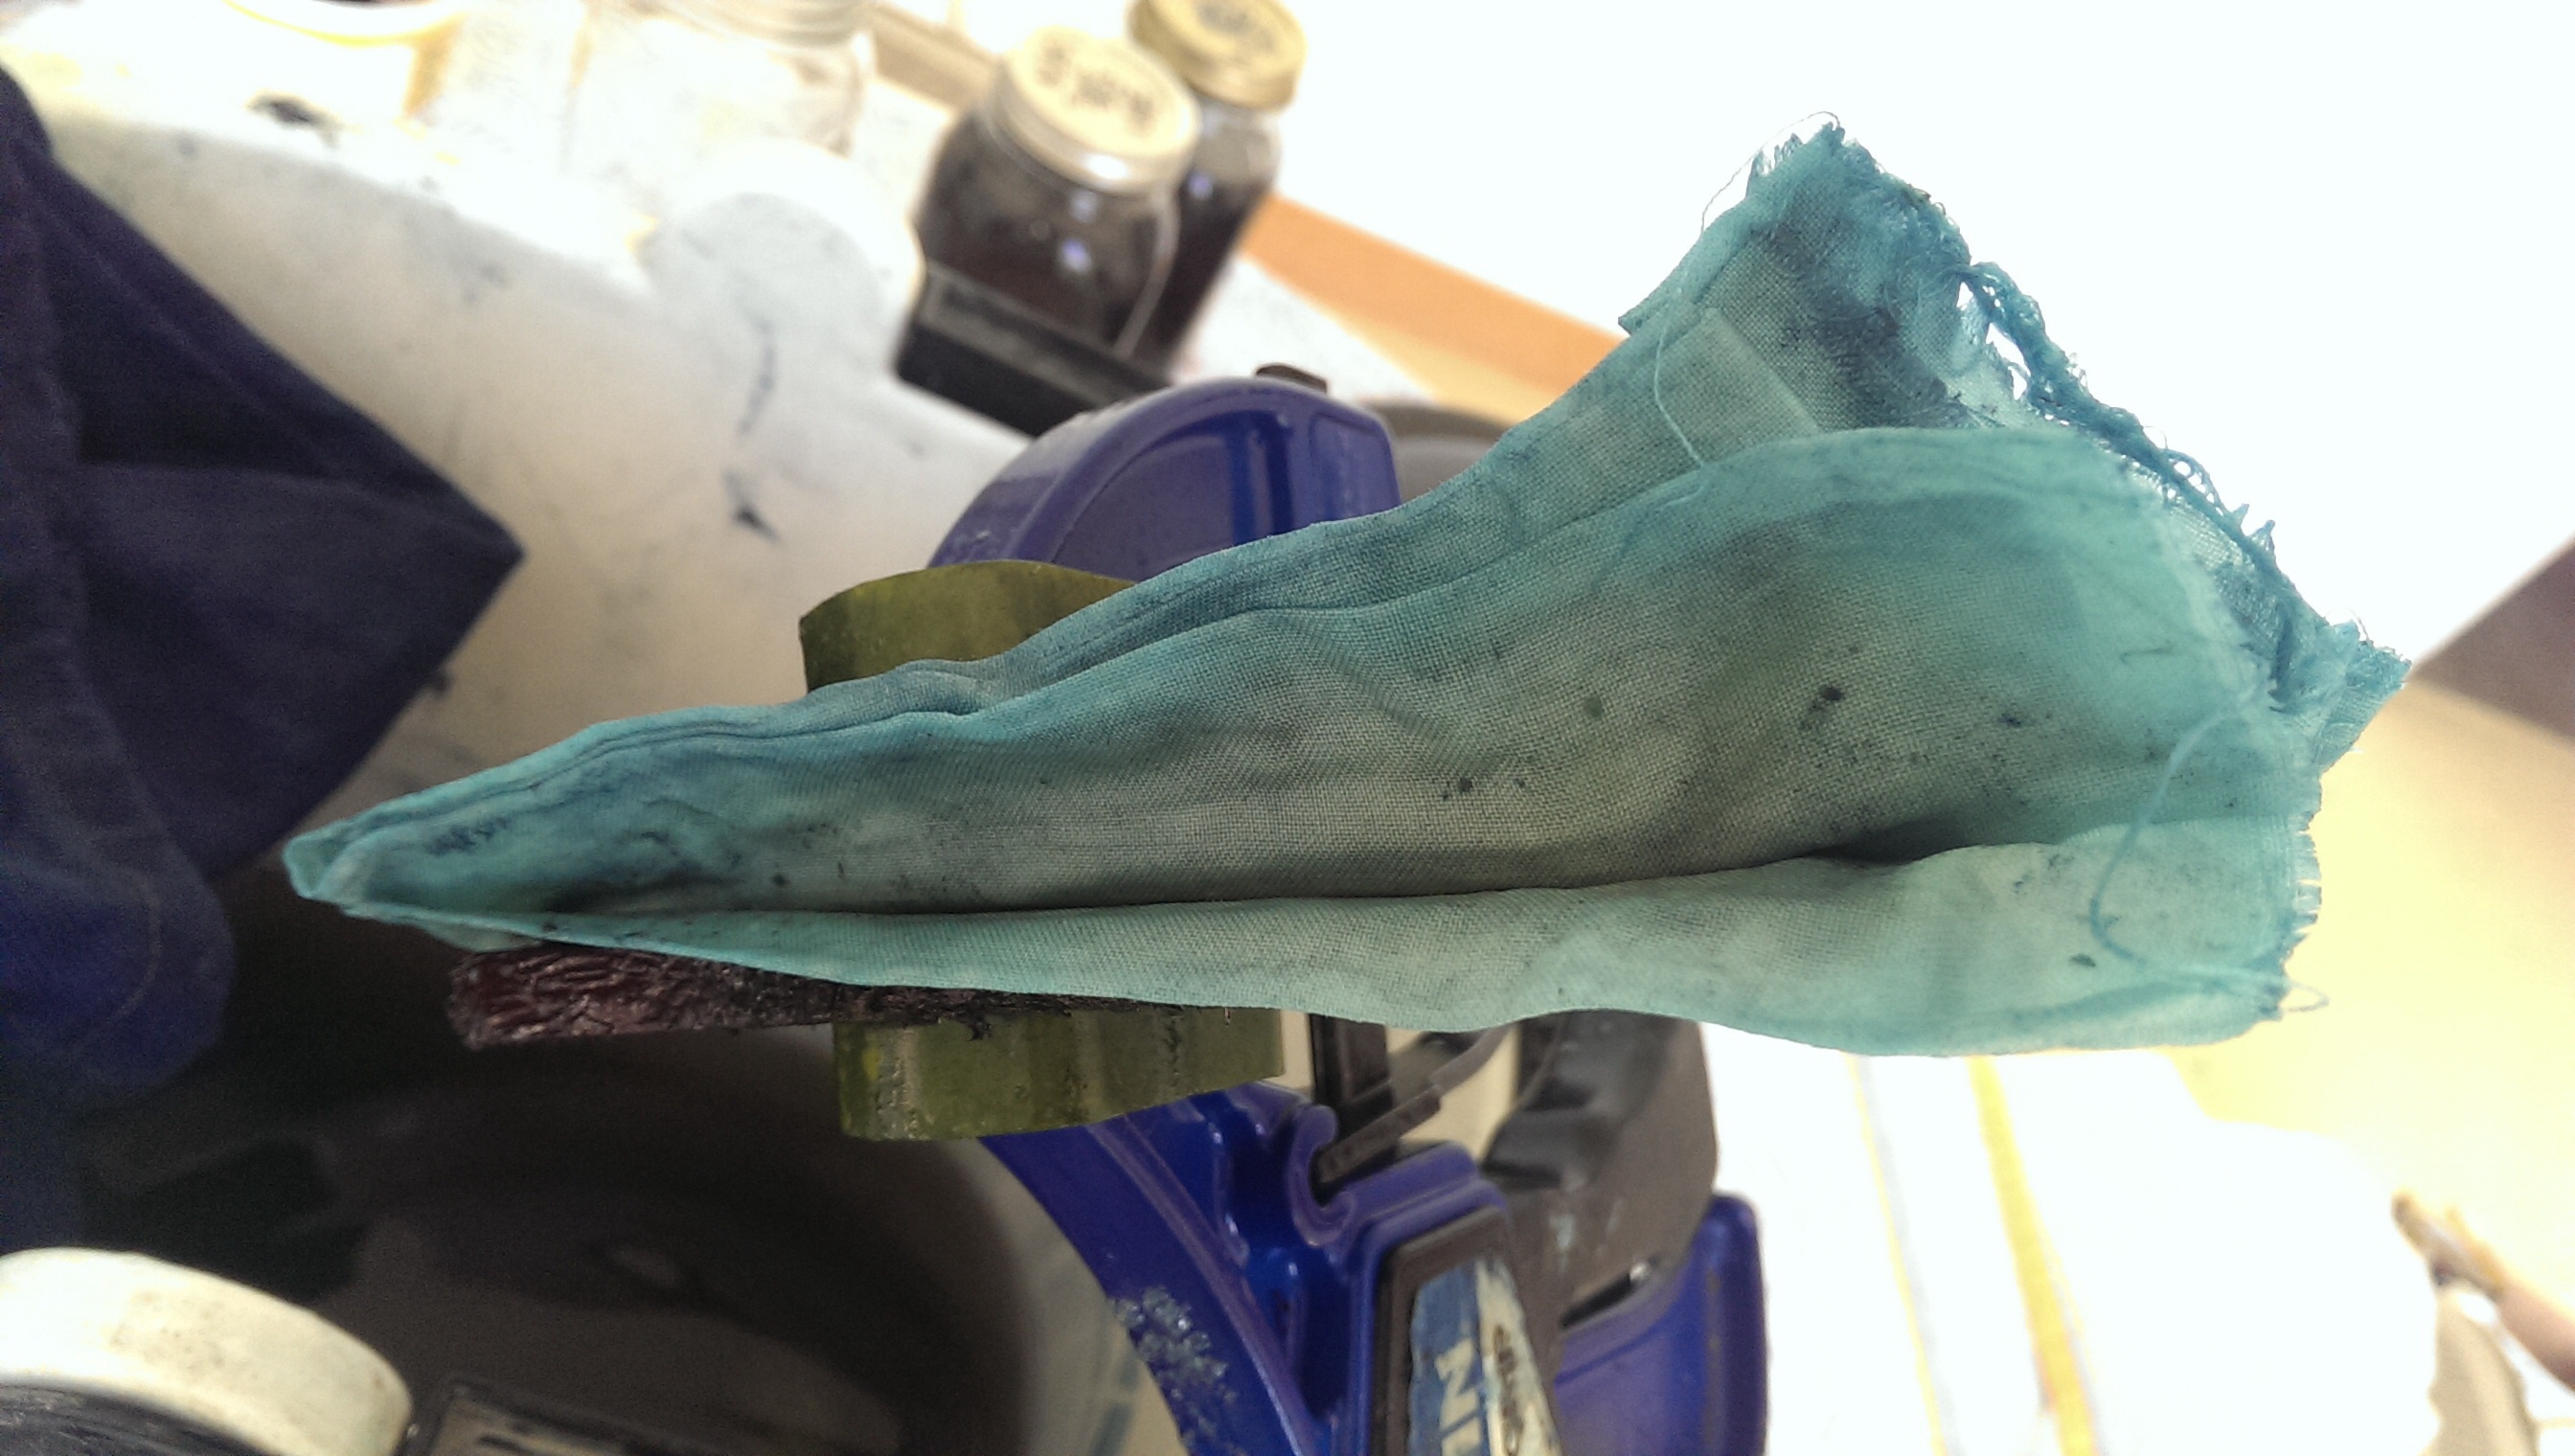
Making sure to air out between the folds for good oxidation
The materials you have dyed will be lighter once they’ve dried, so it’s best to get it darker than the final result you want. Each dip in the vat adds another layer of indigo to the material, so it will be more colorfast than just one dip.
Once the color is to your liking, rinse the material and let dry. If it’s wool or silk, soak in a vinegar/water solution to return the Ph to the liking of the fiber, then soak in a mild soap and water, and rinse. Rinsing is only removing the indigo that didn’t bond to the fiber.
The indigo water that runs off from the dyed material in the vat has been oxidized, so don’t add it back to the vat.
Using an indigo vat can only happen for so long before it stops working. This is not because the indigo is used up, rather, it’s because each “dip” into the dye vat also re-introduces oxygen, so the indigo becomes unavailable again, and there’s not enough fructose left in the vat to get the chemical conversion going again. When you are done for the day, add more fructose to your vat, and you can check the Ph with a Ph test strip. It should be around 9-10. If it’s lower than that, add more pickling lime.
When you want to use your vat next, add more fructose, stir the vat again and let the flower come to the surface. It should be dark blue. If you’ve used the vat a few times and the flower is light blue, you will need to add more indigo.
If you want to dispose of your vat, whisking air (specifically the carbon dioxide in the air) in will turn the pickling lime into calcium carbonate, aka chalk. You can go ahead and water your plants with this. Maybe a nice indigo plant.


![Nautical Jumper by Claire Montgomerie [Rachel's favorite]](http://www.sheepcabana.com/wp-content/uploads/2015/01/image8.jpg)