Rachel suggested we put together a list of fun or useful gifts for the fiber fanatics in your life. Which is funny, because every year before Rachel’s birthday or Christmas I get an email from her husband asking for gift suggestions. In Rachel’s case I’m at an advantage, because we talk about our fiber plans daily, but putting this list together I’m at a disadvantage because nothing on this list is on the list I made for Rachel’s husband! My spinning Guild also has it’s year-end gift exchange in a couple of weeks, so it seems like there’s always an opportunity to buy (or make!) a well-received gift.
Here are some useful tools:
a ball winder
a ball winder with yardage counter
a yardage counter
a swift

Ball winders and swift
a niddy noddy. Make a custom-sized one on the cheap out of PVC.
small scissors
measuring tape
a wraps-per-inch gauge
blocking pins
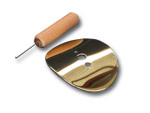
a diz:
a hackle
a blending board
a dog comb or flick carder for preparing fleece
a few extra bobbins for their spinning wheel. These are always welcome, but be sure you know what kind of wheel your friend has—different manufacturers make different sizes and they’re not always interchangeable.
spinning wheel oil! I’m always having to depend on my fellow Guild members when my wheel starts whining during meetings, because I don’t have a small travel tube of it.
Does your friend weave? How about a travel loom, a pin loom or an inkle loom? There are plenty of instructions online on how to make a PVC inkle loom.

Inkle loom
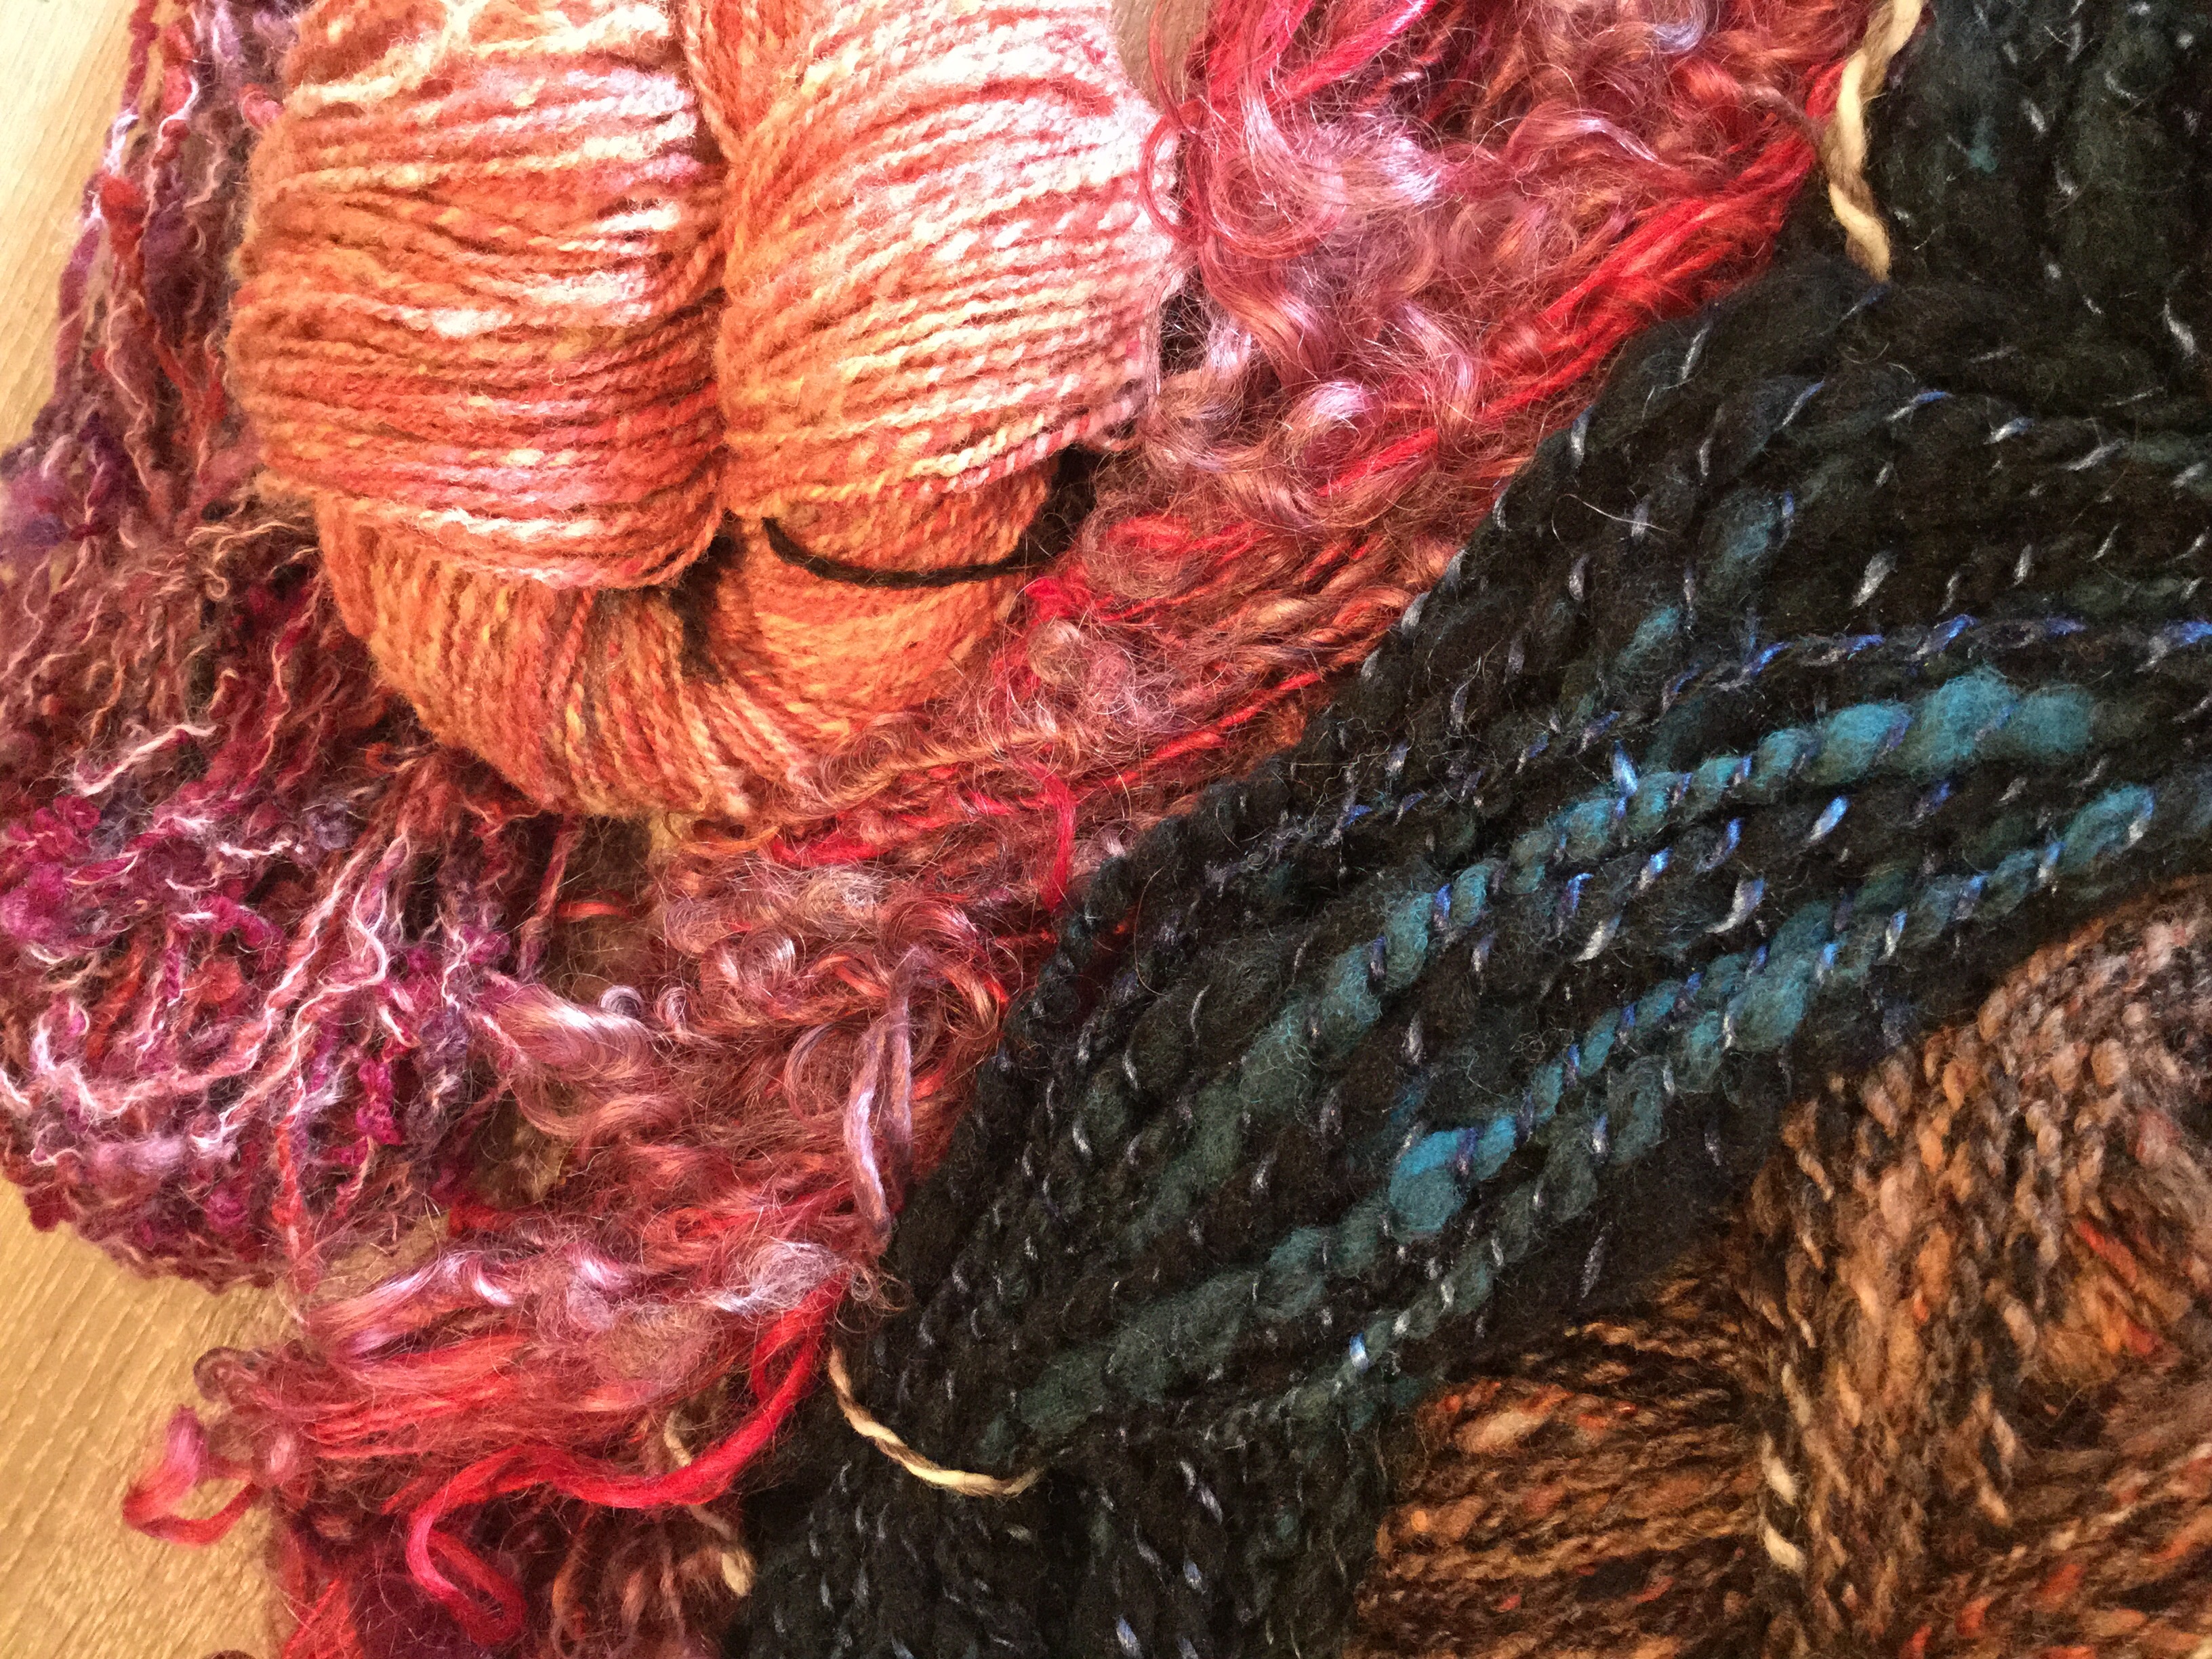
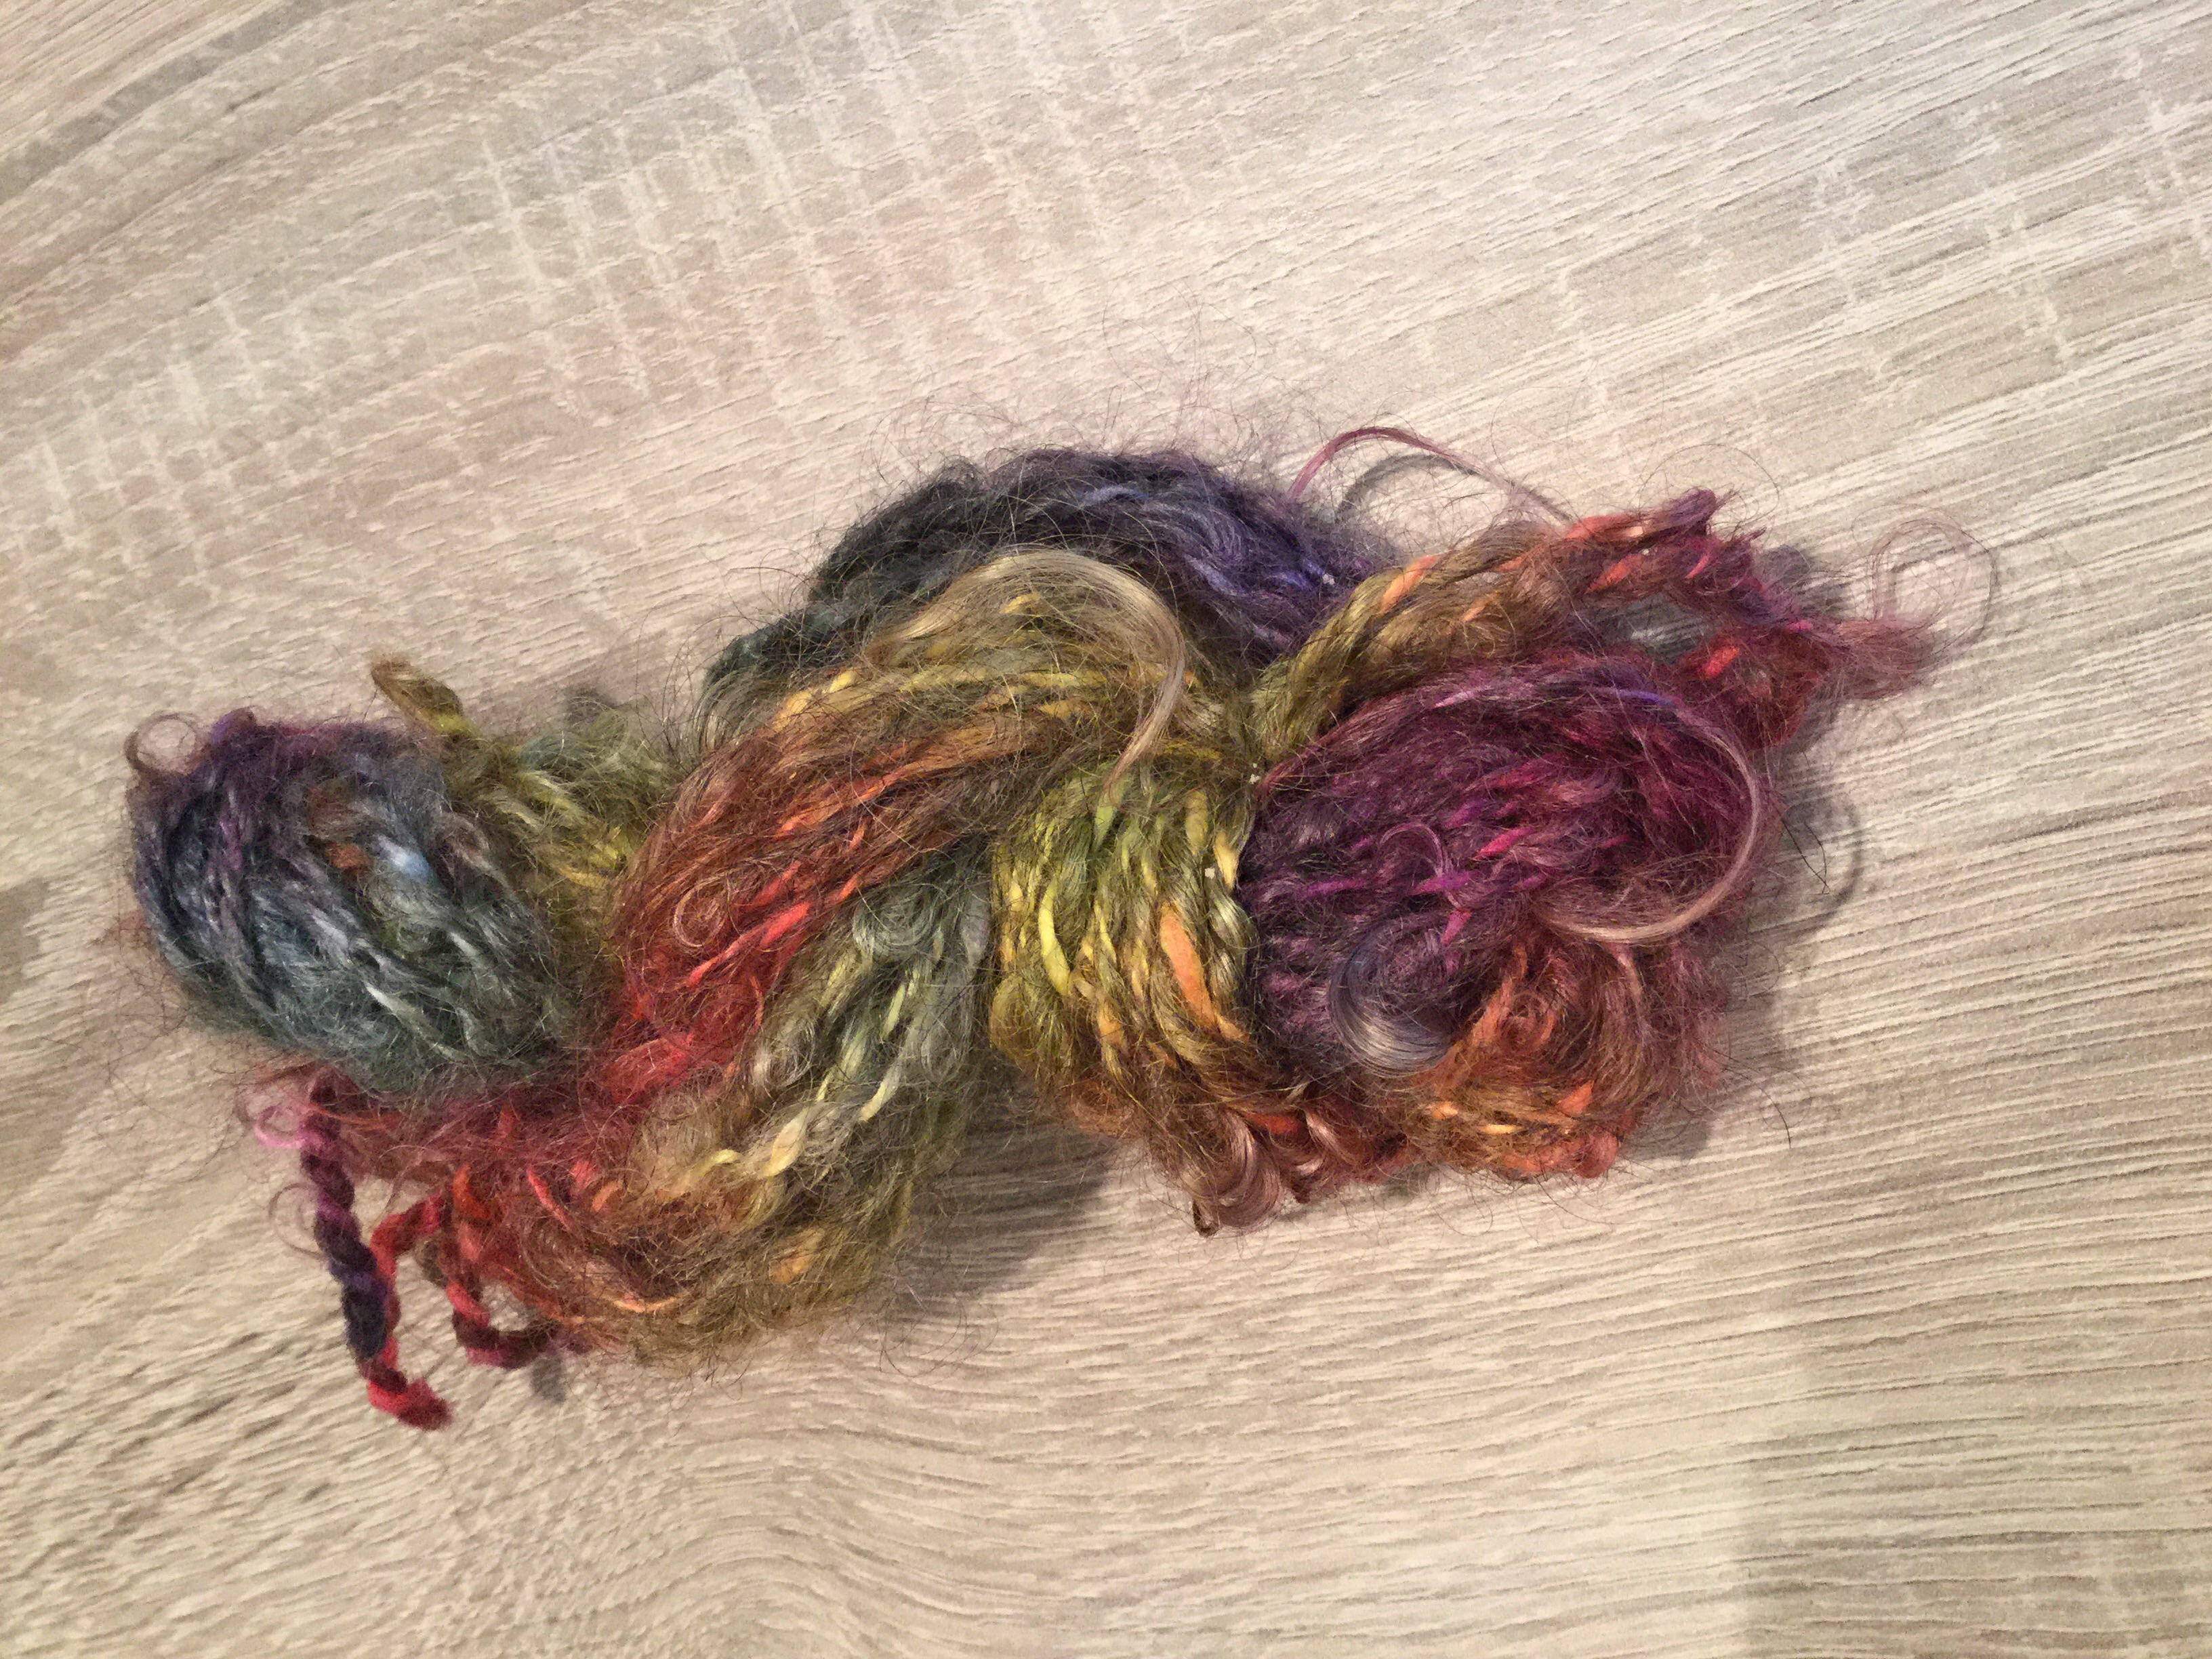
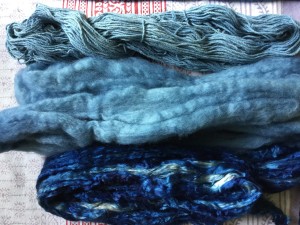
Does your friend only spin wool or alpaca roving? Maybe a gift of cotton, flax, an interesting synthetic fiber, or silk hankies. Rachel and I have found that spinning different types of fibers really helps with our overall technique. A tip: if you give silk hankies, include a bottle of talcum powder. It smooths over the rough places in your hands and makes mawata spinning a breeze.
Does your friend have a drop spindle? A Turkish drop spindle? There are lots of beautiful hand-made spindles out there. Look on Etsy or search online for hand-crafted spindles.

Turkish spindle
Notions. I love giving and receiving buttons. I find they inspire new projects, and you can usually find designs for anyone’s favorite interests. Etsy is also a great place to find handmade notions and shawl pins, by artists local to your area or from around the world.

Locally crafted ceramic buttons made by beadfreaky that I found on Etsy
A salad spinner. These work great for getting the wet out of small batches of fiber. If you think your recipient will be confused, include a little unwashed fiber in the basket. Another tip: if your friend is in need of a salad spinner for, well, salad, definitely get her two! Thrift stores are a great place to find perfectly good second hand salad spinners for fiber processing.
Knitter’s graph paper. Great for charting things or keeping track of where you are in a pattern (ahem, Rachel). We happen to have a handy-sized Sheep Cabana version available in our brand new Etsy shop:

Sheep Cabana Knitter’s Graph Paper
Books. We are a bit on the fence about books. I like ones that are reference books, stitch dictionaries, and other how-to types.
If your friend really likes making socks, the latest sock-pattern book might be up his alley. I would check out his library first. Your friend’s Ravelry queue or Pinterest boards are also good places to check for favorite designers and designs. Some designers on Ravelry also give the option to gift patterns electronically, which is great. Support your indie designers!
There are some novelty books out there which non-knitters tend to give knitters. Coffee table books, if you will. If you’re tempted by something like that, ask yourself how many faux-taxidermy meerkats or rustic-modern crochet ponchos your friend is going to make. If it’s a resounding “That many!” then go for it. But still: if your friend has an e-reader, consider the e-version of the book.
One last idea is project bags and small notions cases. Lots of people make these, probably people you already know in your Instagram feed.
If I’ve left anything off this list, it’s because it’s on Rachel’s surprise list. However, as far as gift giving goes, if in the long run your recipient would rather have something useful than be surprised, just ask them what they might want! I find that that’s often the most appreciated gift of all.