More hot tips for scouring fleece–without soap

2
Soap nuts!

Soap nuts!

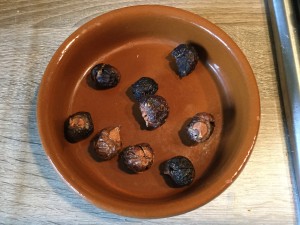
Have you heard of soap nuts? They’re the little glossy shells from the fruits of trees and shrubs of the Sapindus genus. They can be boiled in water to make a liquid soap or popped into a muslin bag and added to laundry. Even though they’re called soap nuts they’re not soap as is commonly known (lye plus fat). Soap nuts are lauded as a non-toxic and sustainable laundry alternative. Oh, and they’re a lot less expensive than commercial detergents.

So what does this have to do with scouring fleece? I started using soap nuts for my family’s laundry mainly because of their eco credentials, but also because they lack the heavy perfumes present in so many commercial detergents. Smelly detergents! Yuck! They worked incredibly well.

I also struggled to find an unscented, eco-friendly detergent to use on fleece and thought the fleece scouring solutions (like Power Scour) on the market to be on the expensive side. When it came to getting ready for a big fleece scouring session I thought, hey, why don’t I try the soap nut liquid on the fleece?

How did it go? Well, it worked.

I made up the soap nut solution–boil 50 grams of soap nuts in 2 litres of water for 10 minutes. Cool. Strain. (50g of soap nuts can make 12 litres soap.)

Bowmont fleece soaking in soap nut solution and hot water

Bowmont fleece soaking in soap nut solution and hot water

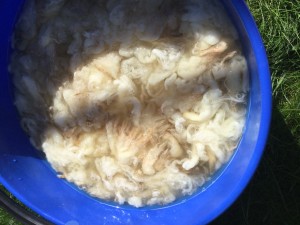
I filled a bucket with very hot water, gently added about 250 ml (roughly 1 cup) soap nut solution and then added my fleece. Immediately I could see the water turing that milky brown colour you get when washing fleece. I let it sit for awhile before draining it and spinning it out in the washing machine.

Yes, I put wet fleece in my washing machine on the spin cycle. It’s the same technique Sally mentioned in her post on scouring fleece. Your fleece won’t felt. If you’re worried about smell you can clean your machine with white vinegar and baking soda. I didn’t have a smell problem.

The next step was to rinse the fleece in hot water. I had a very greasy fleece (Bowmont) and it felt sticky when I took it out of the washing machine. To address this stickiness I added a good dose of white vinegar to the hot water rinse. I figured hey, it won’t hurt the fleece, right? My theory was the acidic vinegar would help reduce the stickiness.

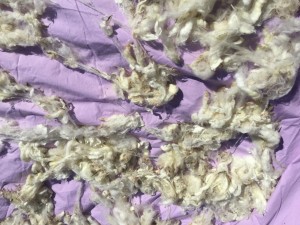
Bowmont fleece drying

Bowmont fleece drying

When I added the vinegar the fleece fizzed and bloomed, opening up nicely. I let it sit for awhile before spinning it out in the washing machine and spreading it out on a sheet in the garden to dry. There’s no vinegary smell on the fleece either.

It occurred to me that I’d run this experiment on a relatively clean fleece–no muck, negligible VM. What about a muckier one? I found some fleece that needed a little more work, picked out the really gross stuff and soaked it in the soap nut solution and ran it through the same process in the washing machine and vinegar rinse.

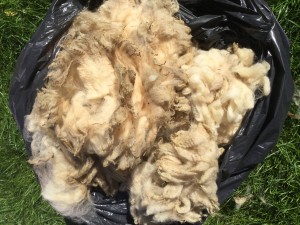
Muckier fleece

Muckier fleece

This fleece is a 3/4 Southdown lamb and not nearly as greasy as the Bowmont. The soap nut and vinegar treatment worked really well.

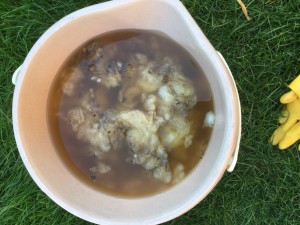
Getting the dirt out! (3/4 Southdown fleece)

Getting the dirt out! (3/4 Southdown fleece)

You get through a lot of water when washing fleece. I didn’t want to pour it down the drain and instead used it to water the garden. That’s another benefit of using soap nuts. Yes the water is a bit greasy and mucky, but there isn’t anything harmful to plants or the wider environment in it.

There is another way to wash a fleece without soap–the fermented suint method. Basically the method is: soak your fleece in rainwater until the suint (sheep sweat) ferments creating a kind of soap. I have not tried this method, but I’ve spoken to a few people who swear by it. Although apparently it’s better for low-lanolin fleeces and it’s even smellier than scouring fleece with soap.


Autumn Leaves and Contact Dyeing

2
image

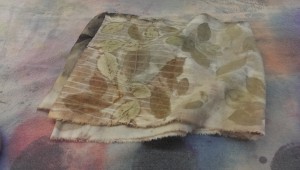
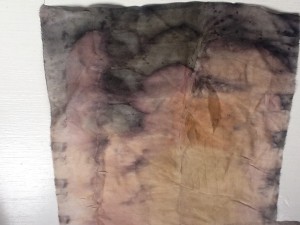
Instructor’s sample of leaf contact dyeing

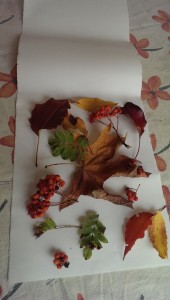
I had my first Natural Dyeing class at the Oregon College of Art and Craft last week. We started by walking the campus and collecting various autumn flora: fallen oak and maple leaves, pink-backed cherry leaves, fresh comfrey, spotted dying blackberry leaves, walnut hulls, tupelo, madrone and walnut leaves, Indian blood grass, and anything else that caught our eye. The ostensible purpose of this was to collect material to make our own contact dyed projects, but really it was to get us excited about natural dyeing. This time of year in the Pacific Northwest the ground is littered with dyestuffs, and the quick and easy method we learned yielded pattern as well as color.

image

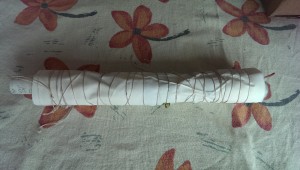
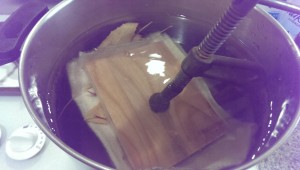
Once we collected our leaves, we laid them out onto fabric or paper, and either rolled up our fabric tightly around a stick (or for added color, around a rusty iron nail) or accordion folded and clamped for a shibori effect. These packets are then simmered in a water bath for an hour, and then removed and unwrapped.

image

image

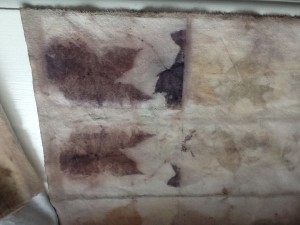
What I found most interesting about this technique is that there is really very little dye in individual leaves (for the most part tannic acids) but because of the wrapping or clamping, the color can’t migrate anywhere other than onto the fabric or paper. In other words, the opposite of leveling. In a lot of cases, the color transfer is more akin to printing— the fabric or paper is not really dyed per se, but stained or imprinted with the actual leaf color, giving pinks or greens which don’t exist as an actual dye. Our instructor cautioned us as much, saying that these colors will fade with washing or over time. That said, there definitely was dyeing of fabric around the periphery from the tannic acids, and also where the rusty nails provided an iron mordant.

Here is a leaf print where I had an iron plate clamped to the outside of my fabric packet:

image

Leaf print on silk noil with iron plate

And likewise wrapped around a large rusty nail:

image

Silk charmeuse leaf print wrapped around iron nail

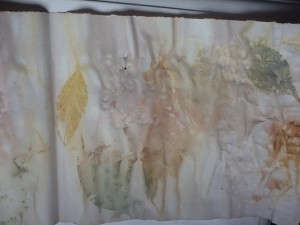
Here is the difference of the dyestuffs on cellulose. For one, I didn’t get my packet wrapped tightly enough and the colors ran. For another, the yellows and greens remained printed while the tans of the tannic acids didn’t penetrate as much. I expect this to be a function of the density of the cellulose in paper form, and I would expect better tans on cotton yarn:

image

Wrapped leaf print on paper

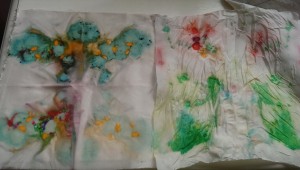
This technique also led me to revisit my forays into dyeing with candy. I’d encountered poor results with a lot of candies that contained very little dye. So I tried some candy contact dyeing:

image

image

The candy melted pretty quickly, so it was hard to keep the fabric tight, but the dye migrated onto the fabric rather than into the dye pot. I can see some candy-related shibori in my future!

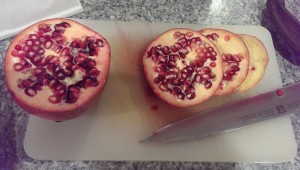
I’d also encountered  some inexpensive pomegranates at the grocery store last week, and per Rachel’s last post I bought them for some seasonal dyeing. Pomegranates contain ellegic acid, which are yellow tannins, so I thought this would be a quick way to see what sort of coloring I could get from them:

image

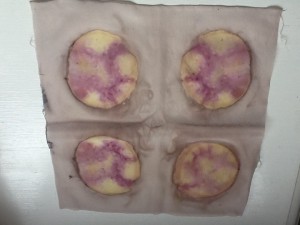
This is one slice of pomegranate:

image

Folded and clamped pomegranate slice on silk charmeuse

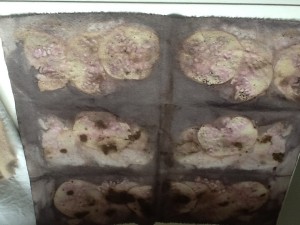
And here is multiple slices and layers, with the rest of the pomegranate in the dye pot:

image

Folded and clamped pomegranate on silk noil, over some walnut hull spots

Tight wrapping and clamping is the key to good transfer, but whether you are preserving autumn leaves, testing dyestuff potential, or finding another use for seasonal candy, it’s such a quick and easy technique that it’s definitely worth trying.

Last of the summer dyes

2
Marigolds

Marigolds

Autumn has been a mellow affair. Trees are only starting to turn colour and drop leaves. Flowers continue to bloom and there is plenty of natural dye stuff still to be gathered. It’s time to get a basket and take a walk to find some dye stuff to try out now or over the winter.

Coreopsis

Coreopsis

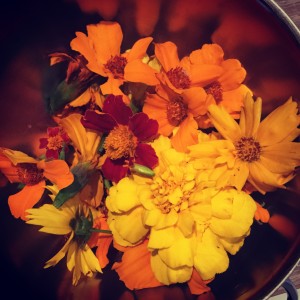
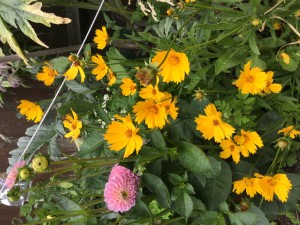
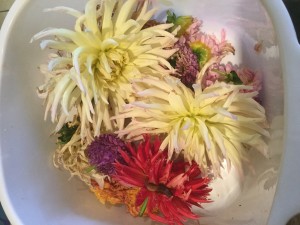
I’m drying dahlias, marigolds, calendula and coreopsis from my garden. Acorns and walnuts are both good for dyeing as are sumac leaves, rhubarb roots, carrot tops, willow leaves and bark, chrysanthemums and pine cones. Not all plants will give you color and some that do–especially berries–are not colourfast. Don’t waste your time dyeing with blackberries or beets, for example, because the colour will fade quickly.

Dahlias

Dahlias

Lichen is also an option, but not all lichens give a dye. Sally is planning an in depth post on lichen dyeing so I will just give a few pointers on lichen gathering and preparation. Do your homework before you go out to identify lichens that give a dye. If you’re not sure there is the bleach test. If the lichen turns red when treated with a drop of bleach it should give colour for dyeing. Here is a helpful link on lichen dyeing.

Personally I’ve had no luck with lichen. Any pointers are appreciated!

As Autumn becomes winter there won’t be as much dye stuff around. However ivy berries and leaves might be worth a try along with mahonia berries. And there is always the humble onion skin. It gives a beautiful golden color and is simple to find and use. Other household items that give color include pomegranates and avocados.

For those of you who need help identifying plants I suggest a book that has pictures and descriptions of plants local to you. As Sally found out it’s properly identifying plants and trees is pretty important.

I use River Cottage’s Hedgerow book for identification. Books like the Ashford Book of Dyeing and Jill Goodwin’s A Dyers’ Manual give a lot of information on what colors certain plants give and whether they are color fast.

One other project for the budding natural dyer is to grow your own dye plants. I’ve started madder this year, which I need to re-pot into a larger container. Other flowers like dahlias, marigolds and coreopsis have all given loads of lovely yellows and gold colors this year. They’re all easy to grow and inexpensive. If you have space you might also try woad, indigo, St John’s Wort and safflower. It’s easy to find seeds online or from another natural dyer.