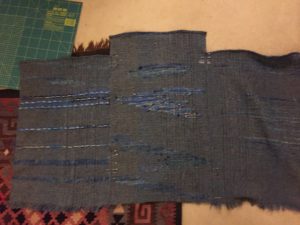
Whenever I show my mom one of my weaving projects she asks the same question: “is it a table runner?” The question sets my teeth on edge. Long and relatively narrow woven fabric could be mistaken for a table runner, but as my friend Sarah Howard has demonstrated many times over with a little imagination it can be so much more.
Saori weaving books show many of quick and creative ways to use handwoven to make simple garments. If you are looking for a tailored garment these aren’t for you. Take a look at what Sarah does.
What I like about these saori projects is their simplicity. You don’t need to be a whizz with the sewing machine and you don’t even need a pattern. What you do need is a tape measure and a pair of scissors (or a rotary cutter) a ballpoint needle for your sewing machine and maybe some iron-on woven interfacing. Ballpoint needs are used for sewing jersey fabrics and work great on handwoven. Definitely use one.
I wanted to make the draping collar vest in the Beginners’ Saori Clothing Design book. The book is very clear that these garments are designed for the average Japanese woman—5′ 2″ (157 cm) and 120 lbs (54 kg). The draping collar vest “pattern” calls for fabric 40 cm (15 3/4 in) wide x 172 cm (1.88 yards) long. That piece is then cut into three–2 x 54 cm, 1 x 64 cm– two pieces of equal length and one longer piece which becomes the collar.
For my vest adjustments had to be made. I measured my back–from the neck to the top of my butt and from my shoulder to the top of my waist to get ballpark measurements for width and length. Keep in mind your woven fabric will shrink when you finish it. Whatever your measurements are, add on some more to account for shrinking.
I made my fabric about 50 cm (19 3/4 in) wide and ended up being 211 cm (2.3 yards). That was plenty. After washing the fabric by hand in hot water and a little soap I was ready to go.
First step was to figure out how long to make my pieces. I subtracted 172 (length of suggested fabric) from 211 (length of my fabric). That gave me 39 cm which I divided by three to get 13 cm. To increase the size of the original pattern, I added 13 cm to each piece, which gave me two pieces at 67 cm and one at 77 cm.
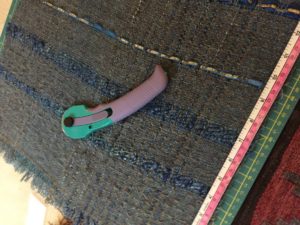
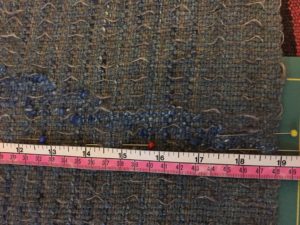
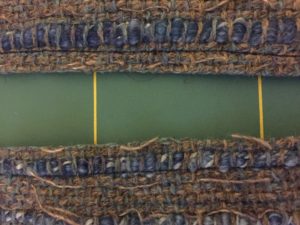
Now for the cutting. Saori weaving books suggests sewing two lines across the fabric and then cutting between the pieces. This is to minimise fraying. Remember the old saying measure twice, cut once? Definitely follow that rule when working with handwoven. In the photo below I’ve mapped out where I want to sew with a trail of pins.
I sewed to lines and then cut between them using a rotary cutter. Scissors are fine.
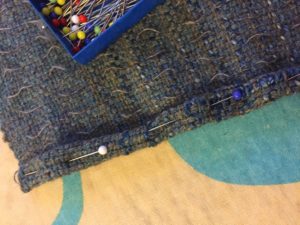
The next step is adding a hem on to the tops of all three pieces. I simply rolled the fabric over, pinned it and then sewed.
Once the hems are sewn, lay out the three pieces of fabric right side up. The longer piece is in the middle, lining them up at the bottom and overlapping them slightly. Pin into place.
On the right side, sew 5 cm from the shoulder to the arm hole, leave however much you want for an arm hole (about 25-30 cm) and then sew the rest of the seam. Repeat on the other side. Flip over and make a small hem on along the bottom (on the wrong side). I ironed on a small strip of interfacing and then did a zigzag over it.
Et voila!
