Art yarn?
Ah the allure of Art Yarn. Behold its super-chunky sparkle, its beads, its coils and luscious locks. Resistance is futile. Or is it?
When I started to spin I announced to Sal that all I wanted to make was art yarn. I probably told her I wanted to explore colour and texture. I was making it up.
Sal told me something like this: If you’re ever planning to make anything like a sweater or a wearable garment you should think about making less-arty yarn.
She had a point.
These days I think about hand spun yarn completely differently. What I used to consider art yarn, I now classify as novelty yarn.
Most of the time I’m experimenting with new materials and techniques. I’m spinning to weave or to knit. My use of art yarn is sparse. That’s partly thanks to my fairly boring sartorial habits. Sal tells me that’s a trend now! Yay!
So what about art yarn?
Last month Alison Daykin gave my guild a talk on art yarn (see below). Beforehand I was curious what she would have to say and it got me thinking. What is art yarn? Is it yarn for yarn’s sake? Is it a novelty item? Does anyone actually use it?
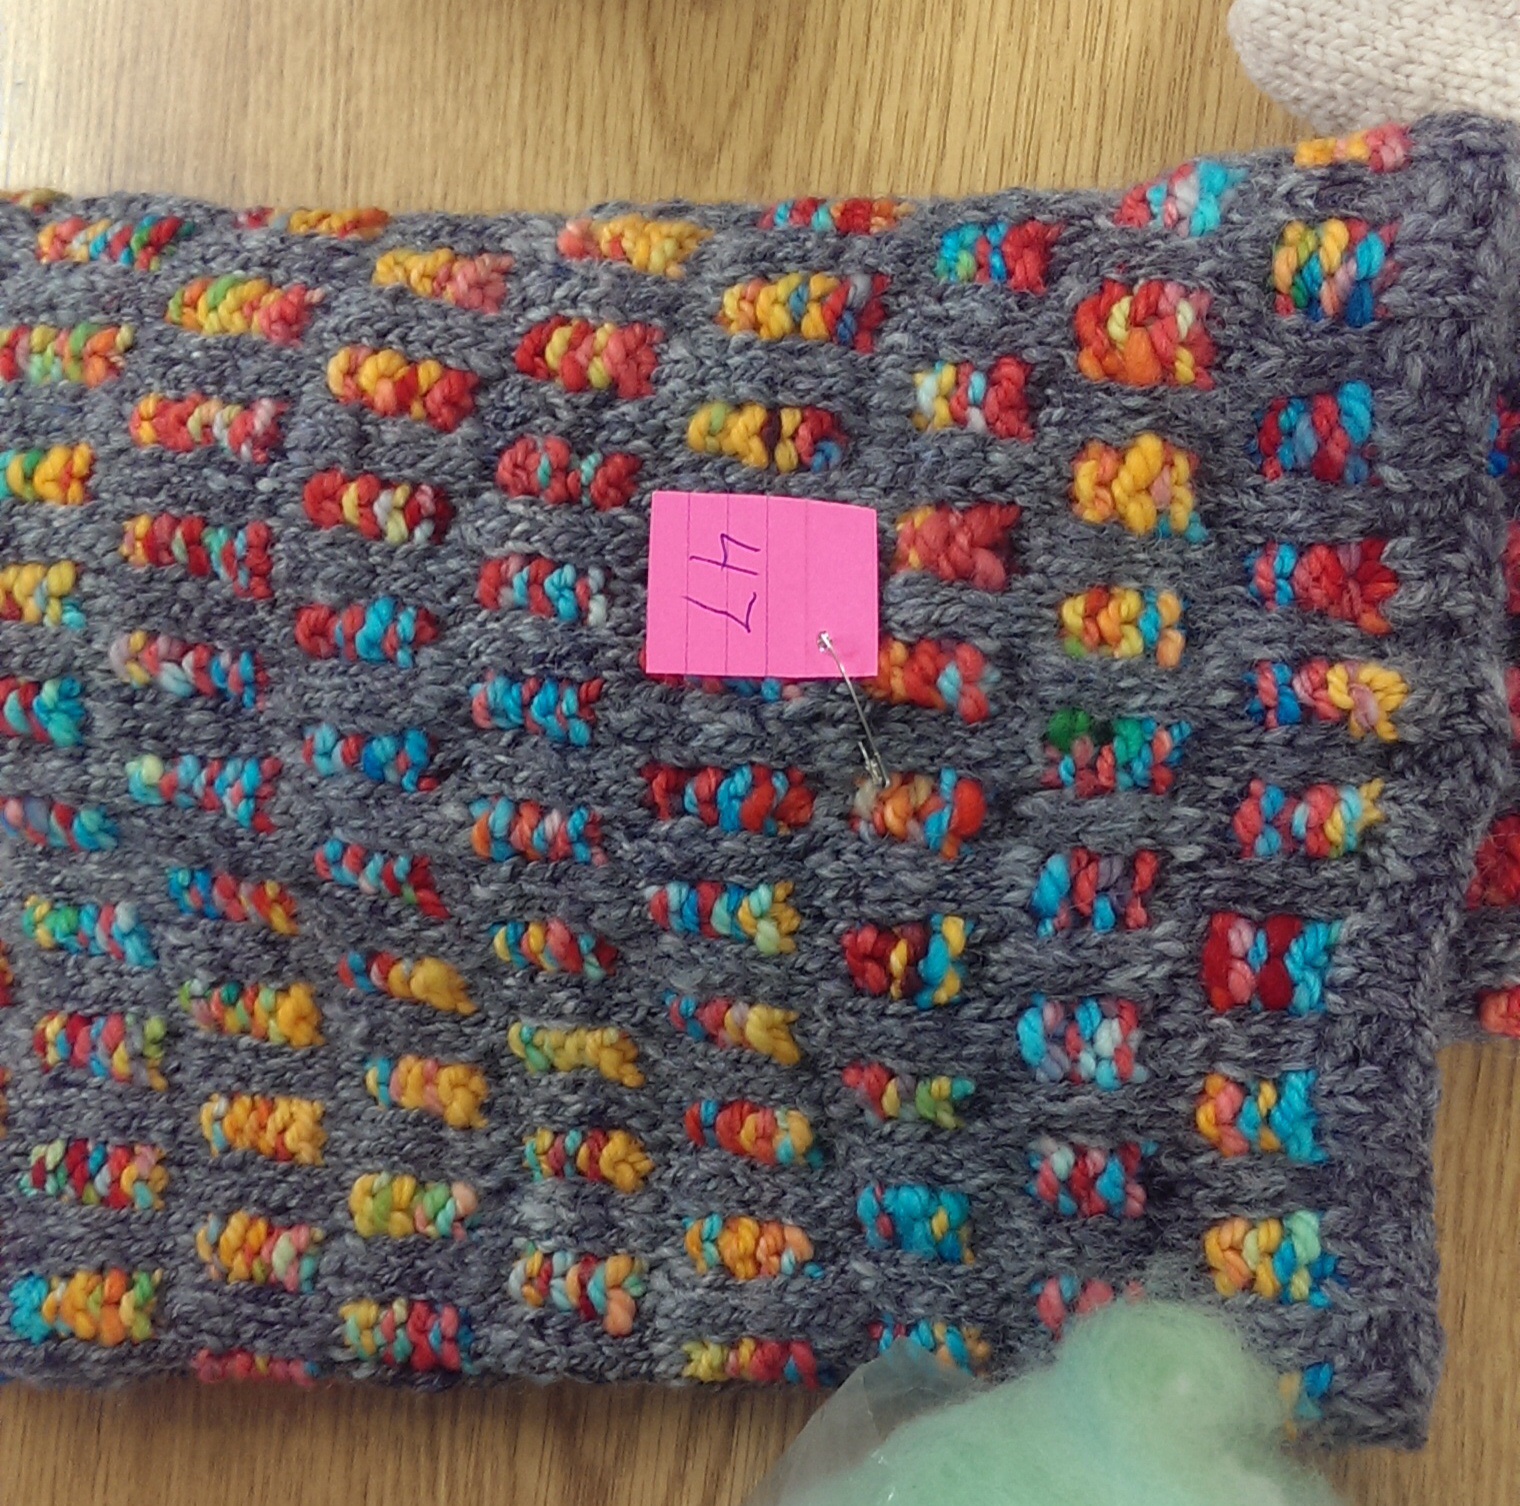
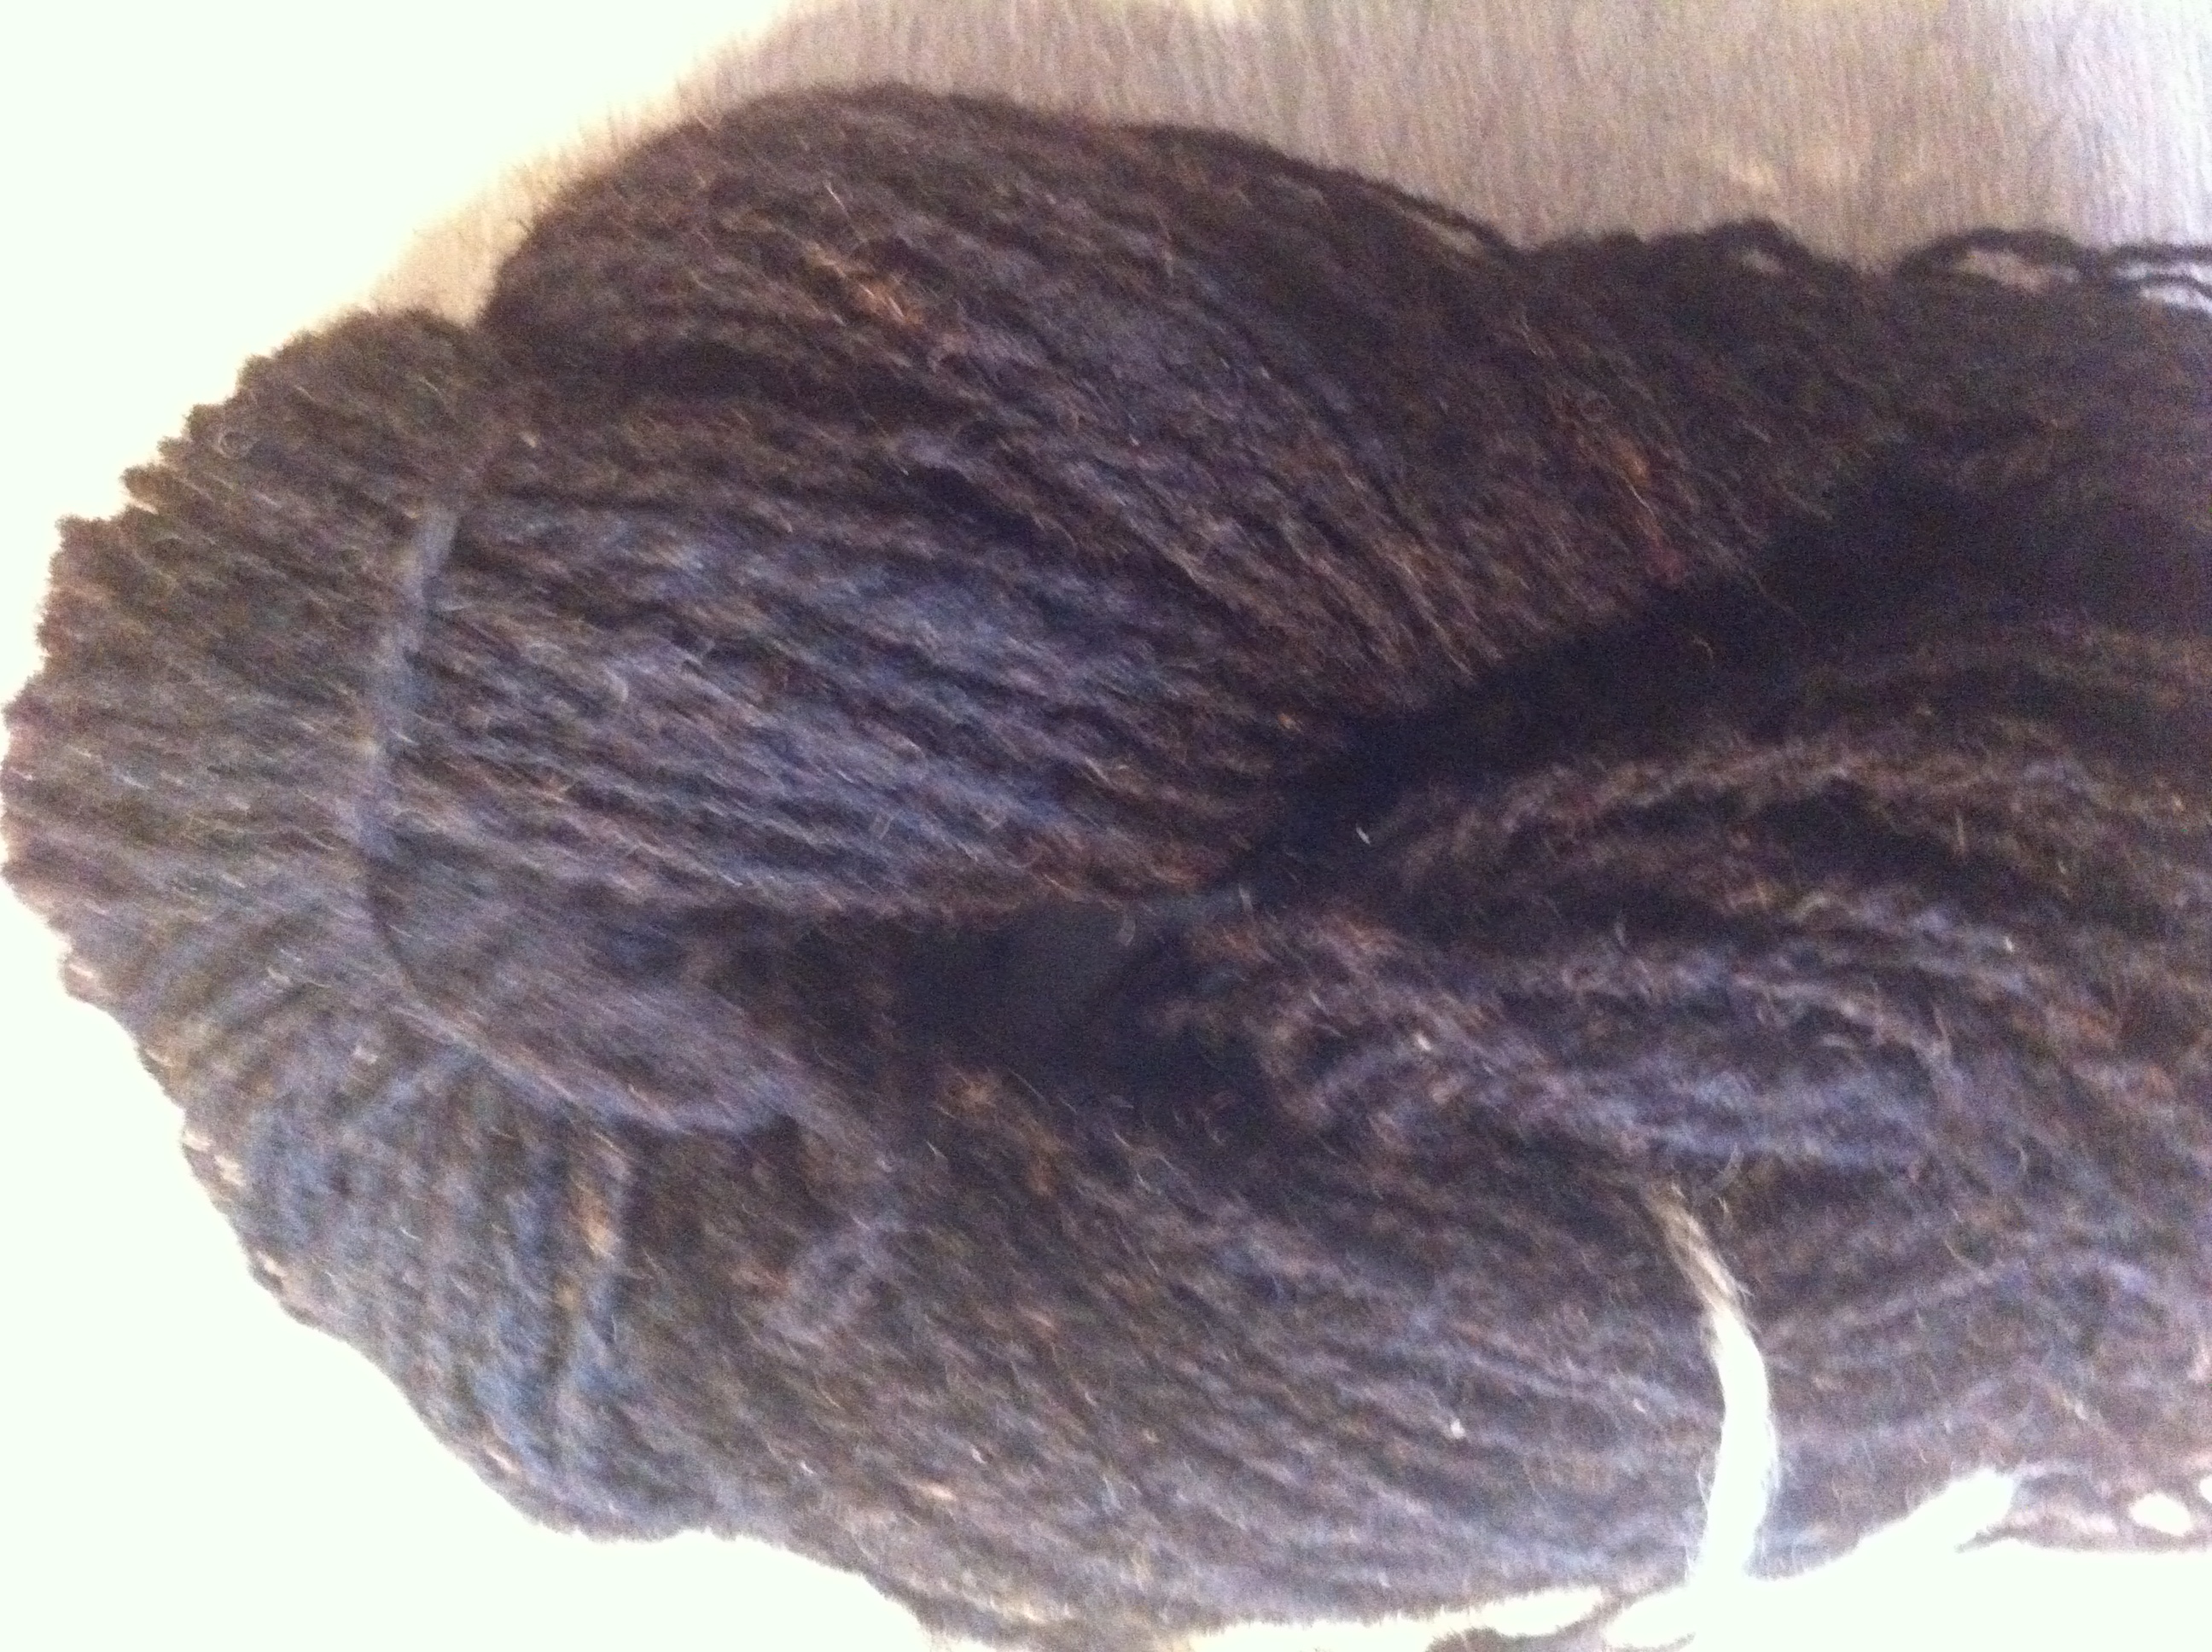
I still make a lot of art yarn, but I call it handspun. Like most spinners I’m experimenting with colour, texture and gauge. Most of it isn’t sparkly or bejeweled. The excitement is in the color or the materials.
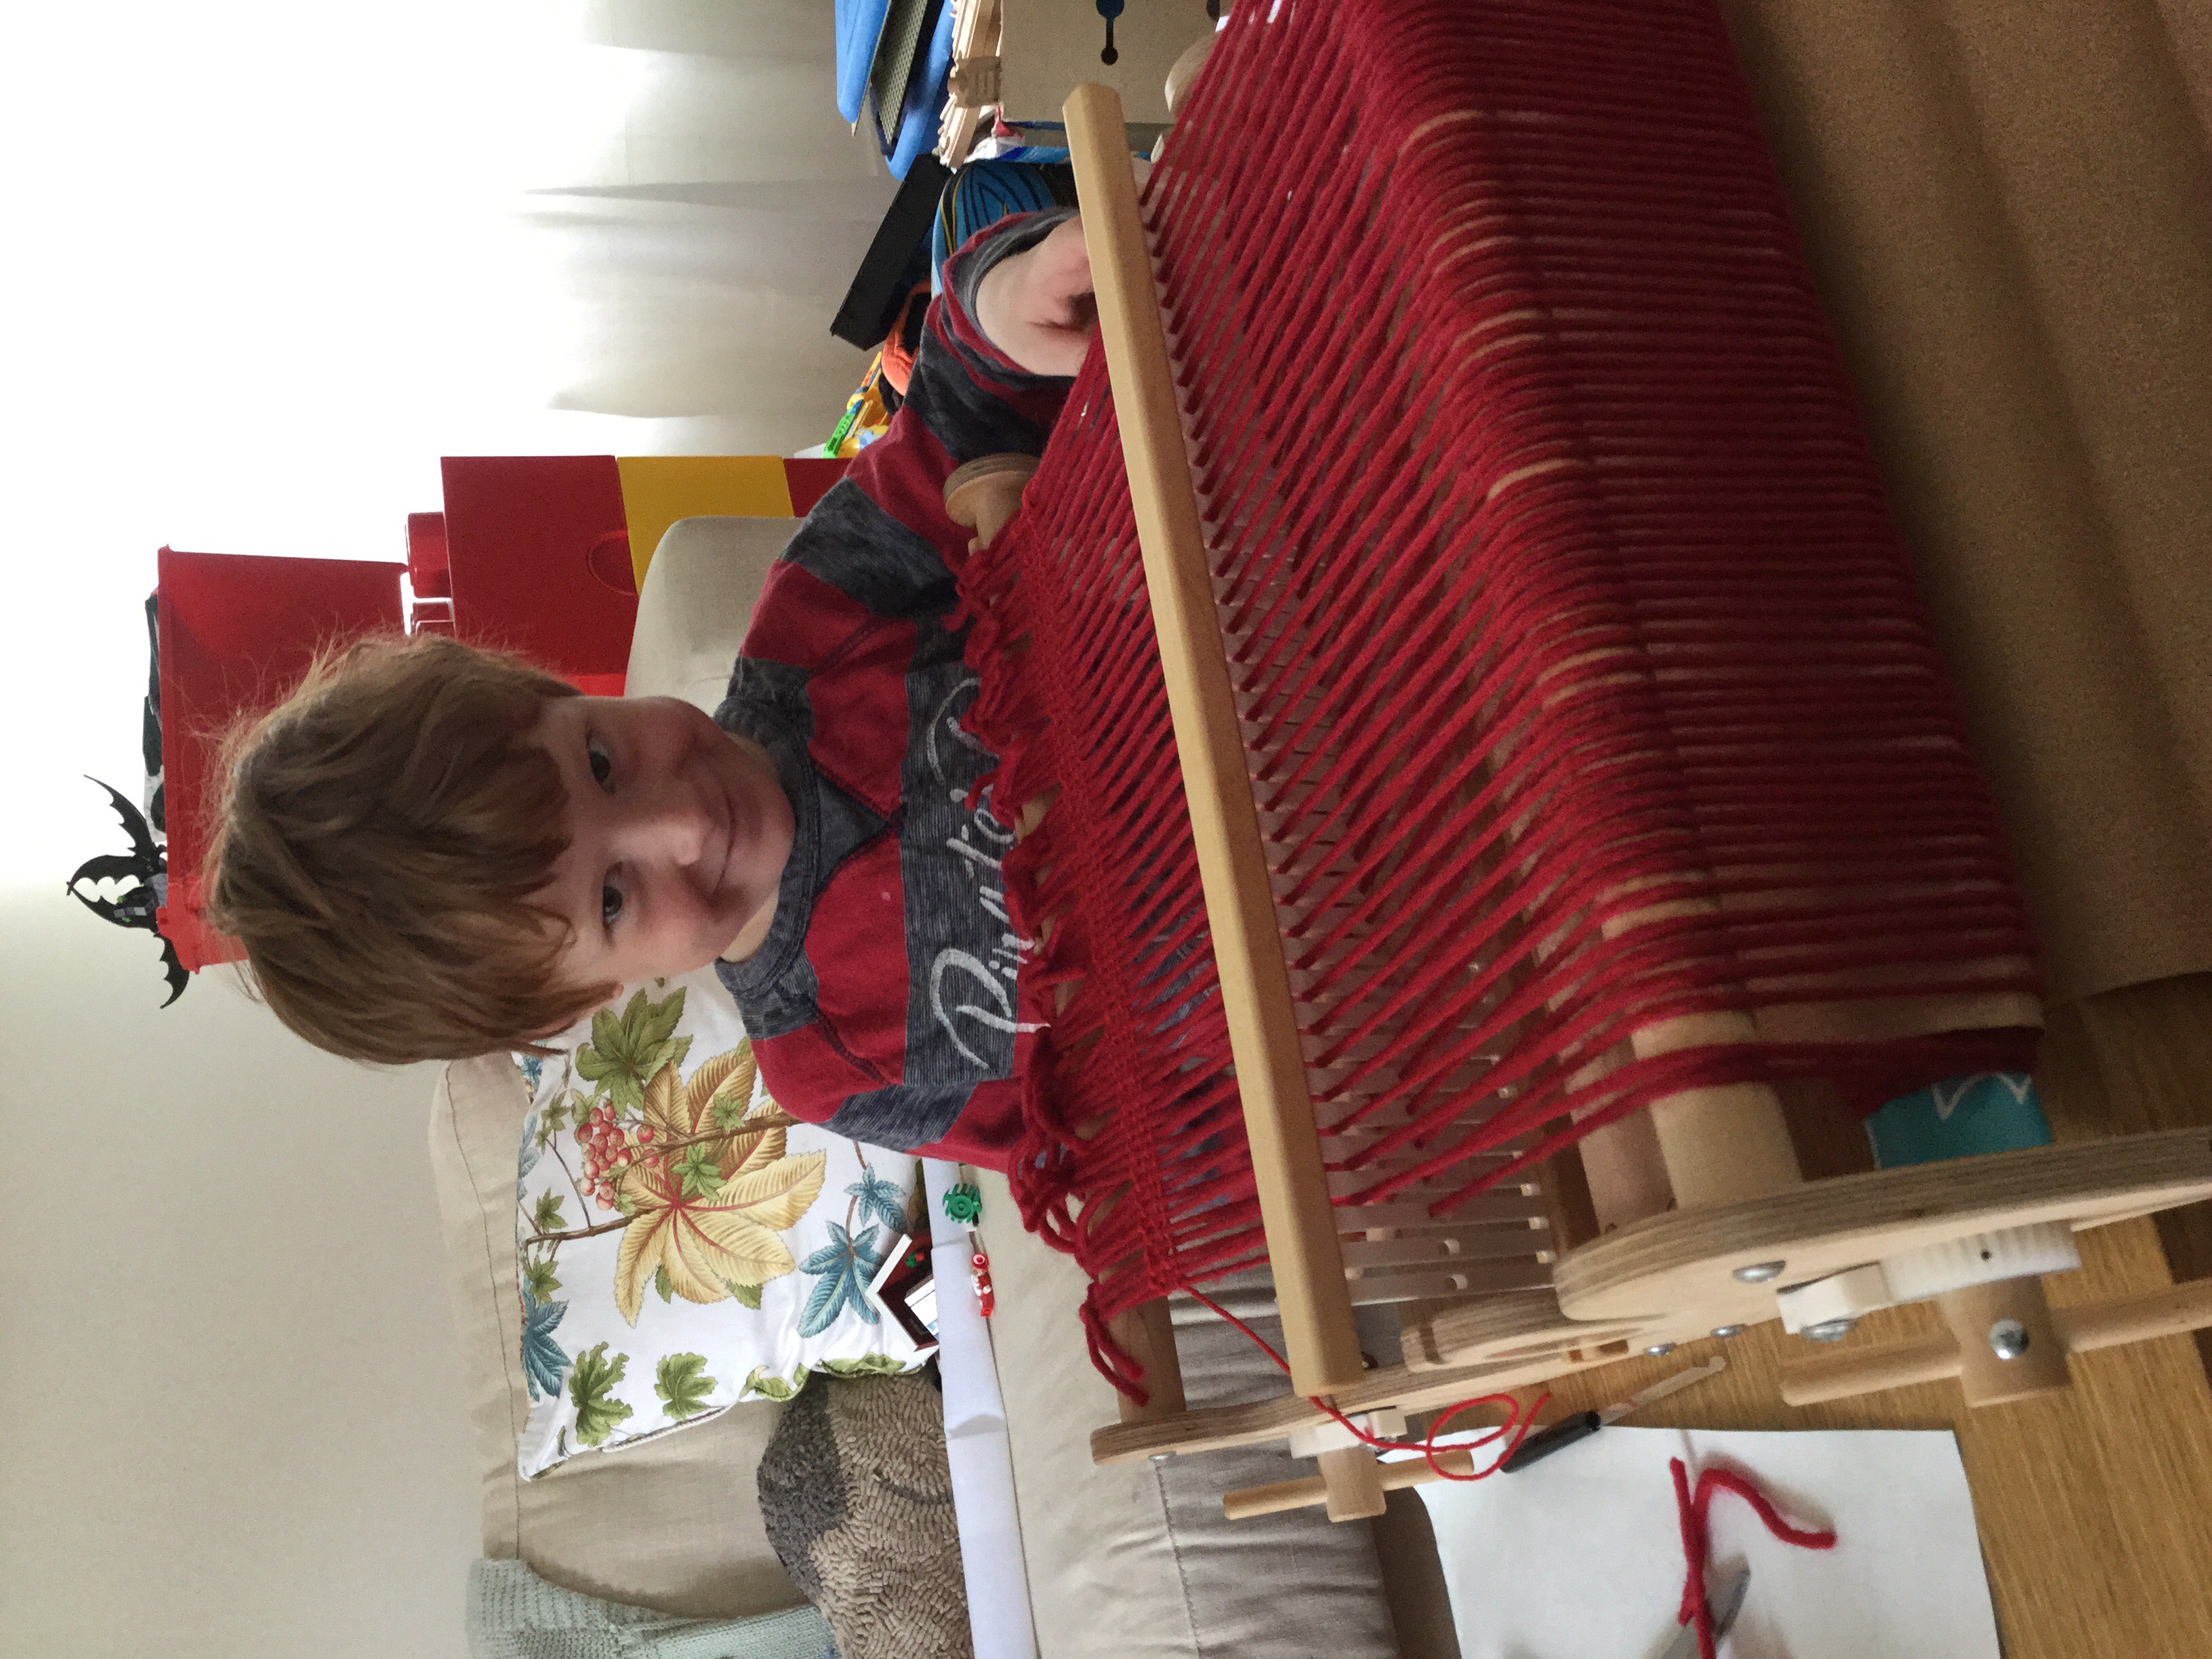
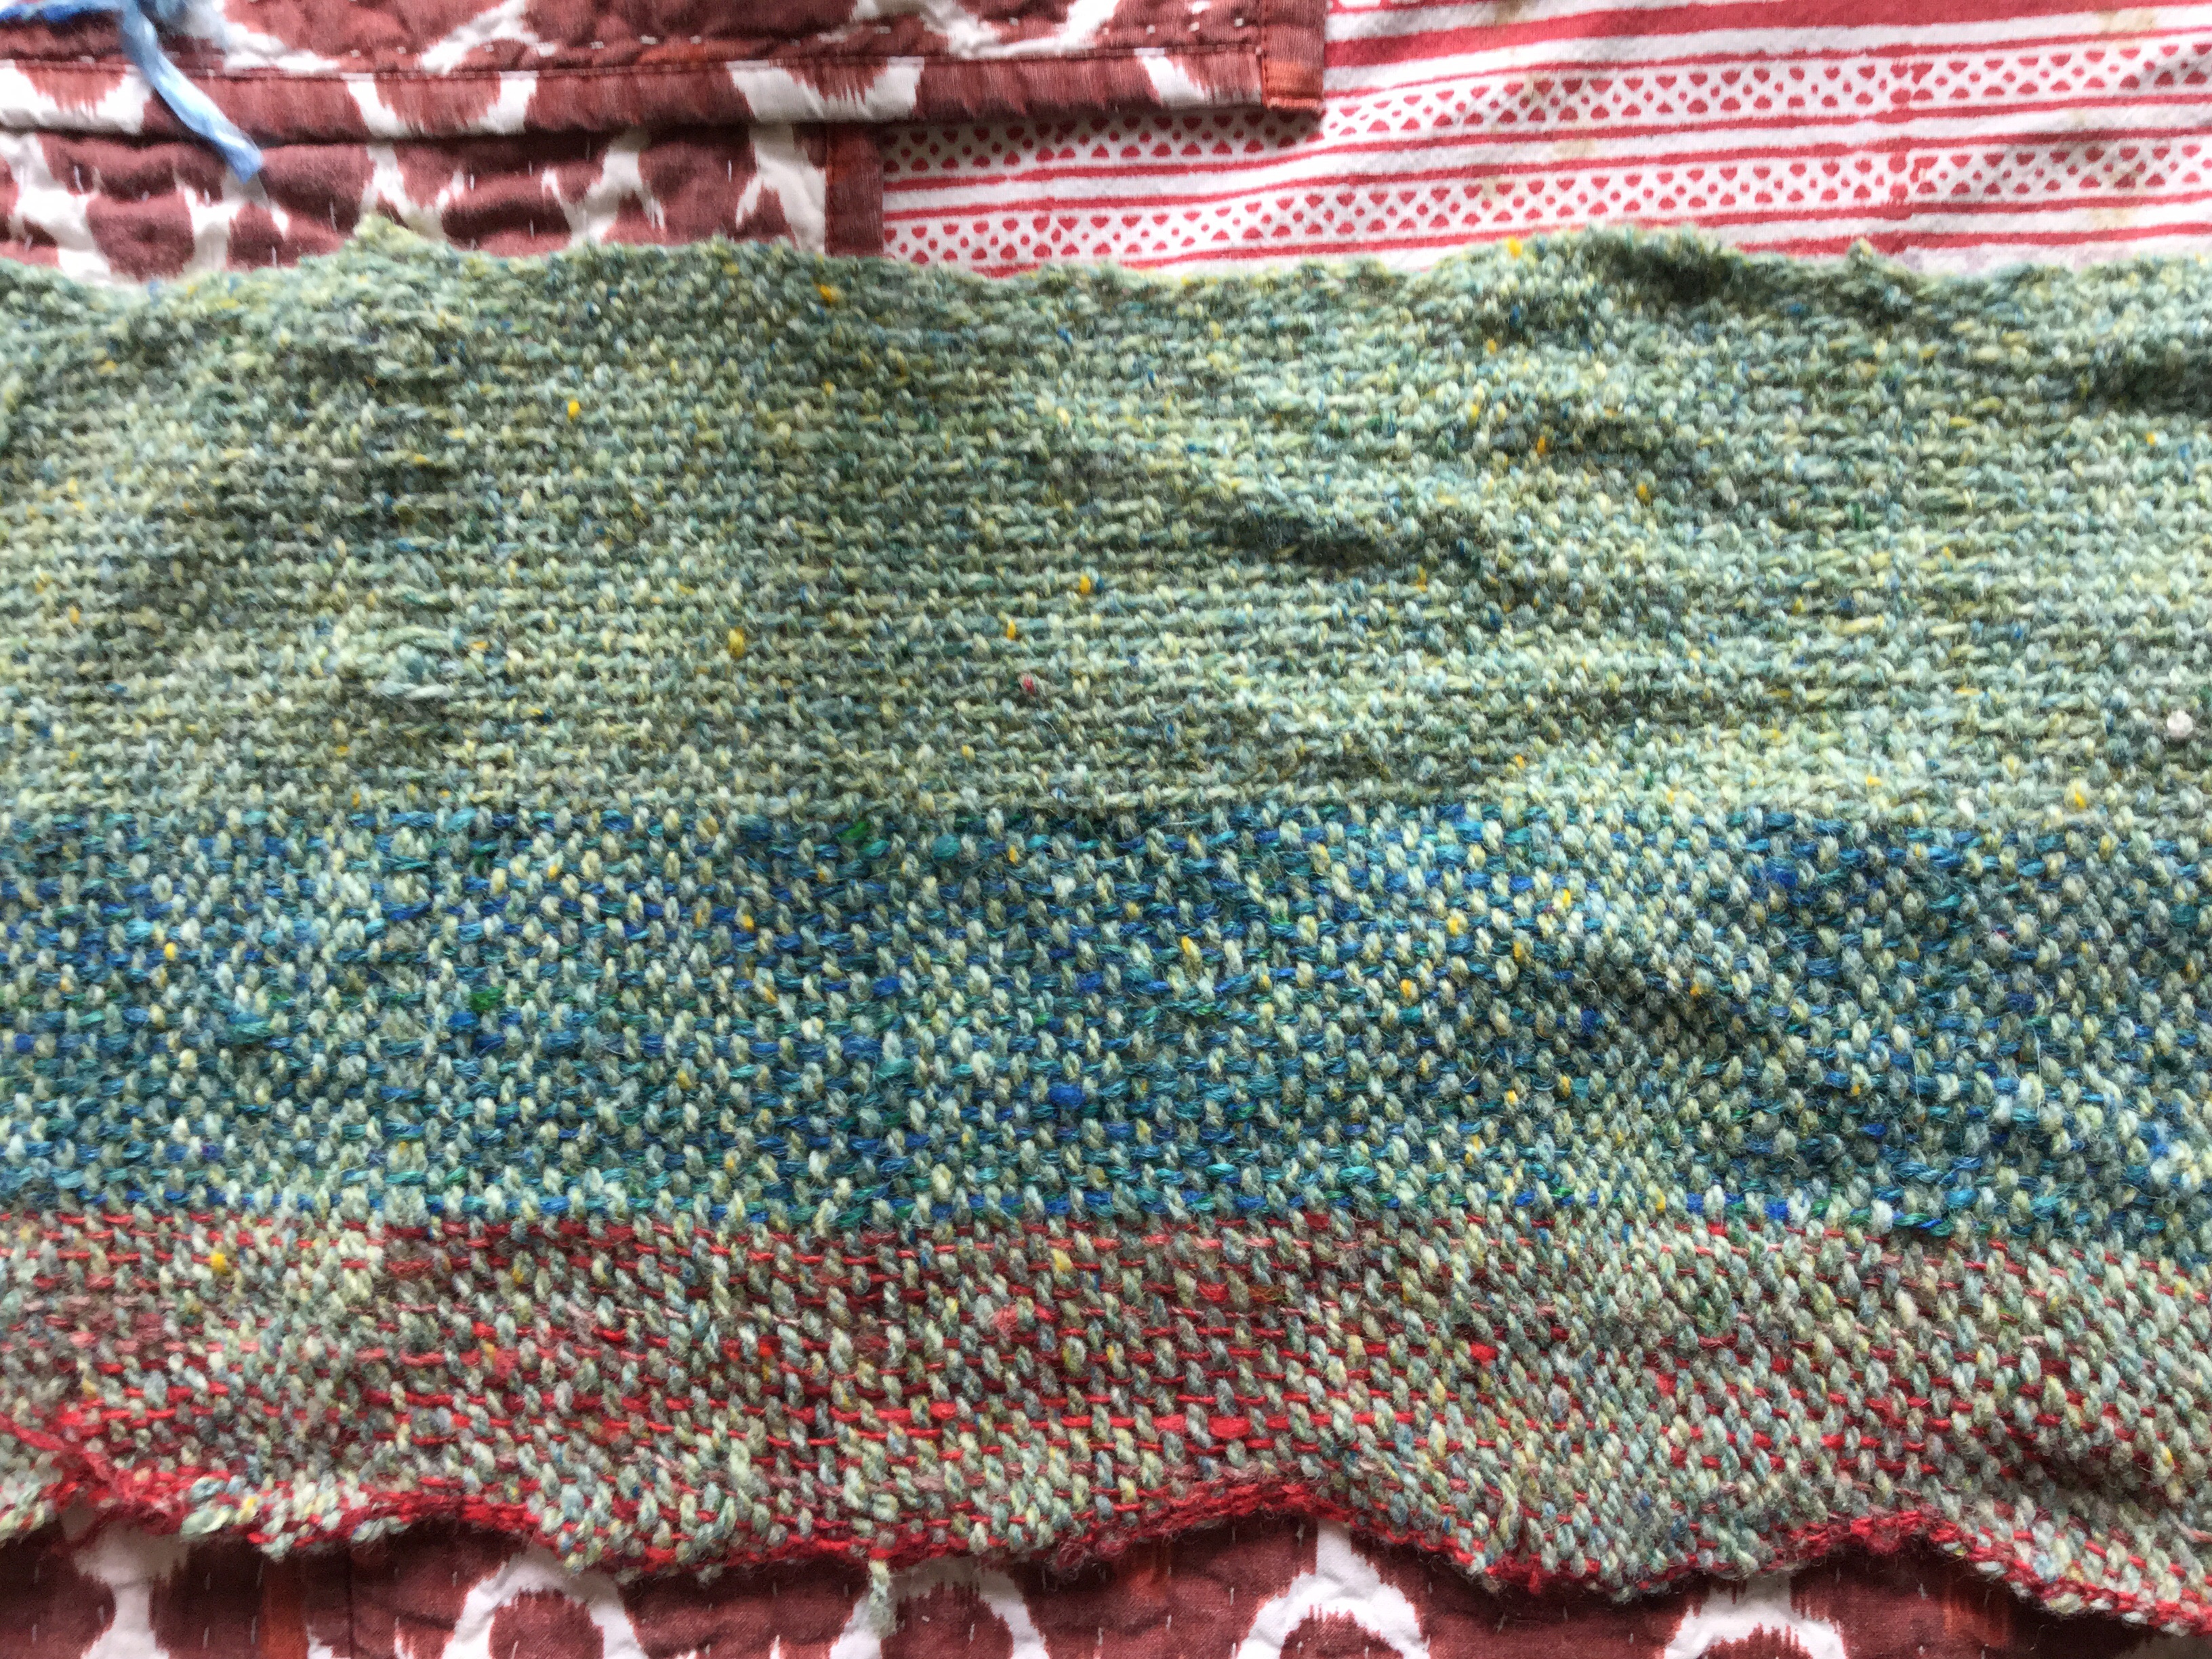
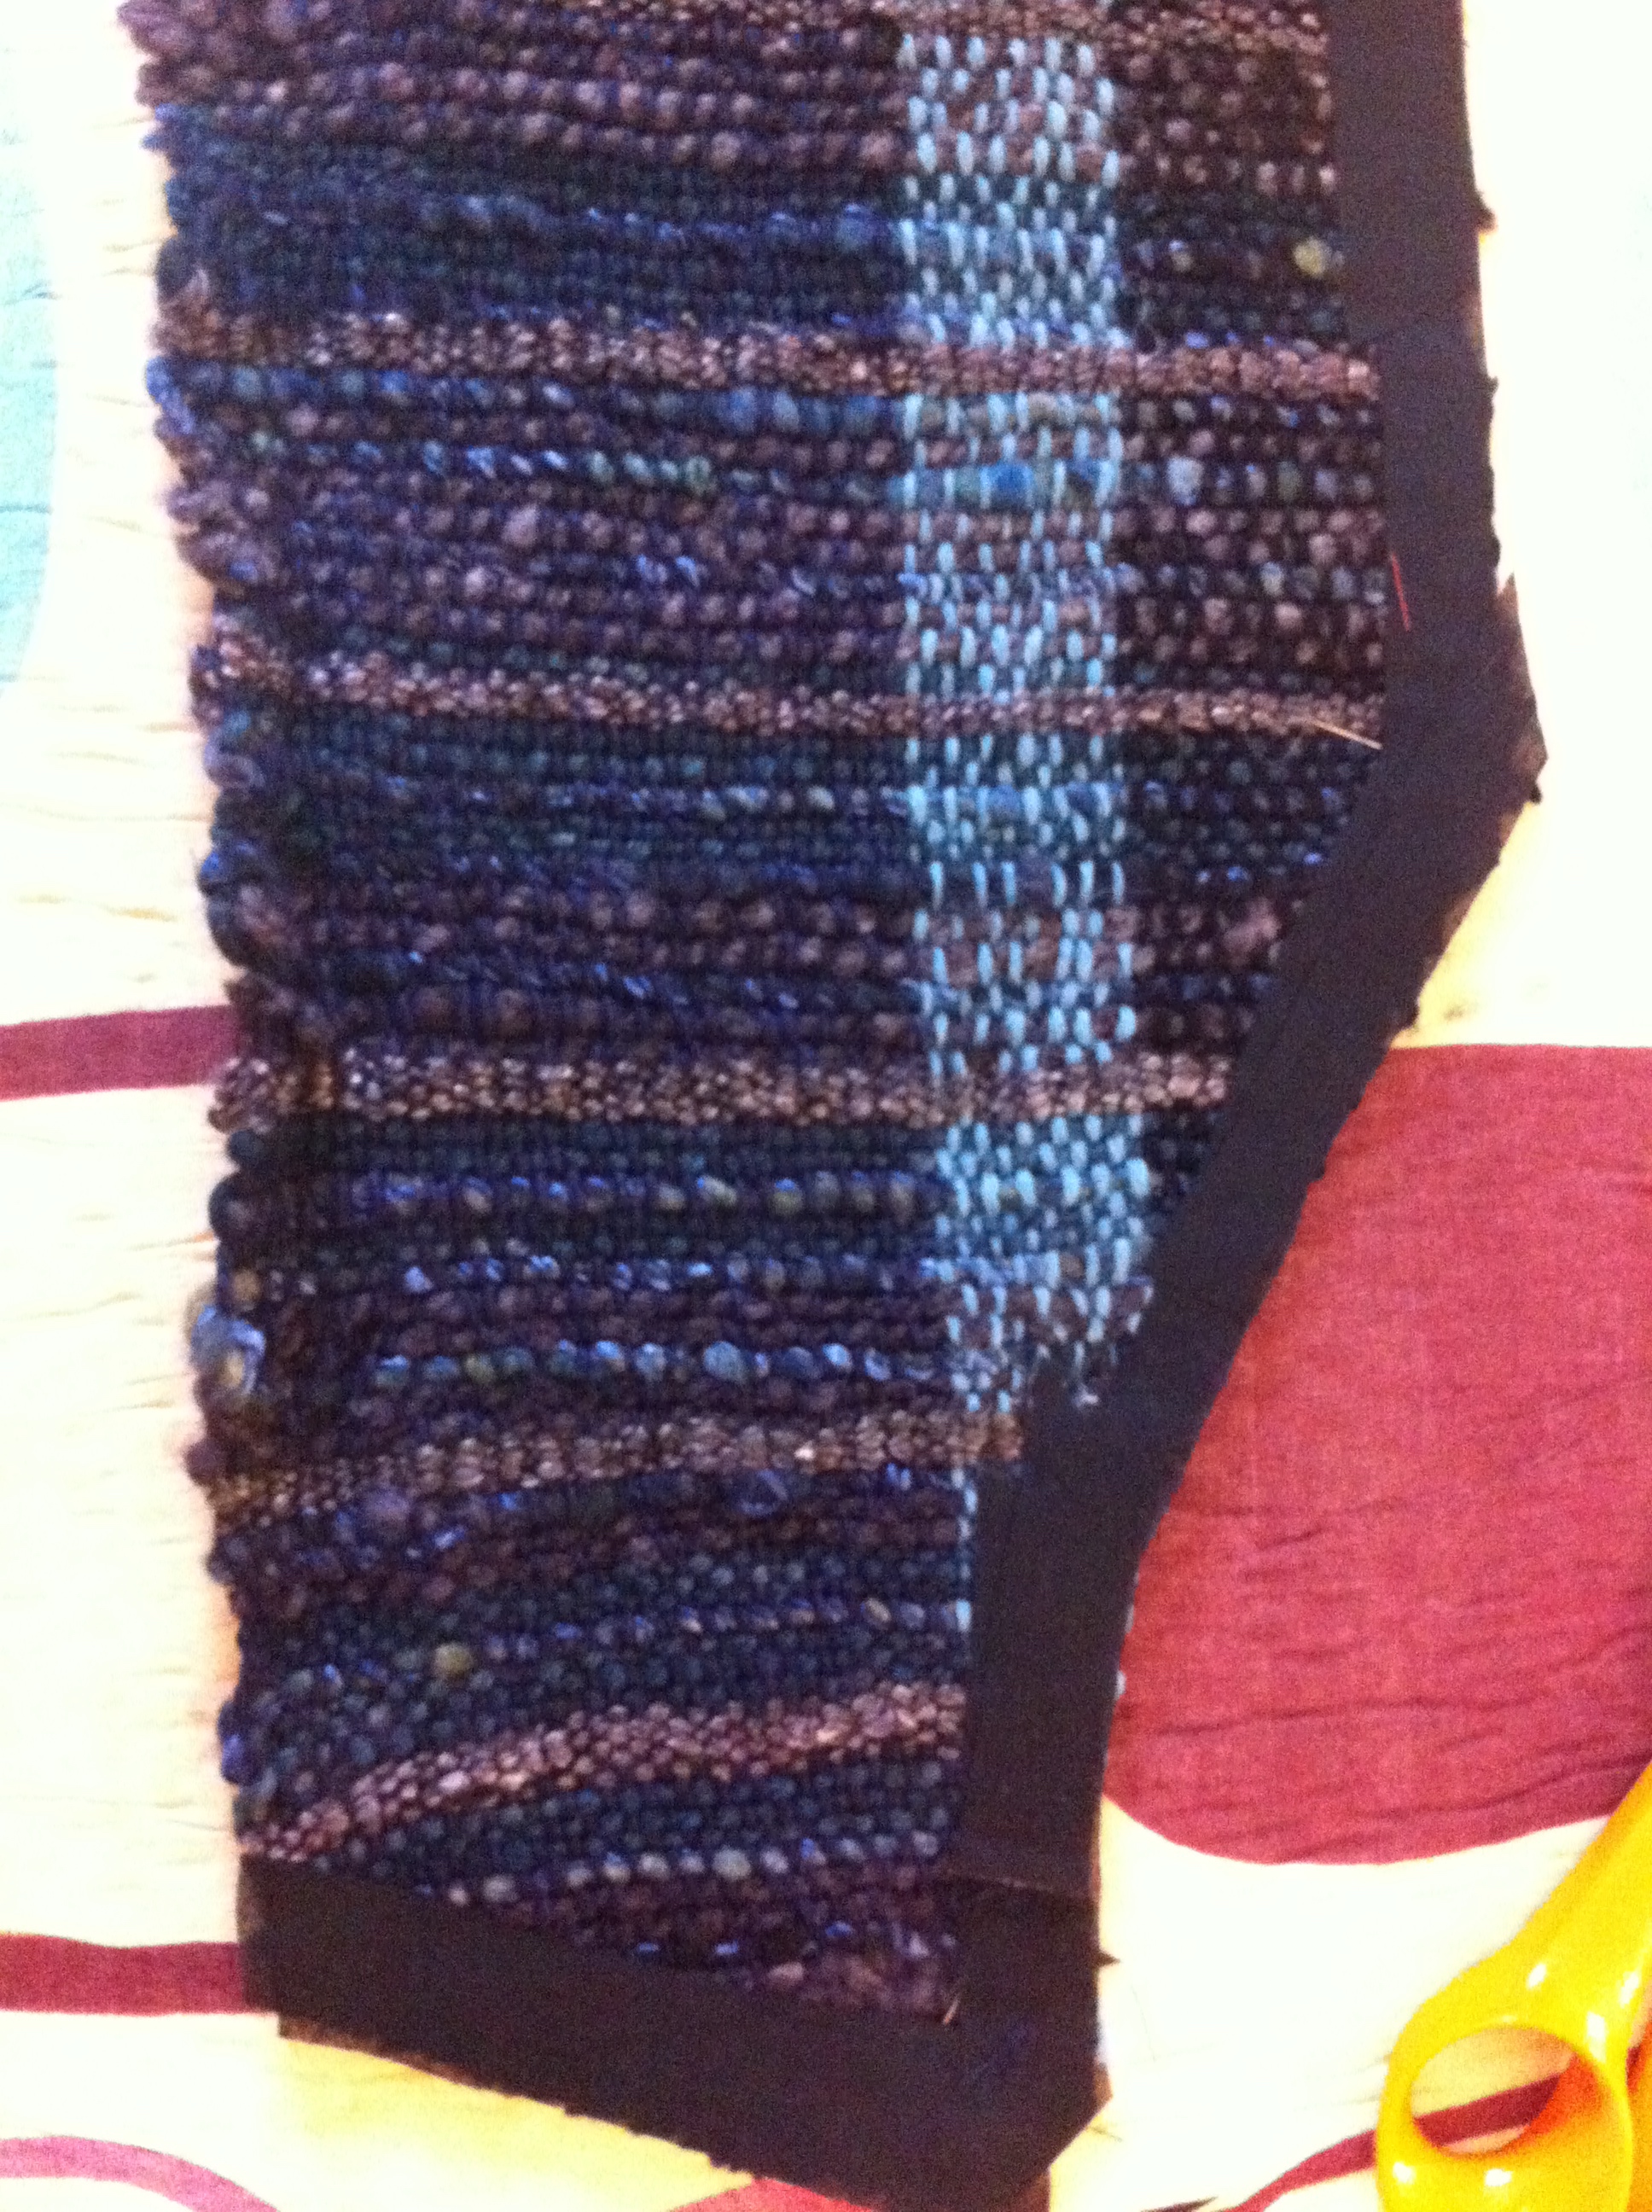
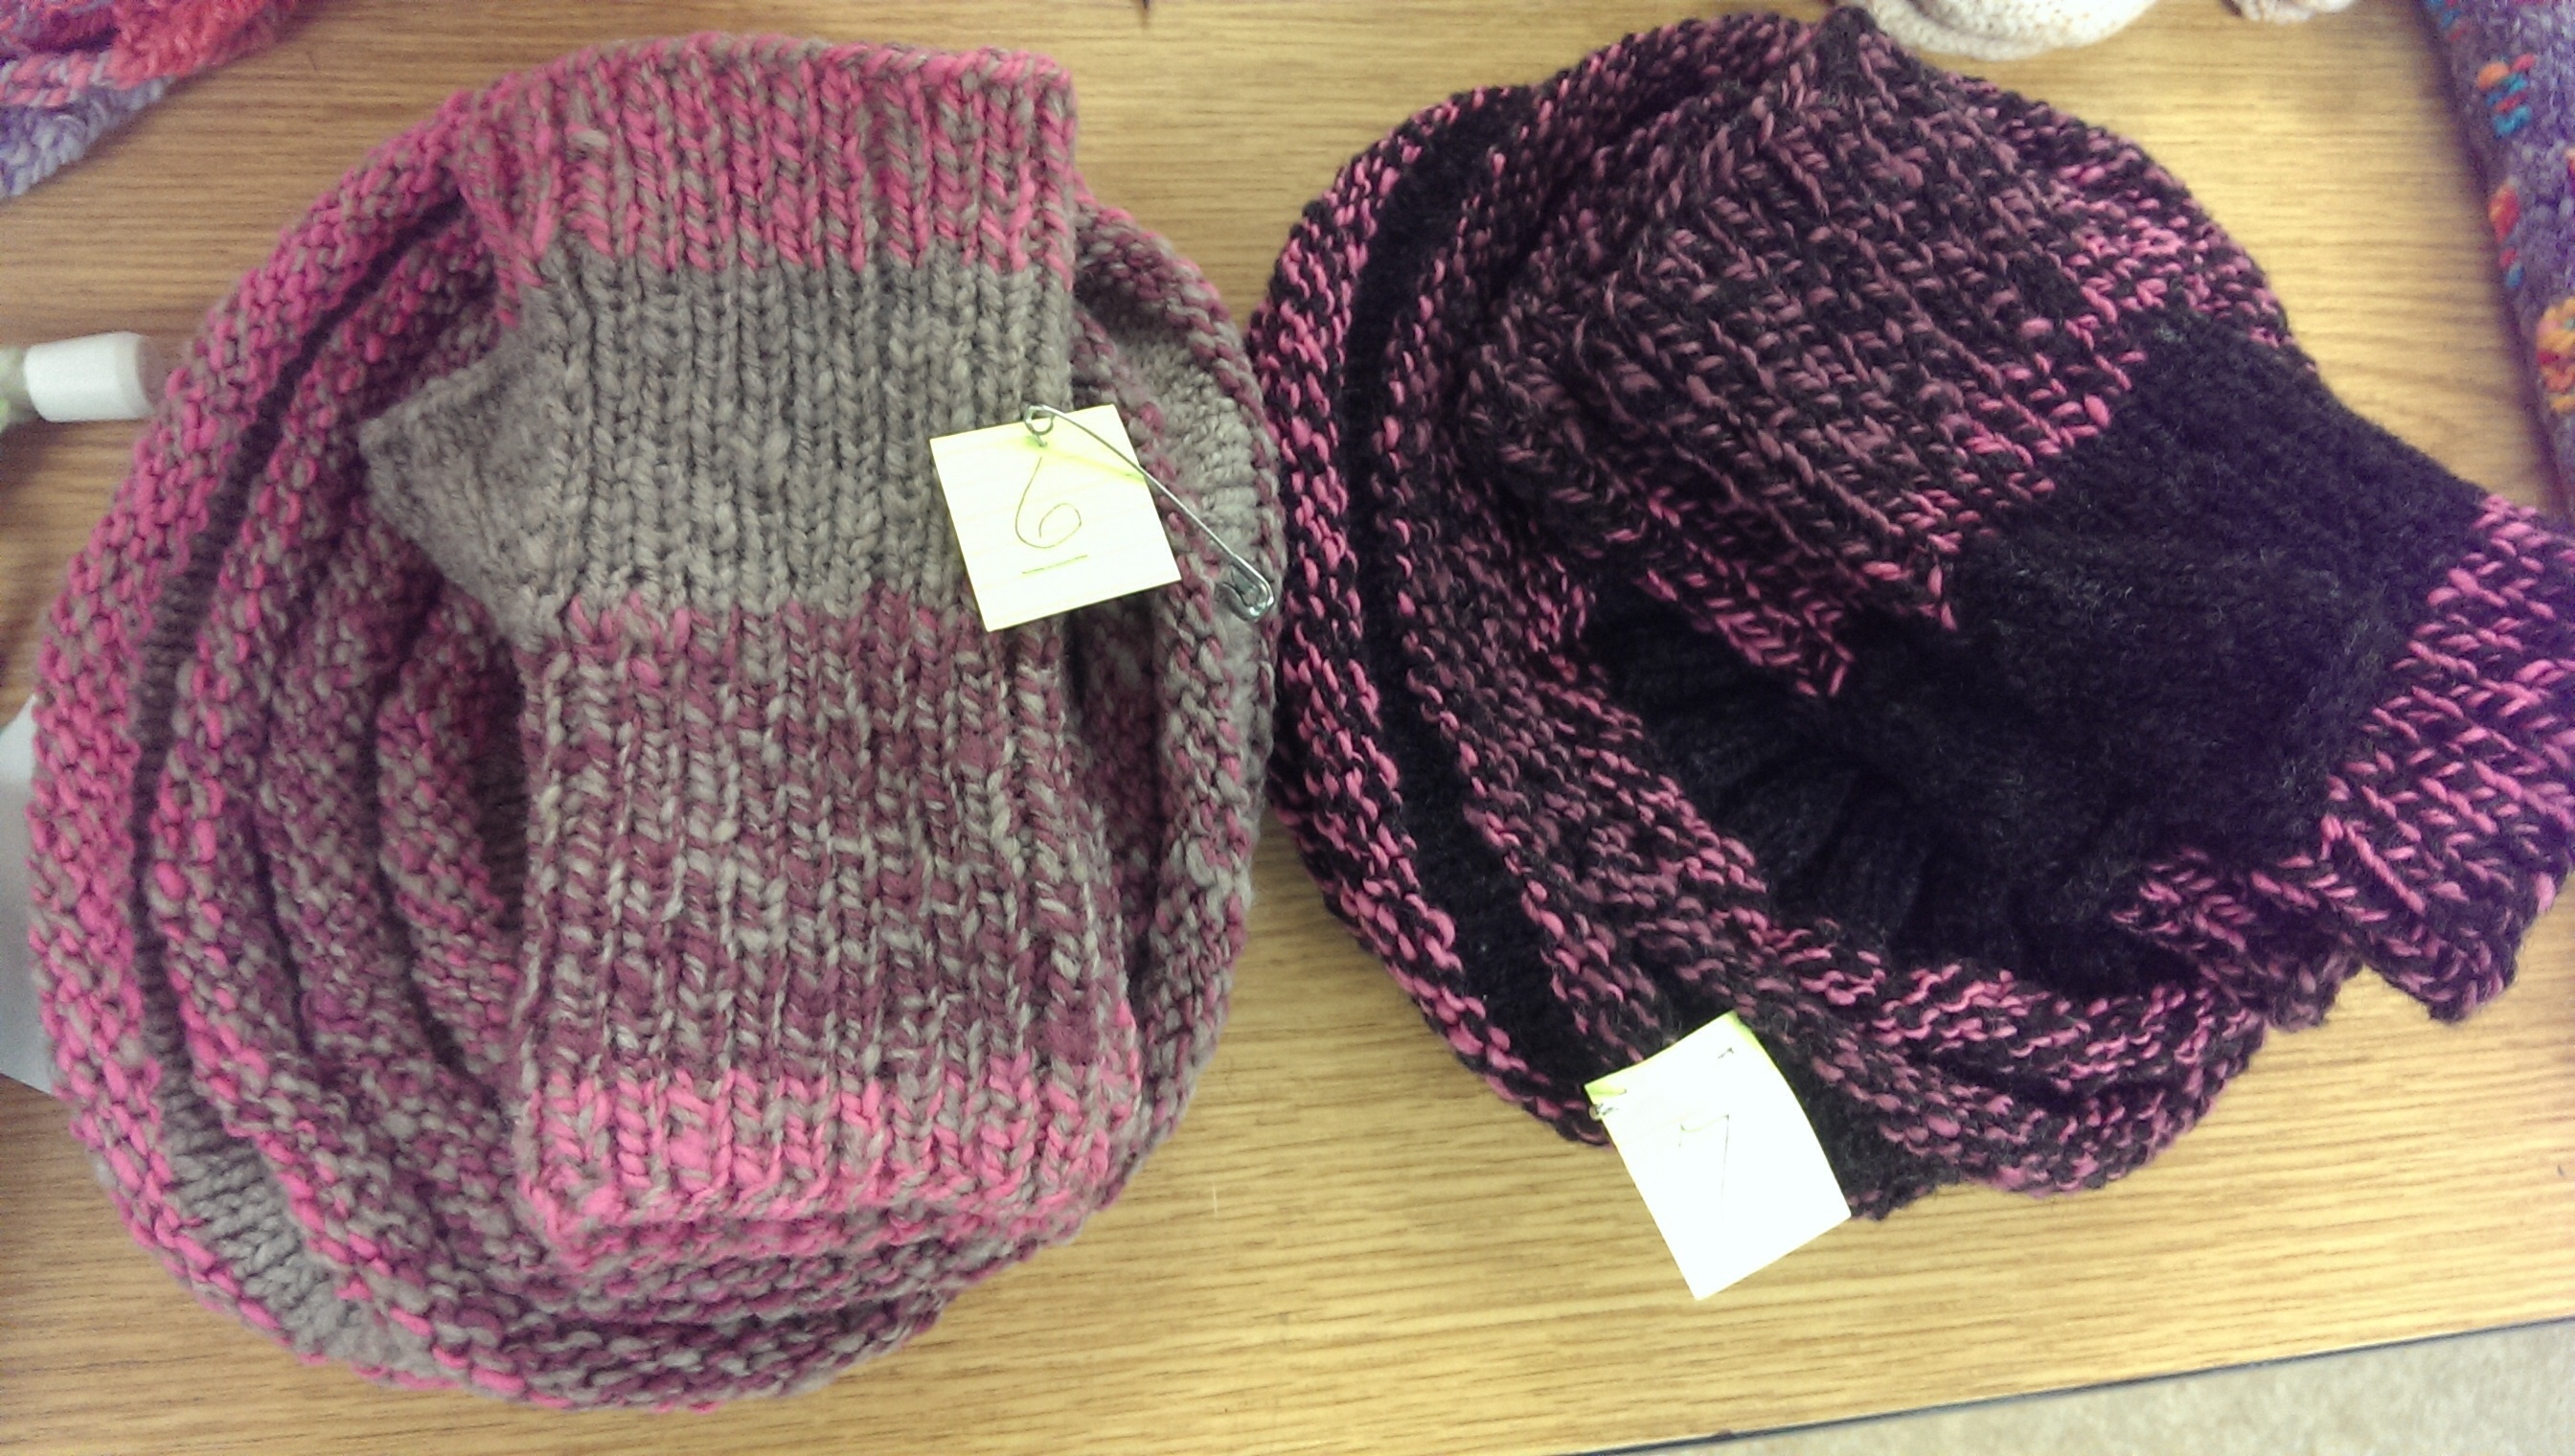
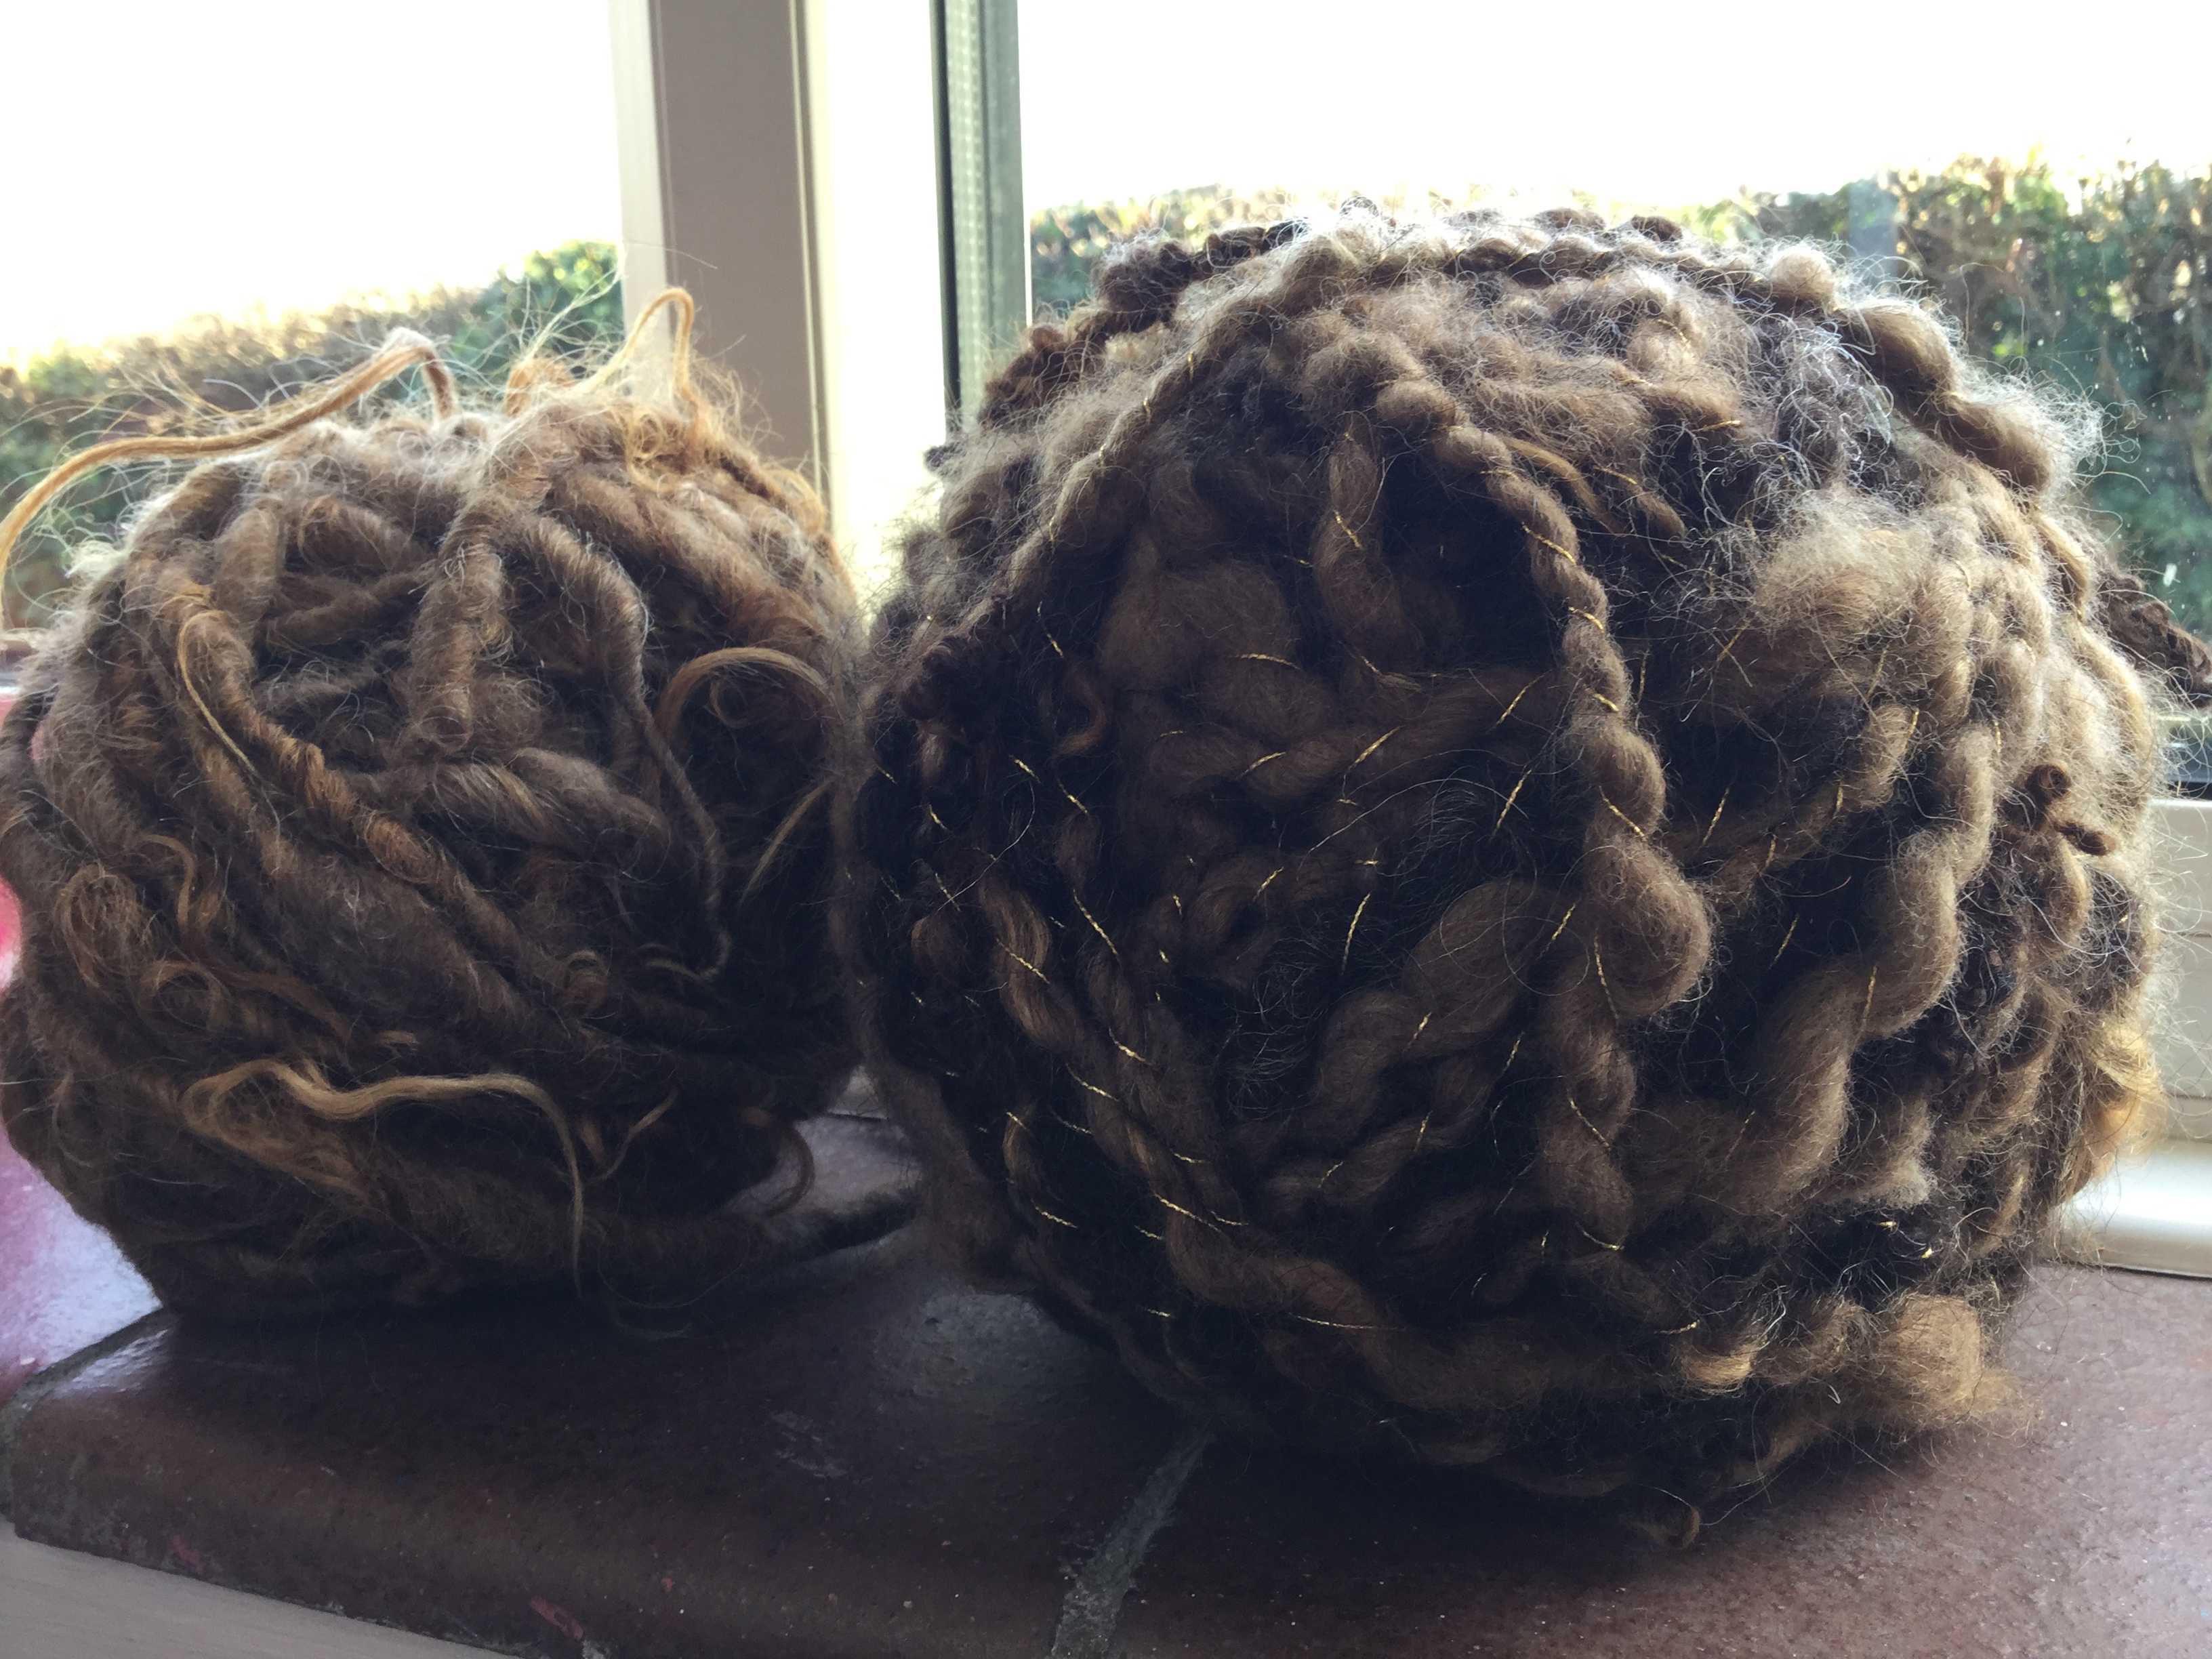
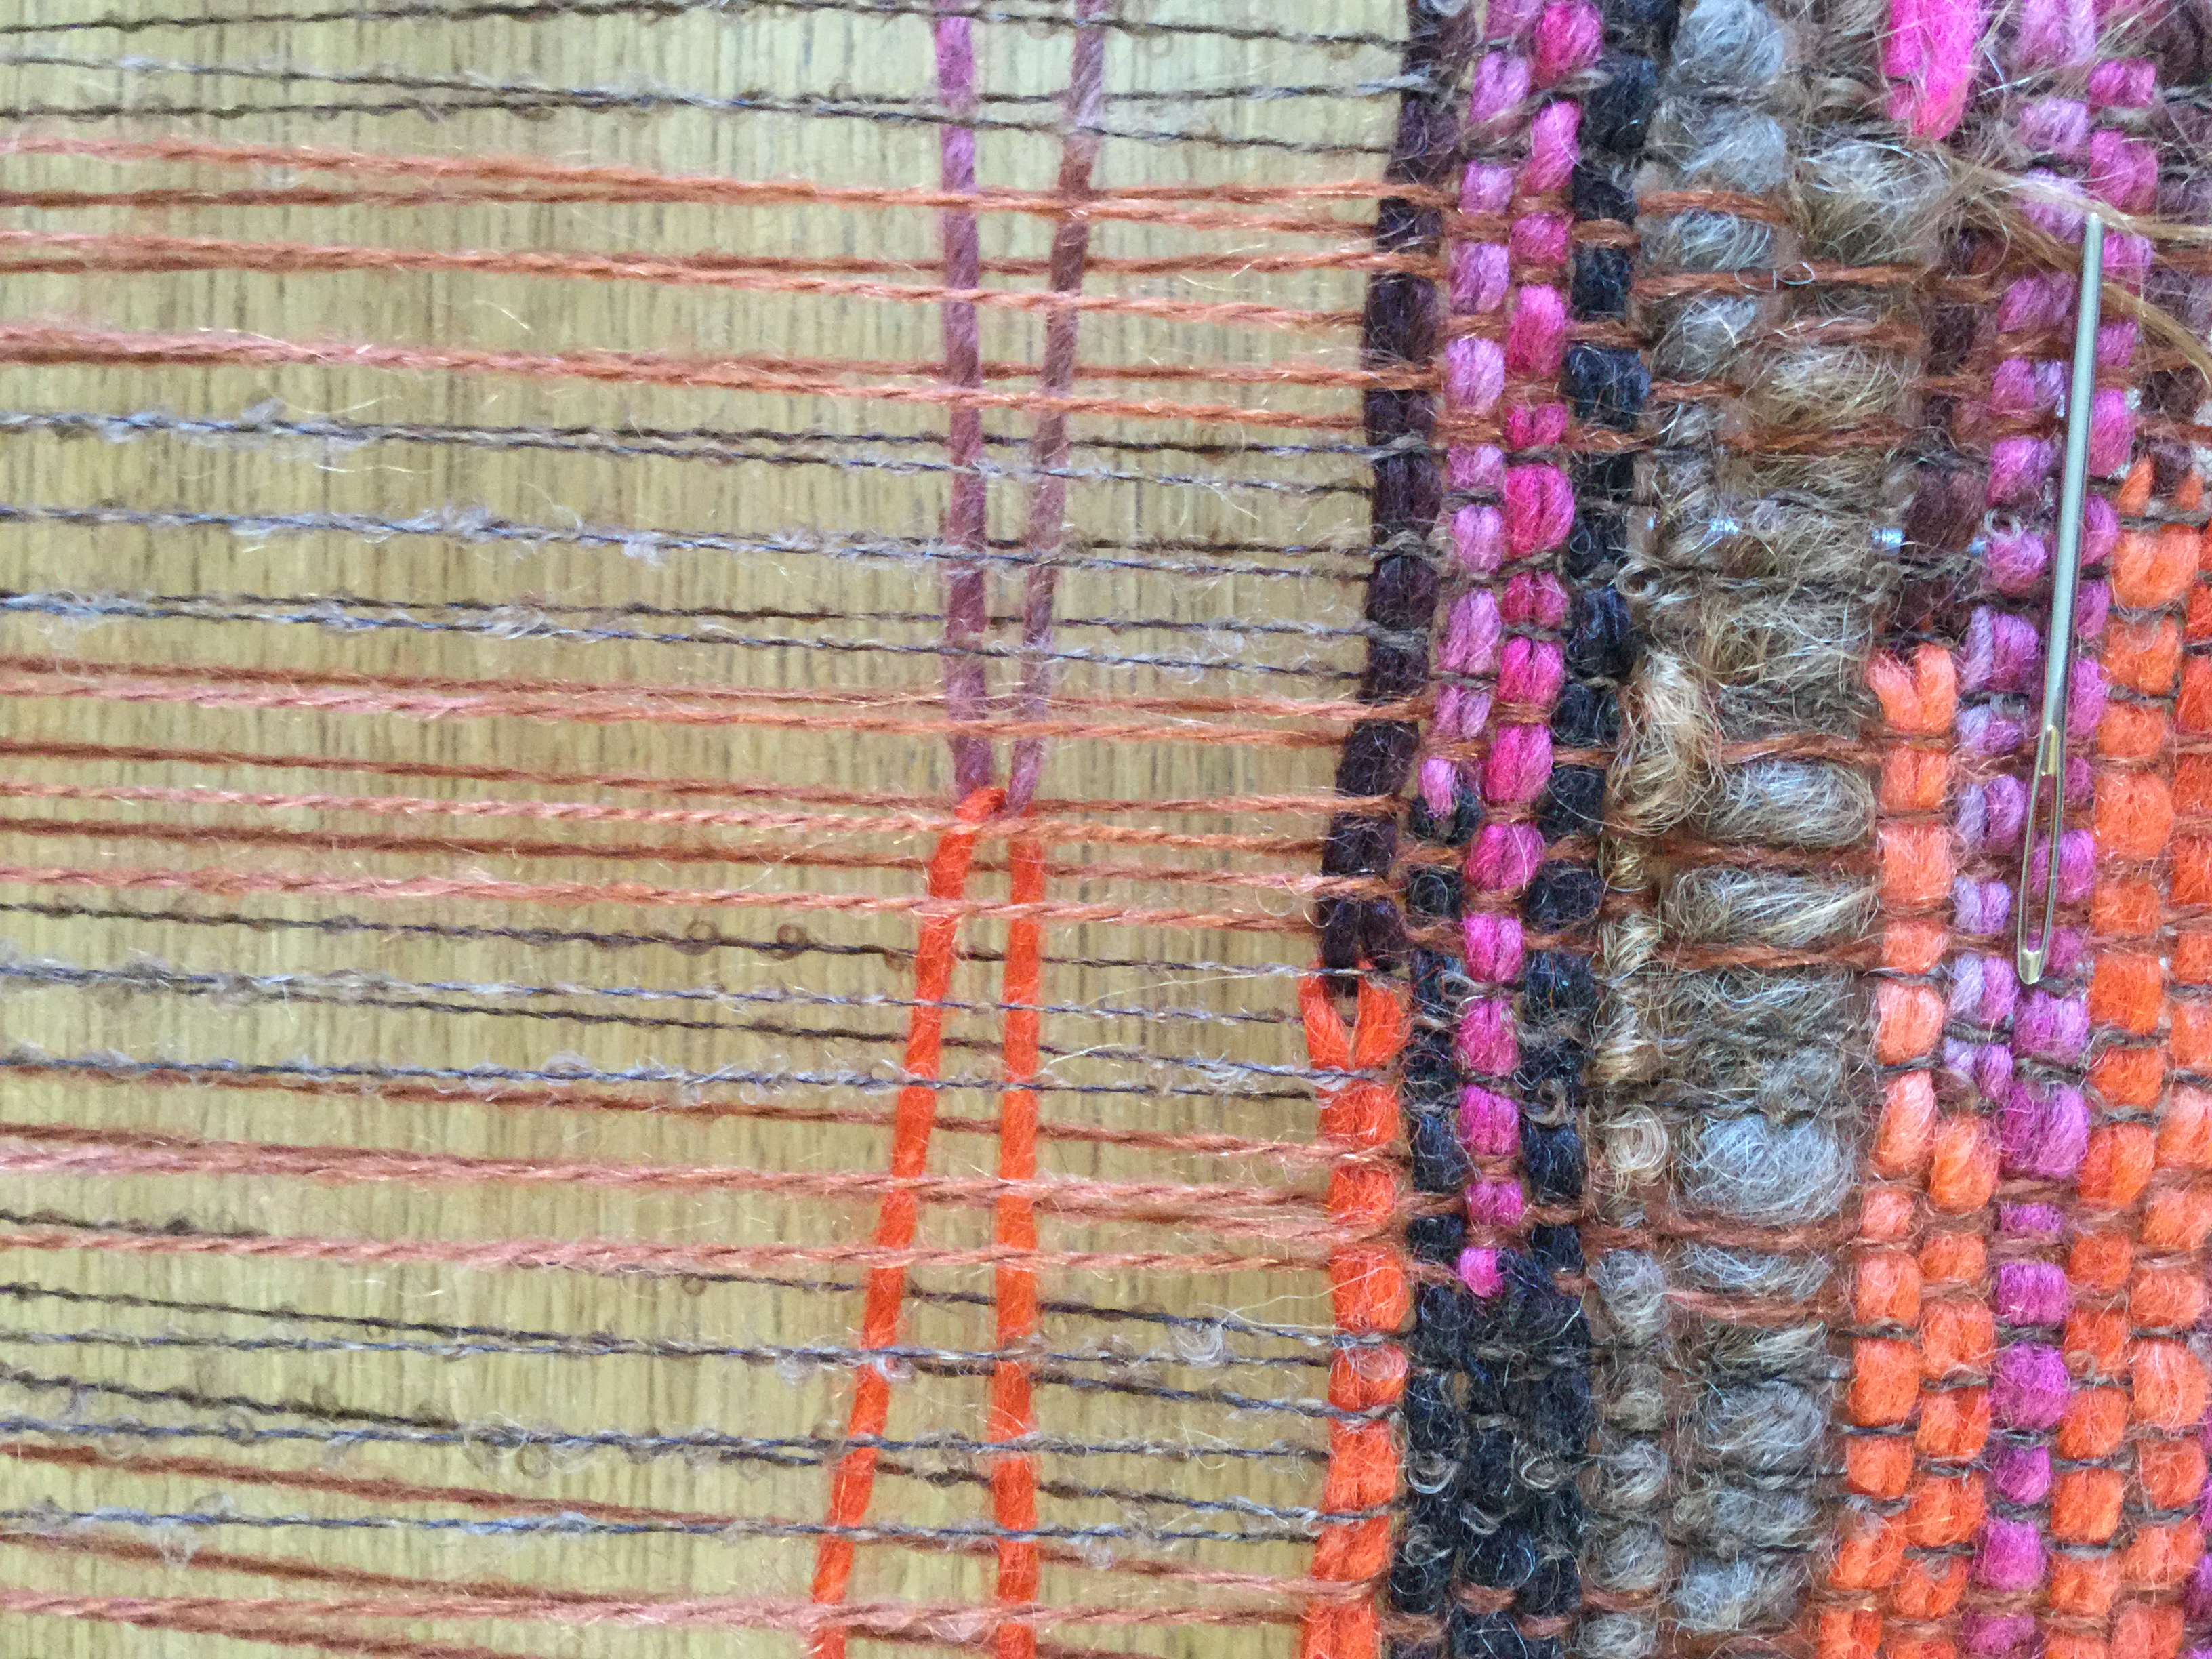
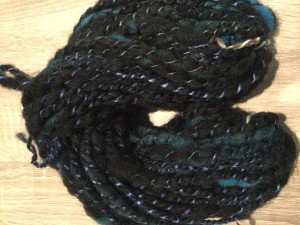
Here’s some sport weight yarn I made for a weaving project.
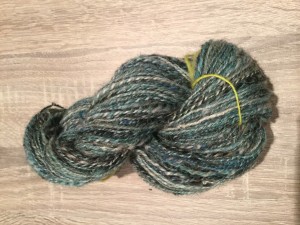
Blue yarn
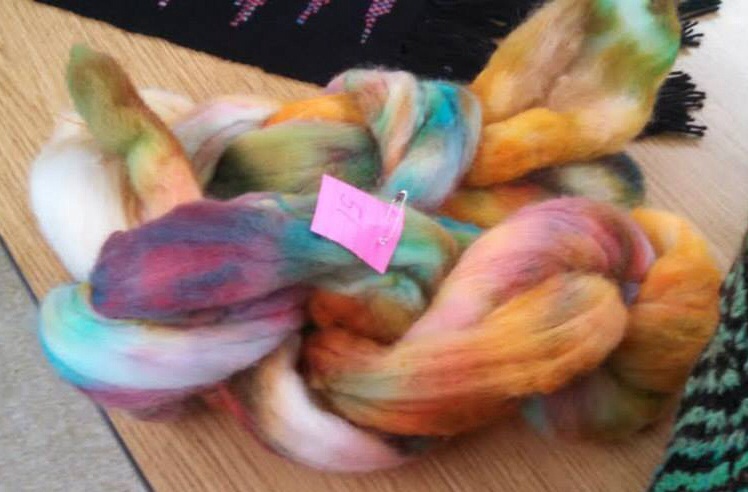
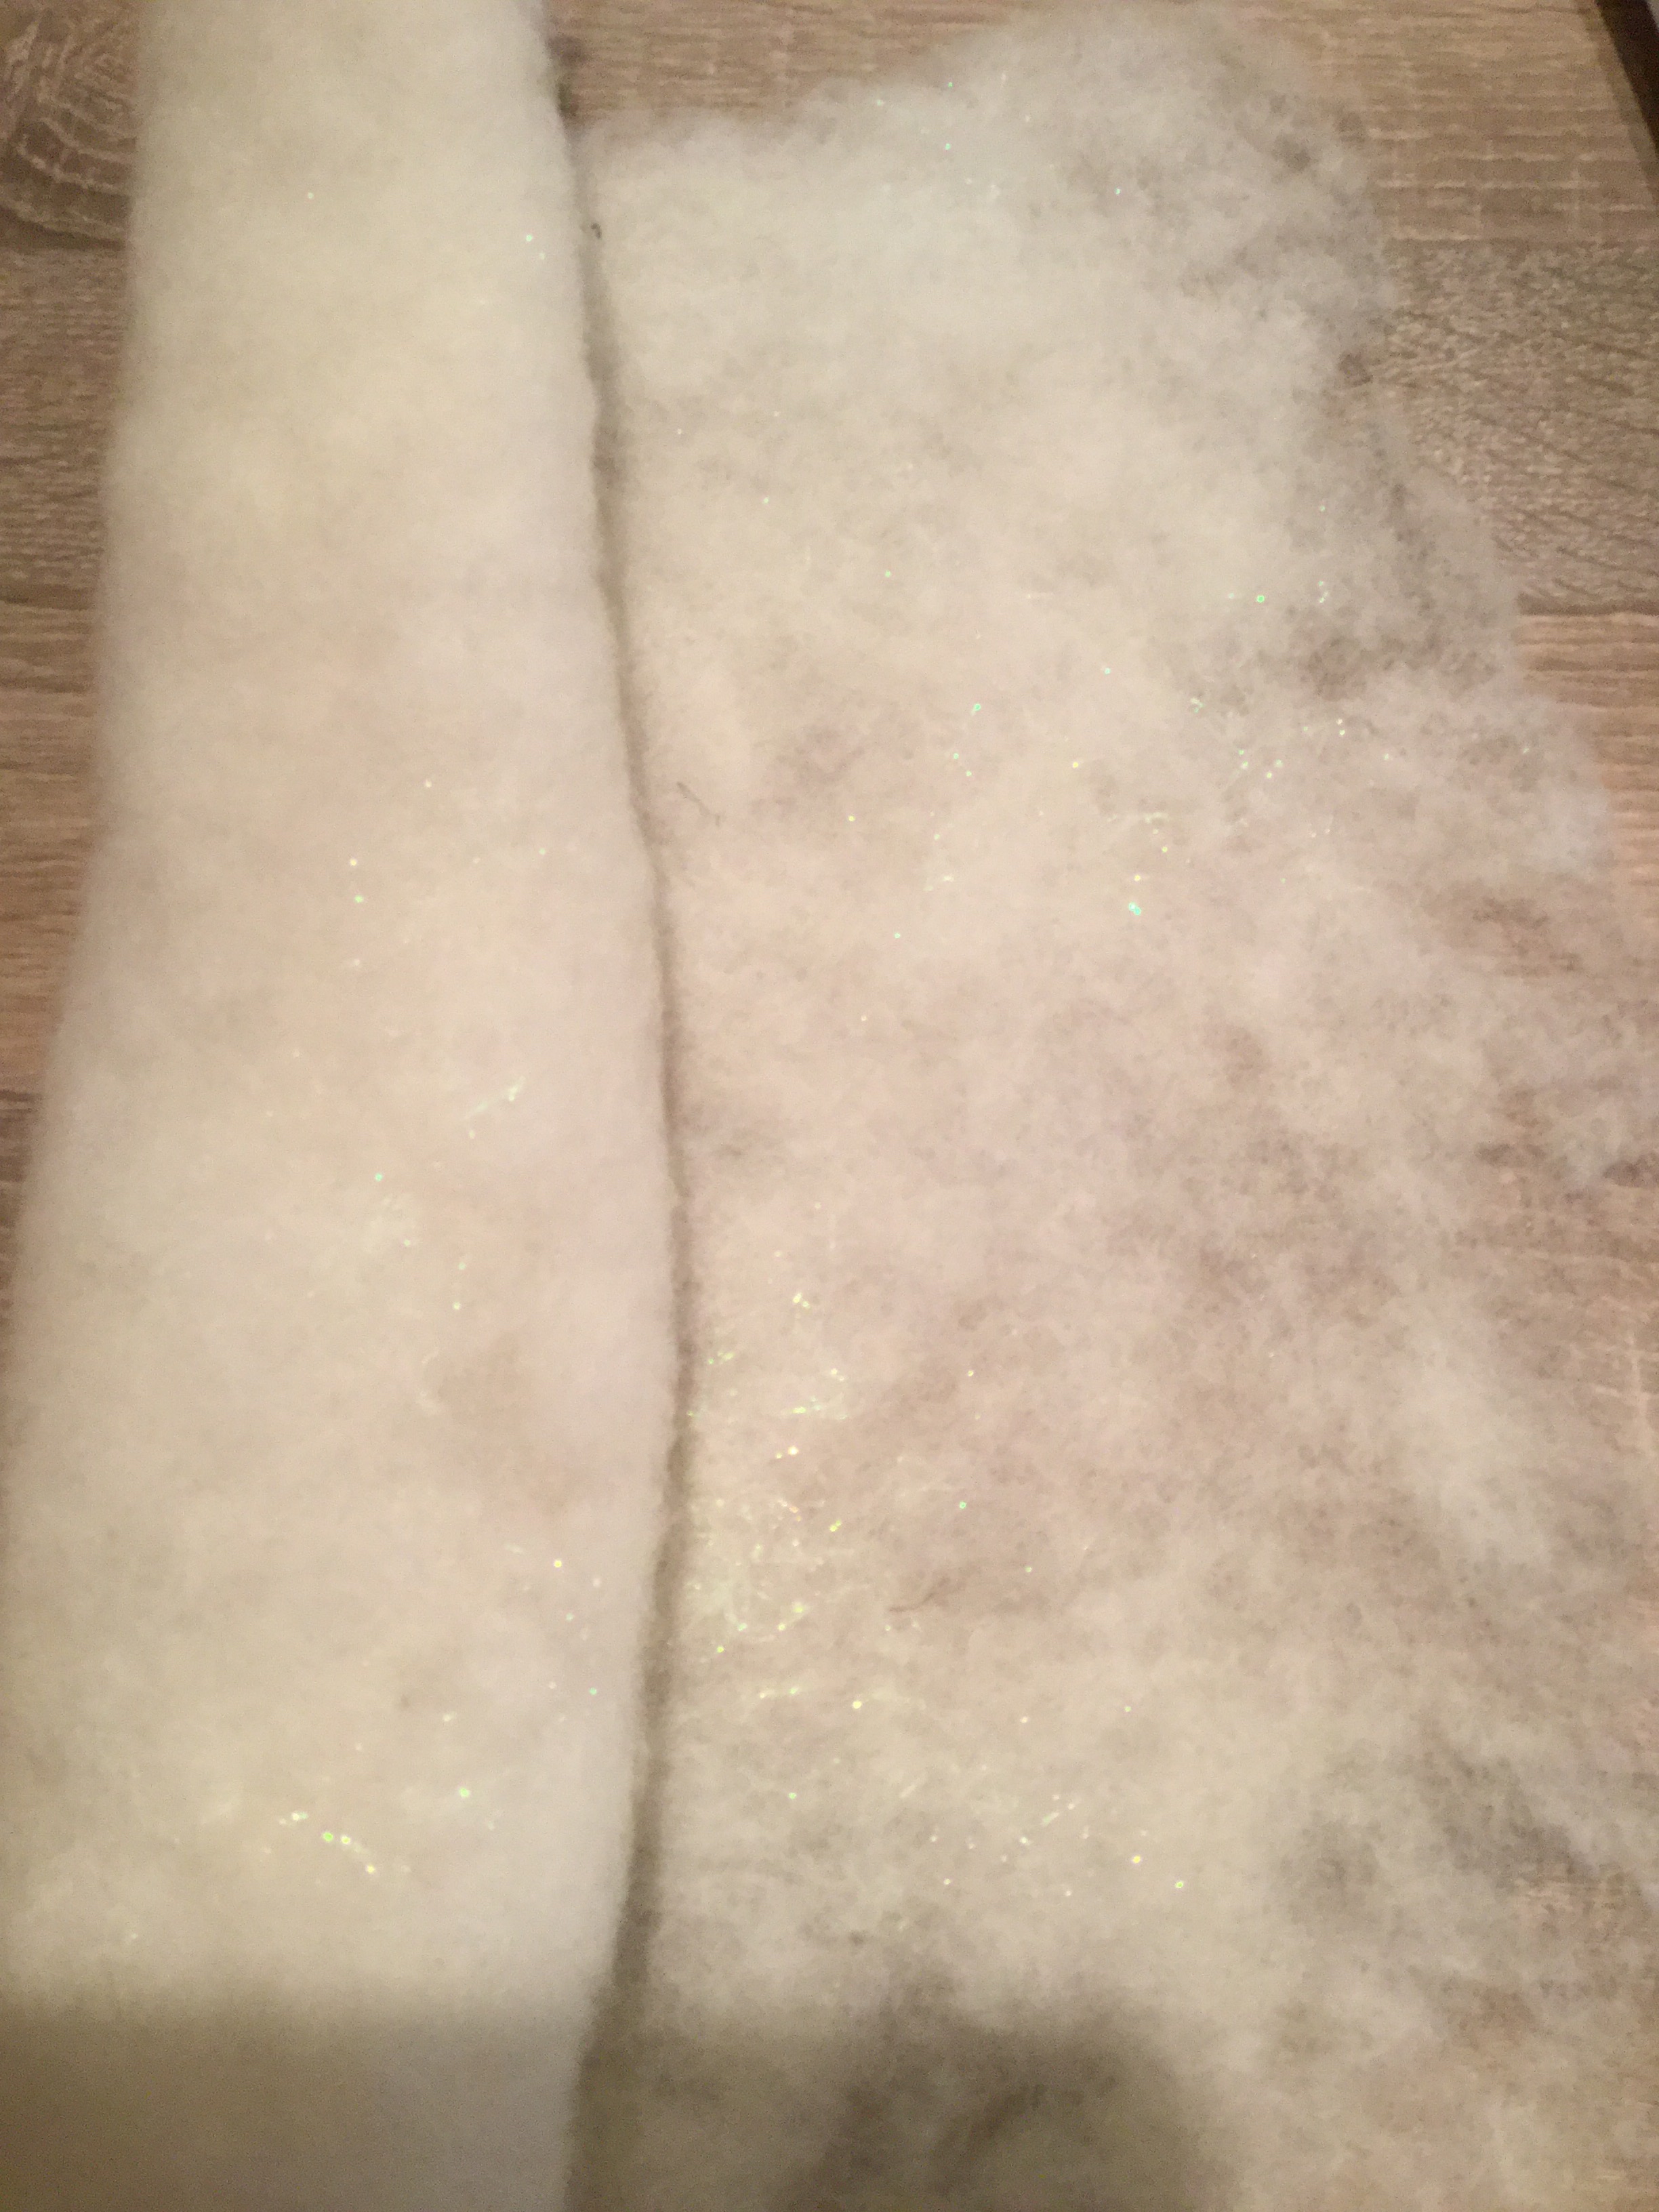
The blue colorway is a combination of natural coloured and dyed fleece.
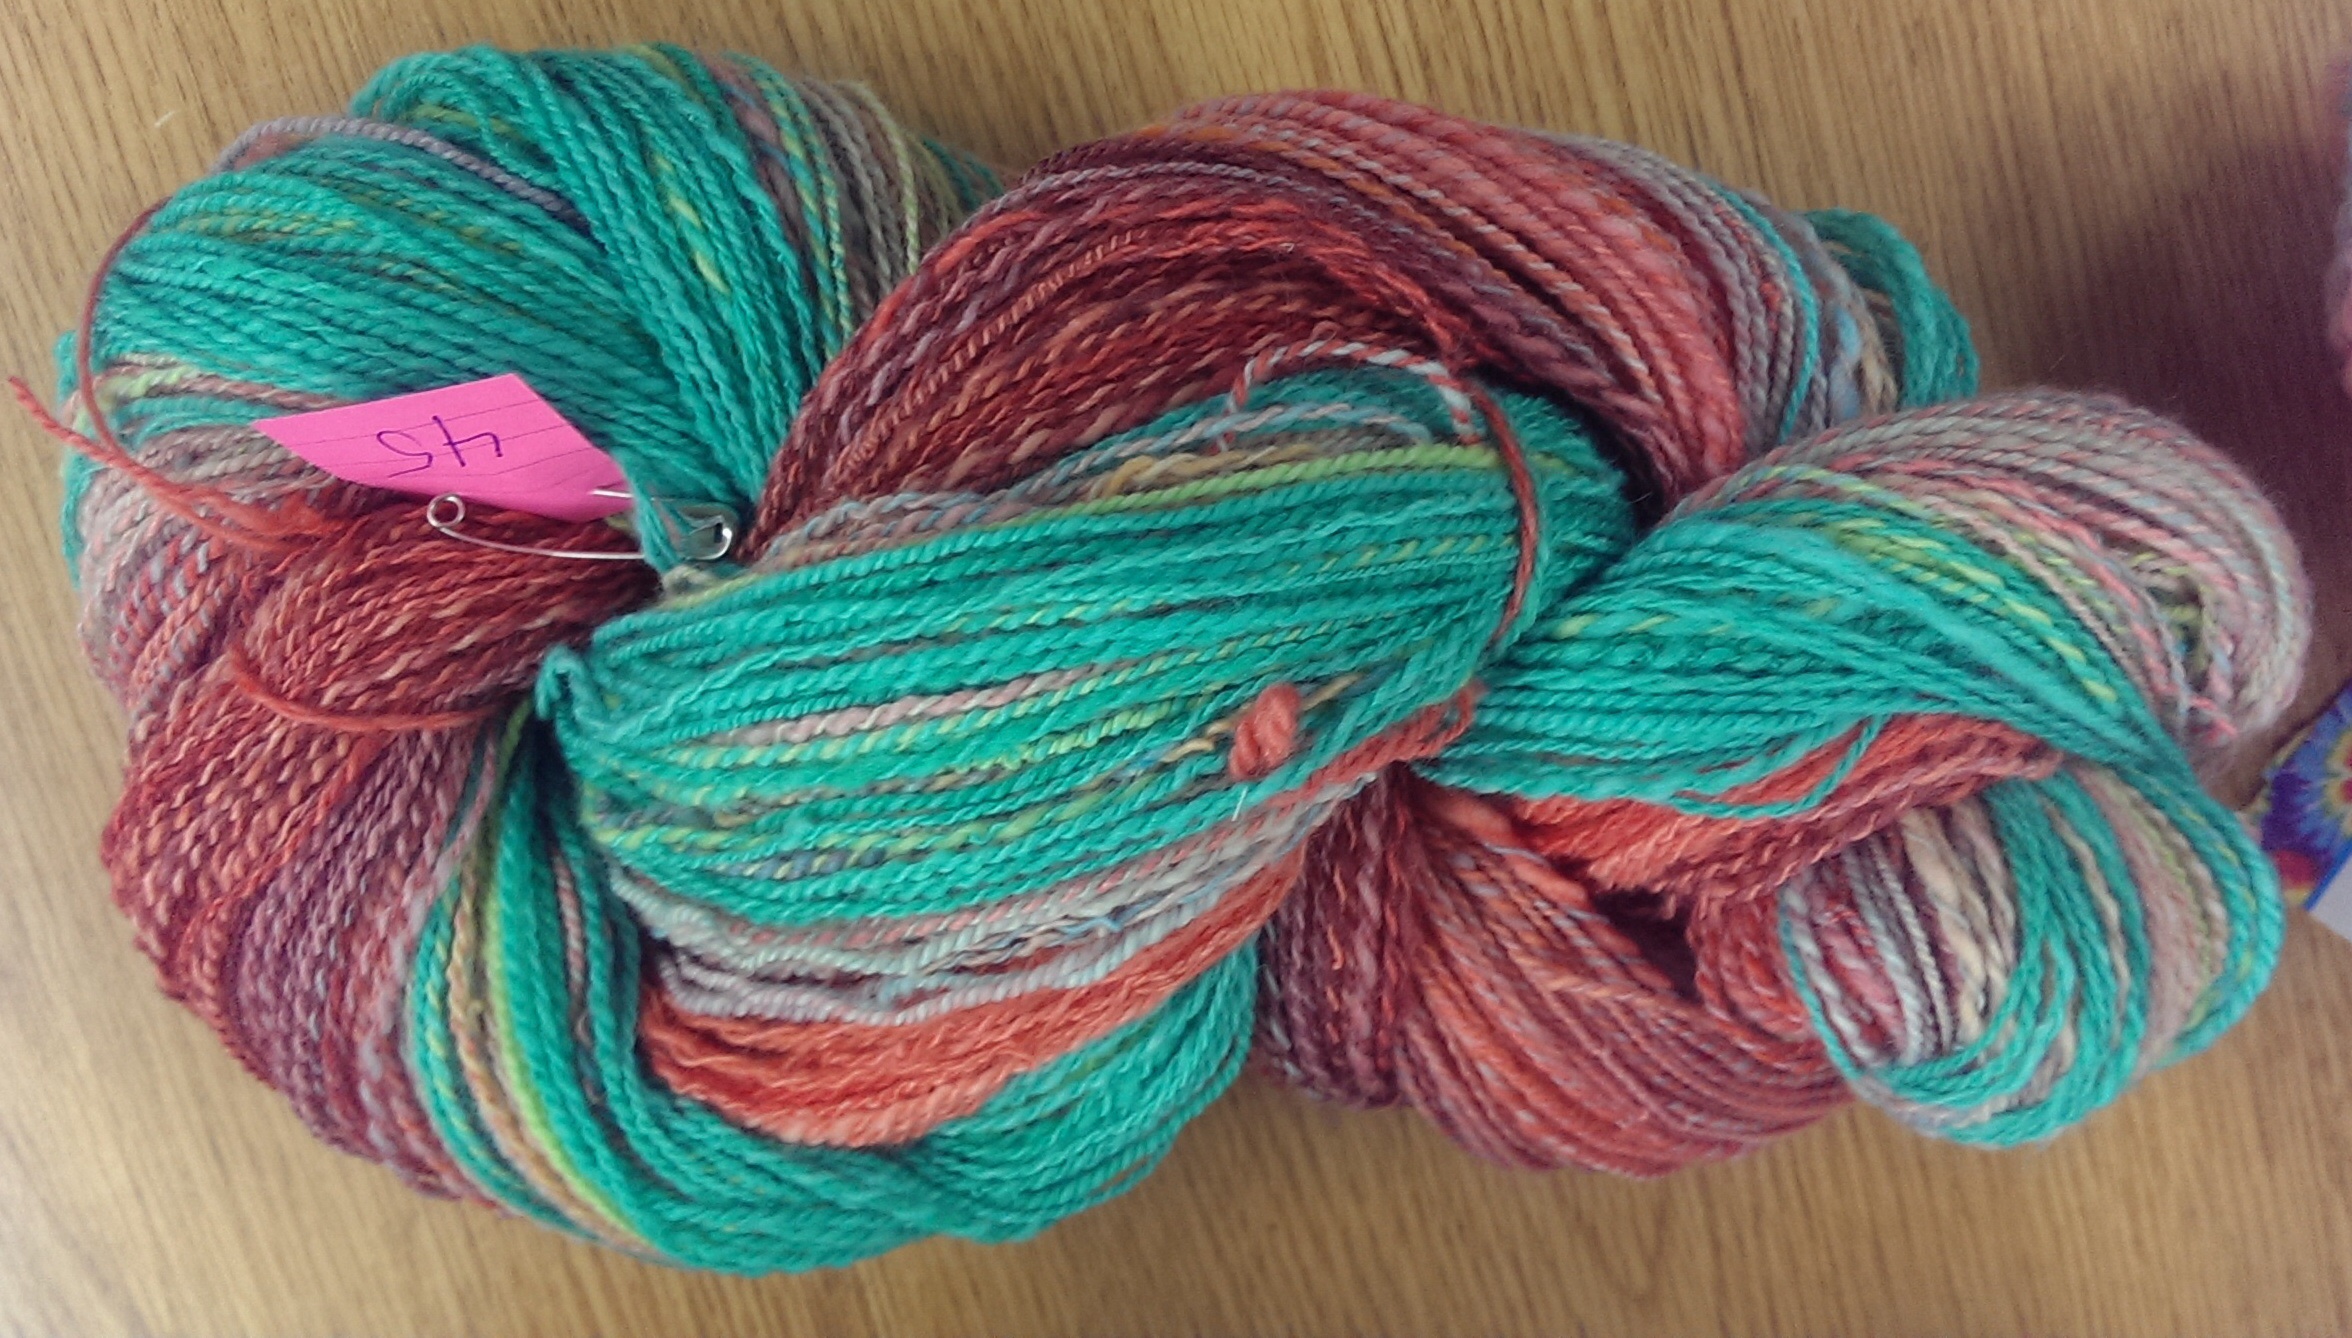
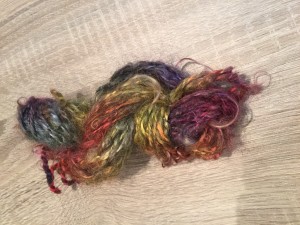
The red is a blend of acid and natural-dyed fleece as well as natural coloured. To me these are rich in colour and texture. I’ve made little aesthetic decisions throughout the making process.
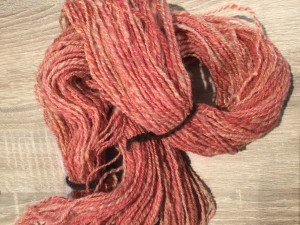
Red yarn
Is it art or is it yarn?
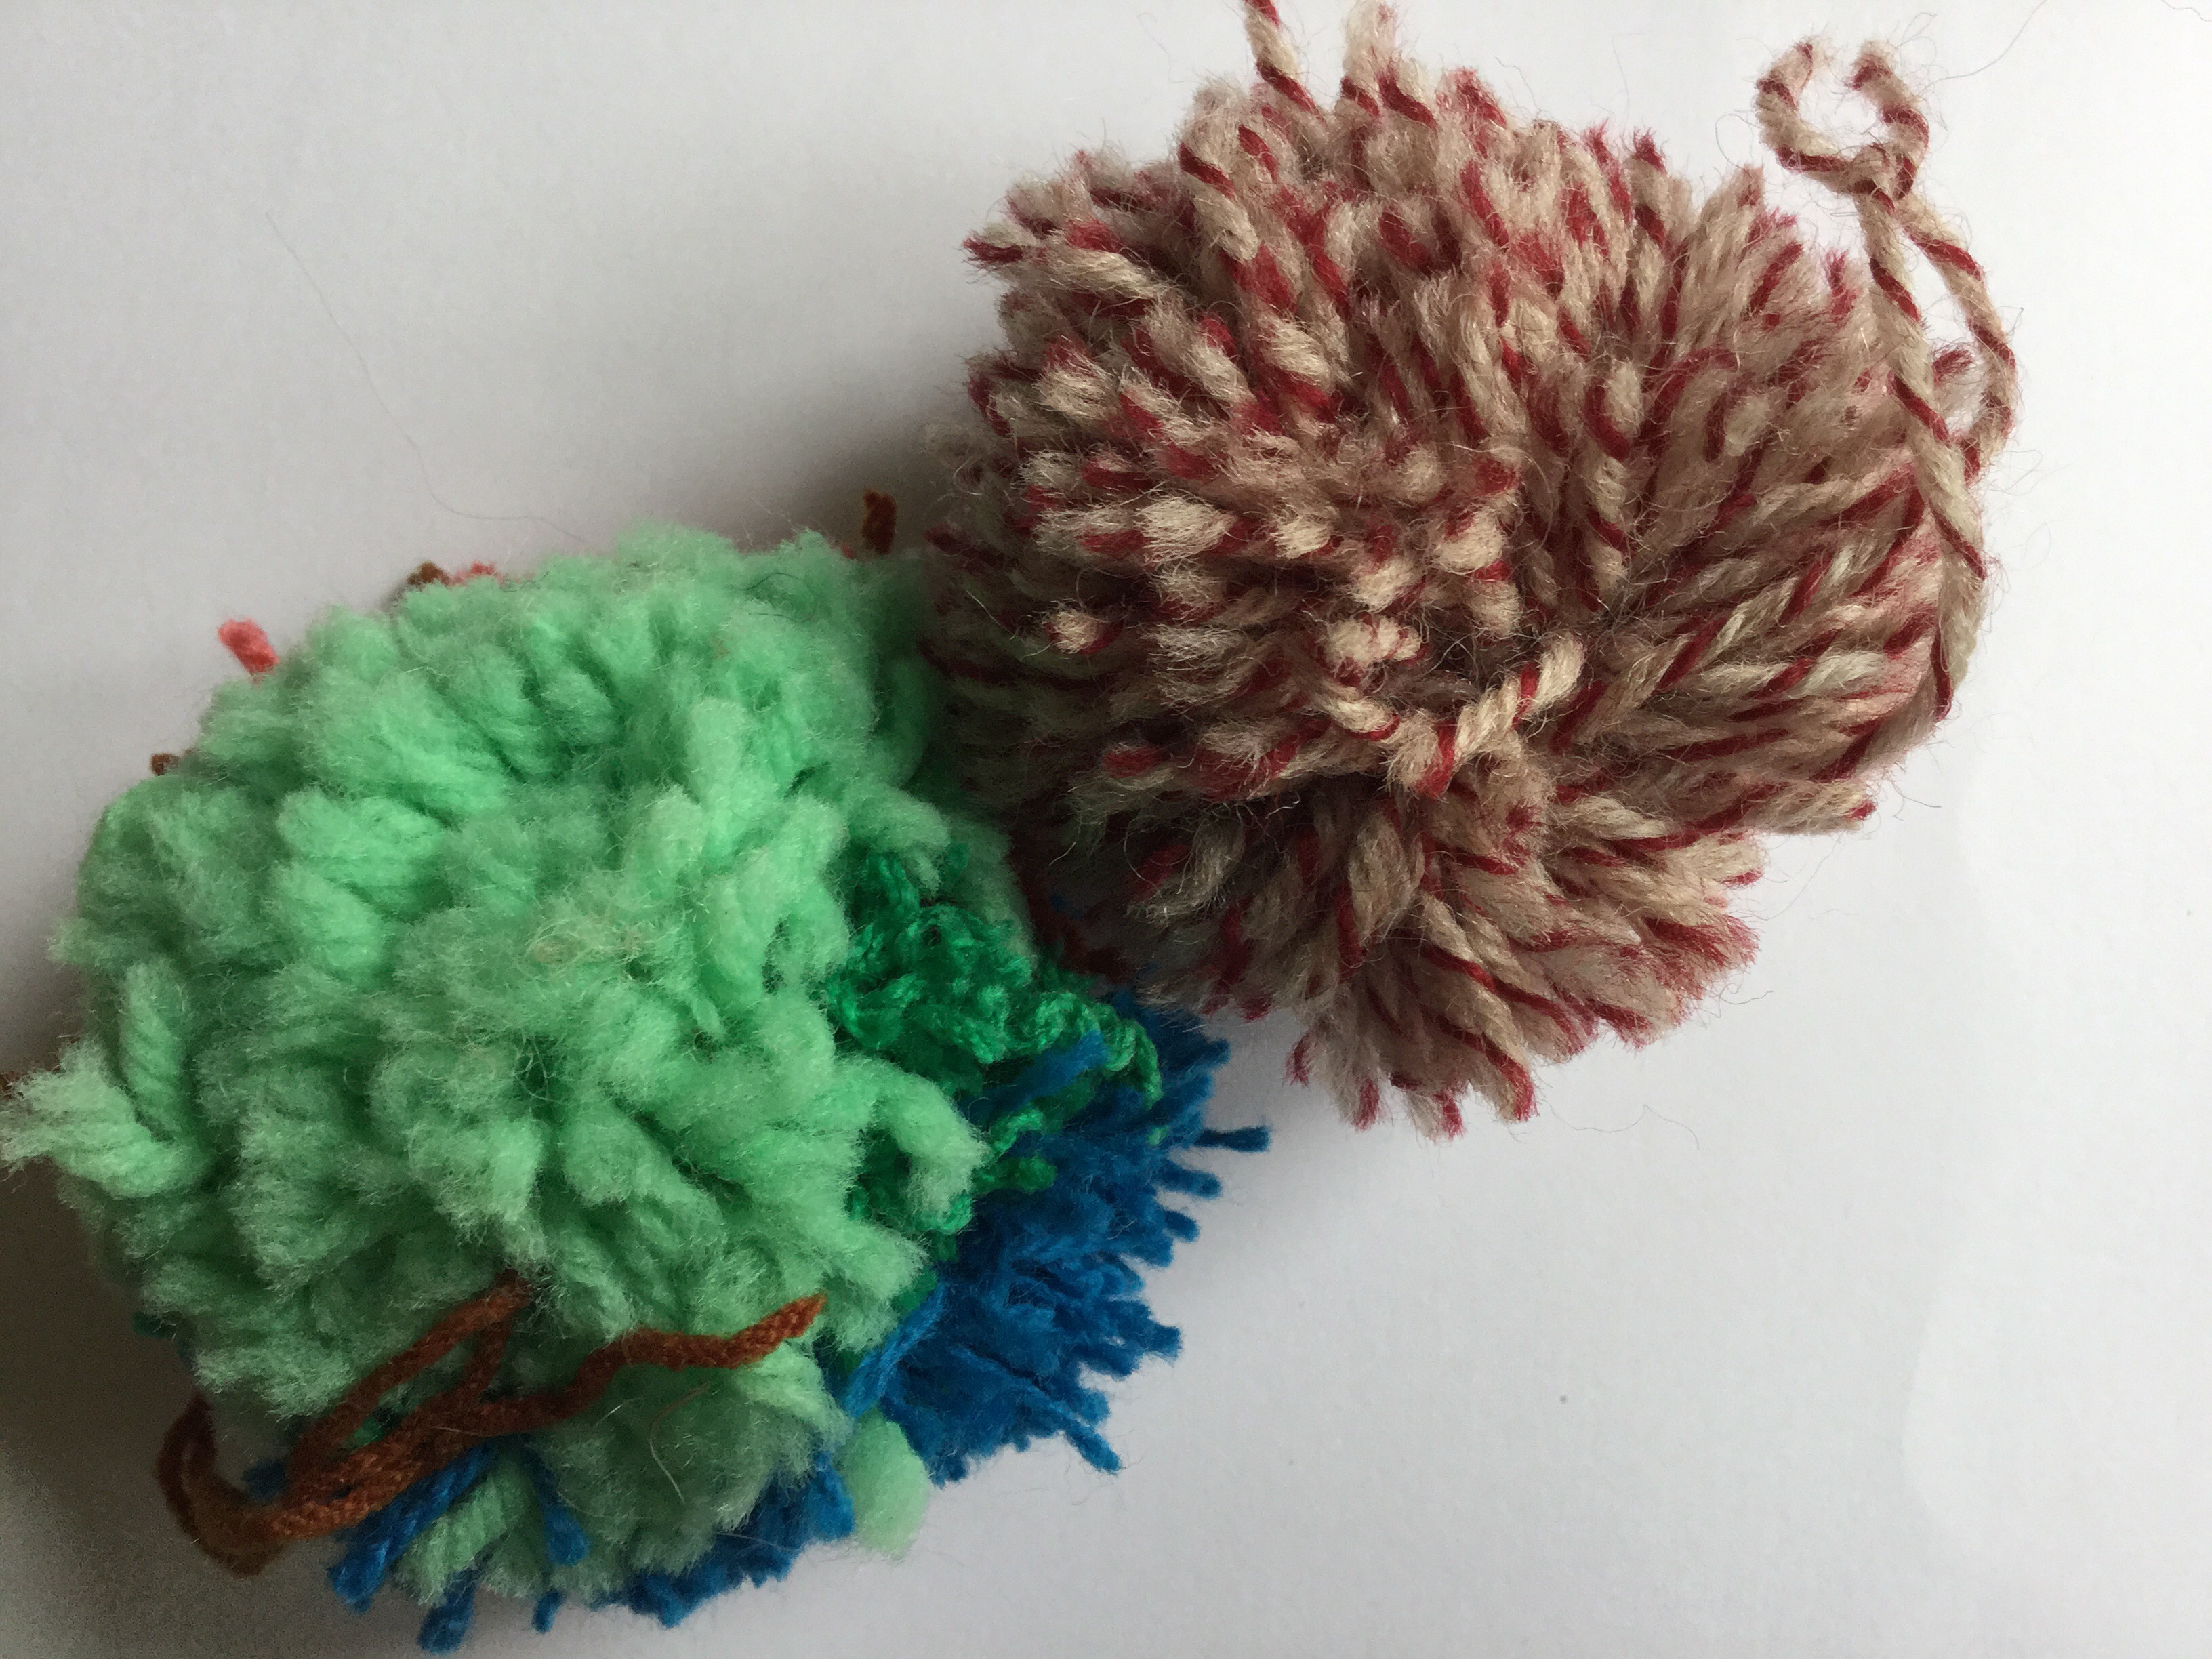
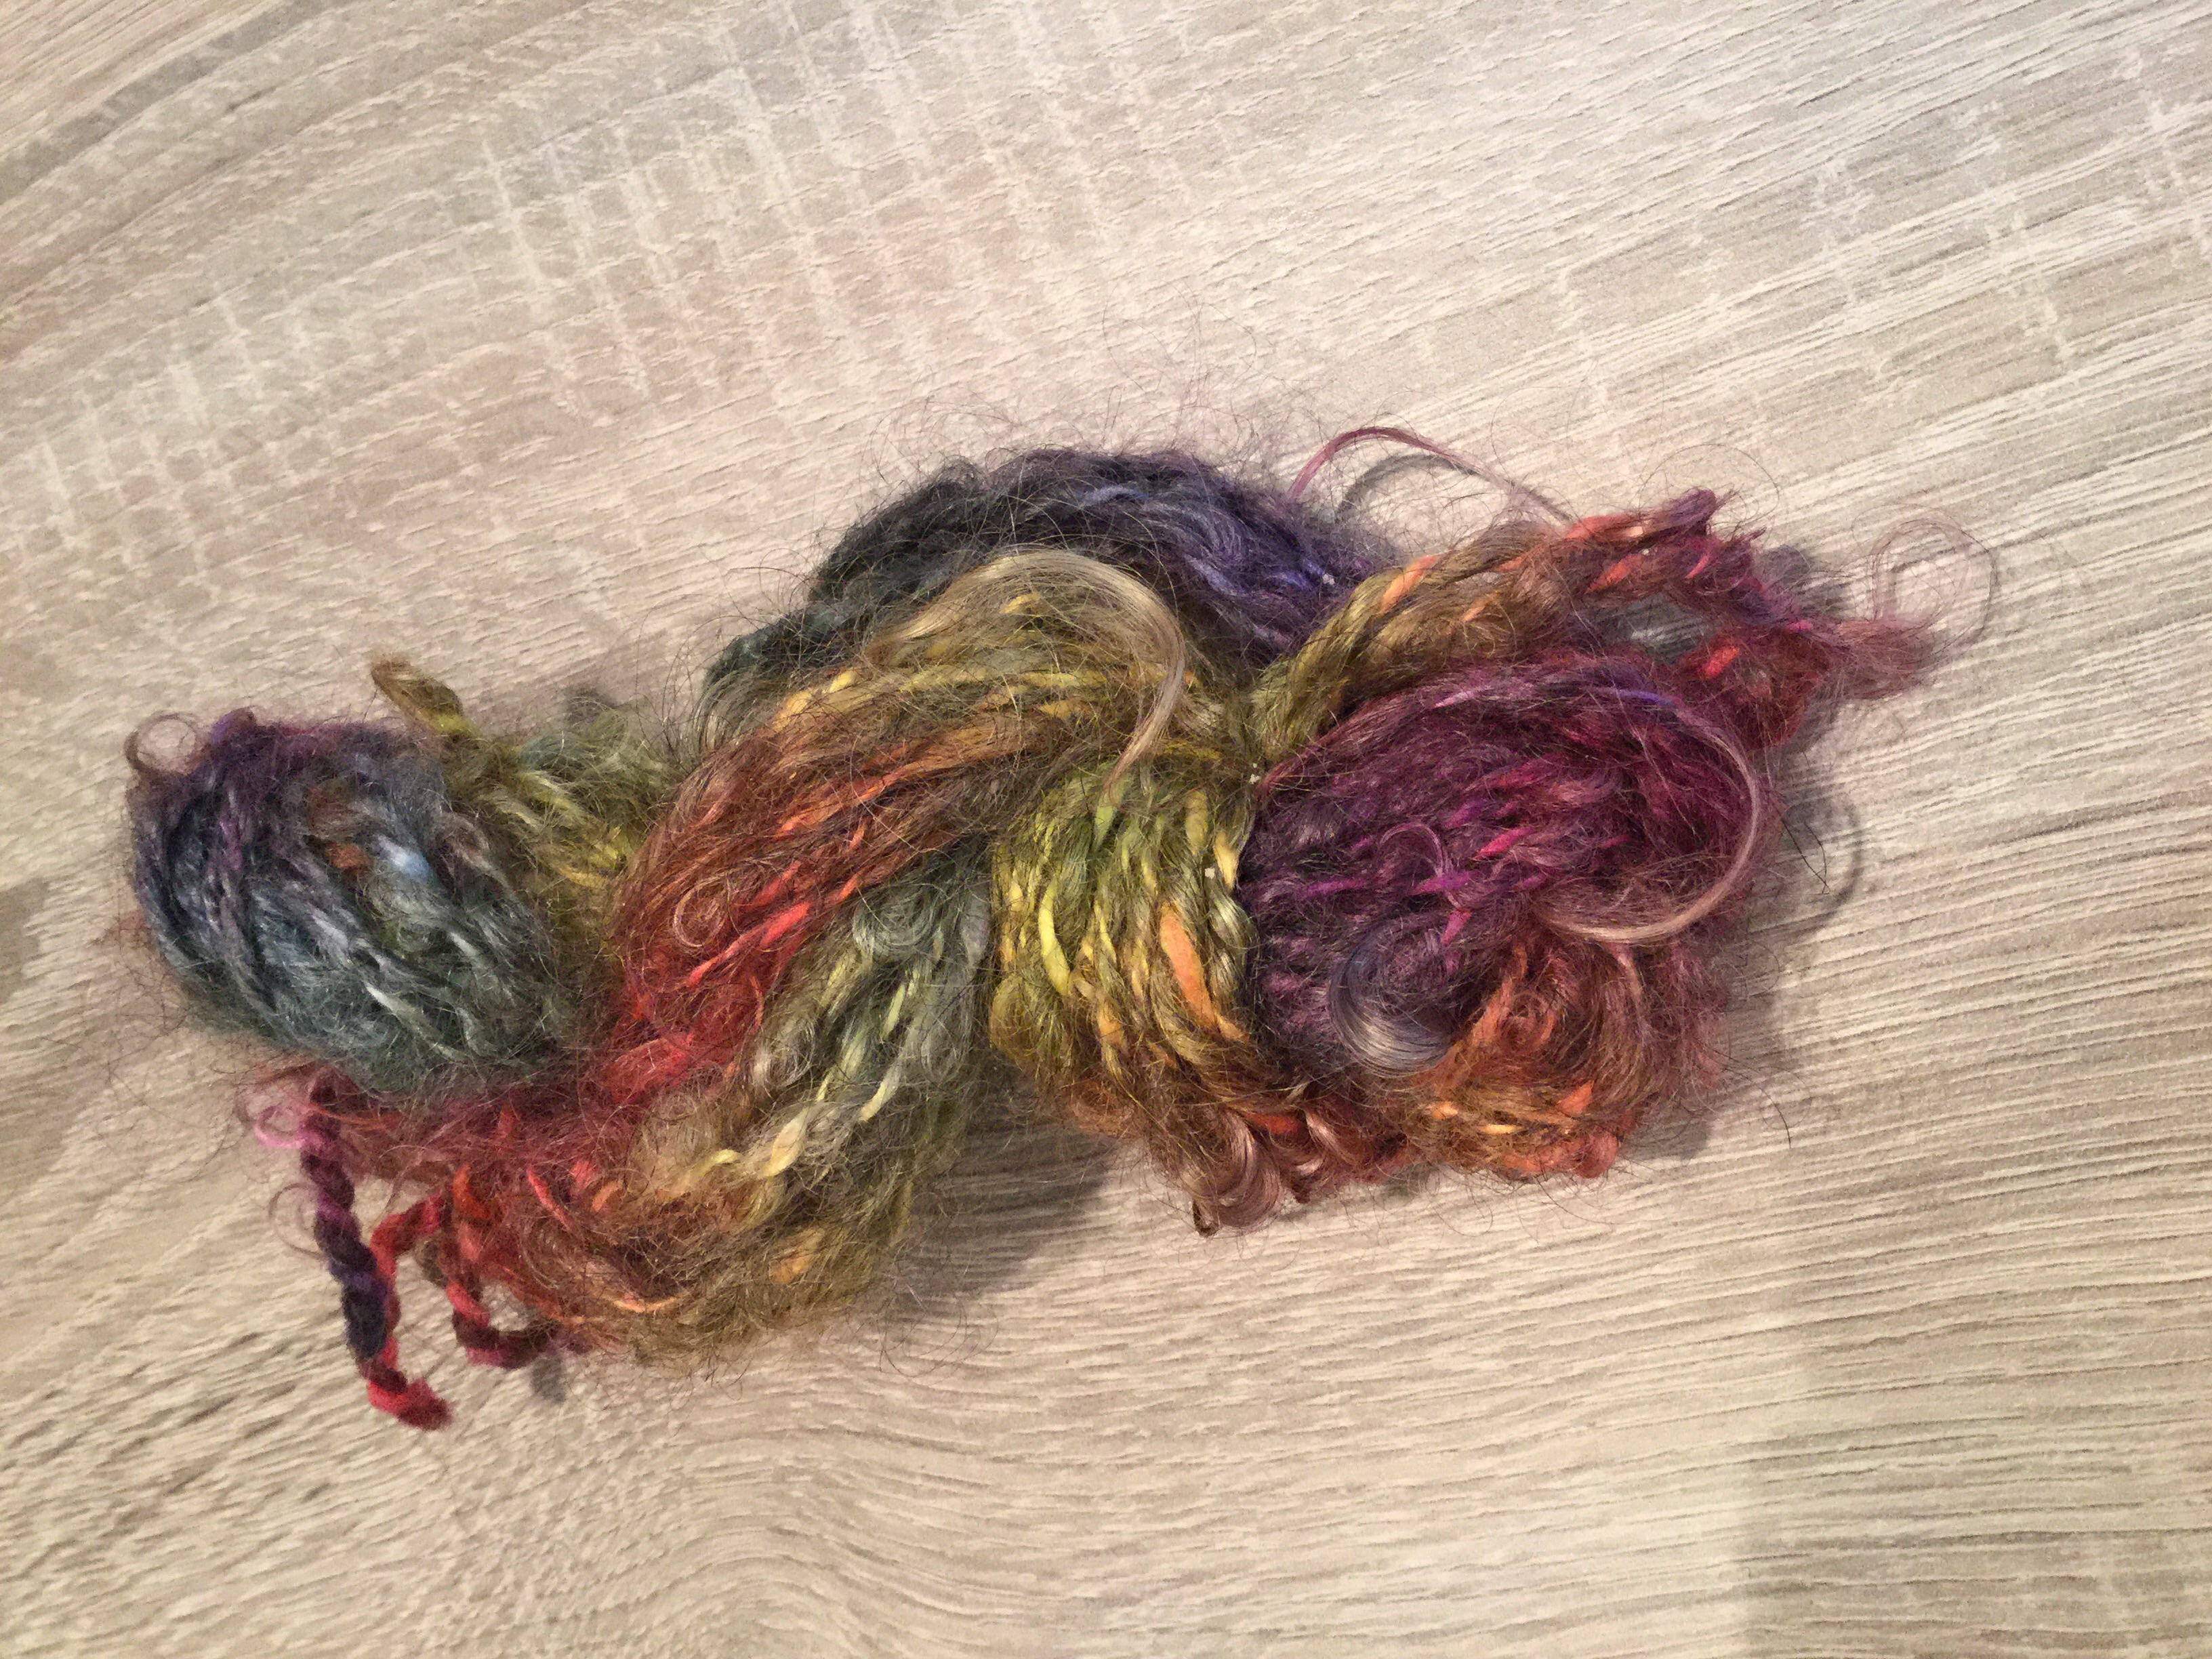
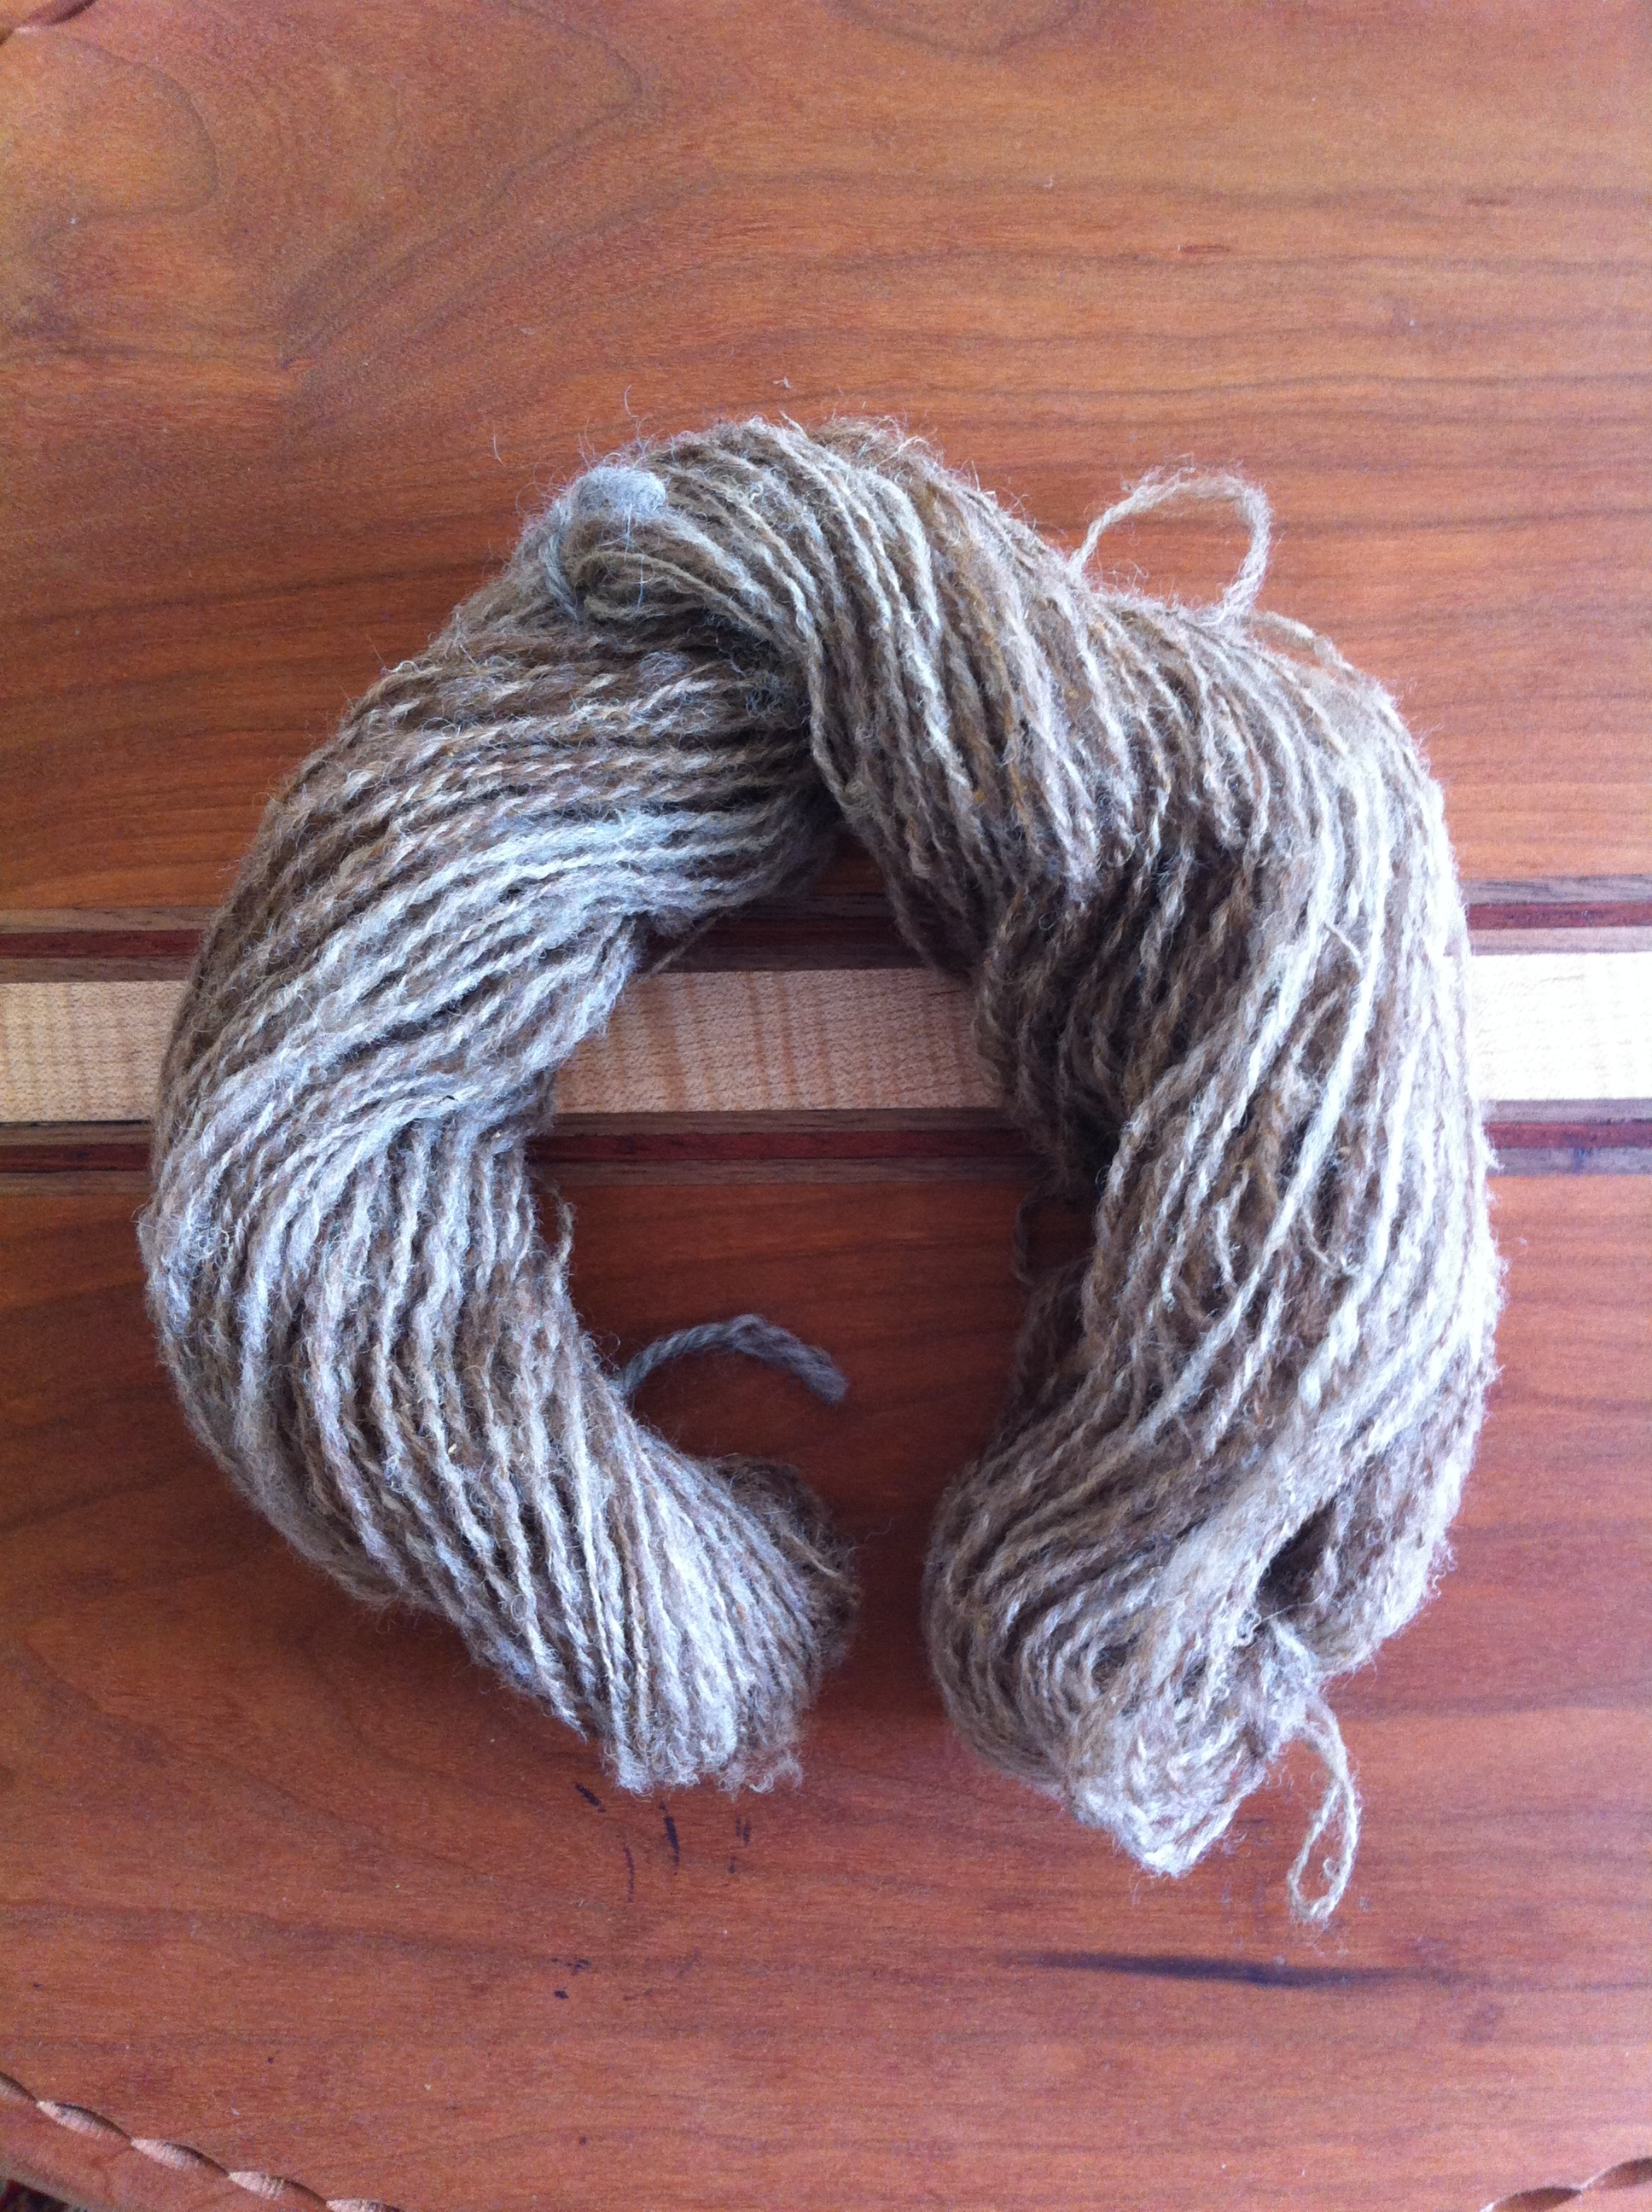
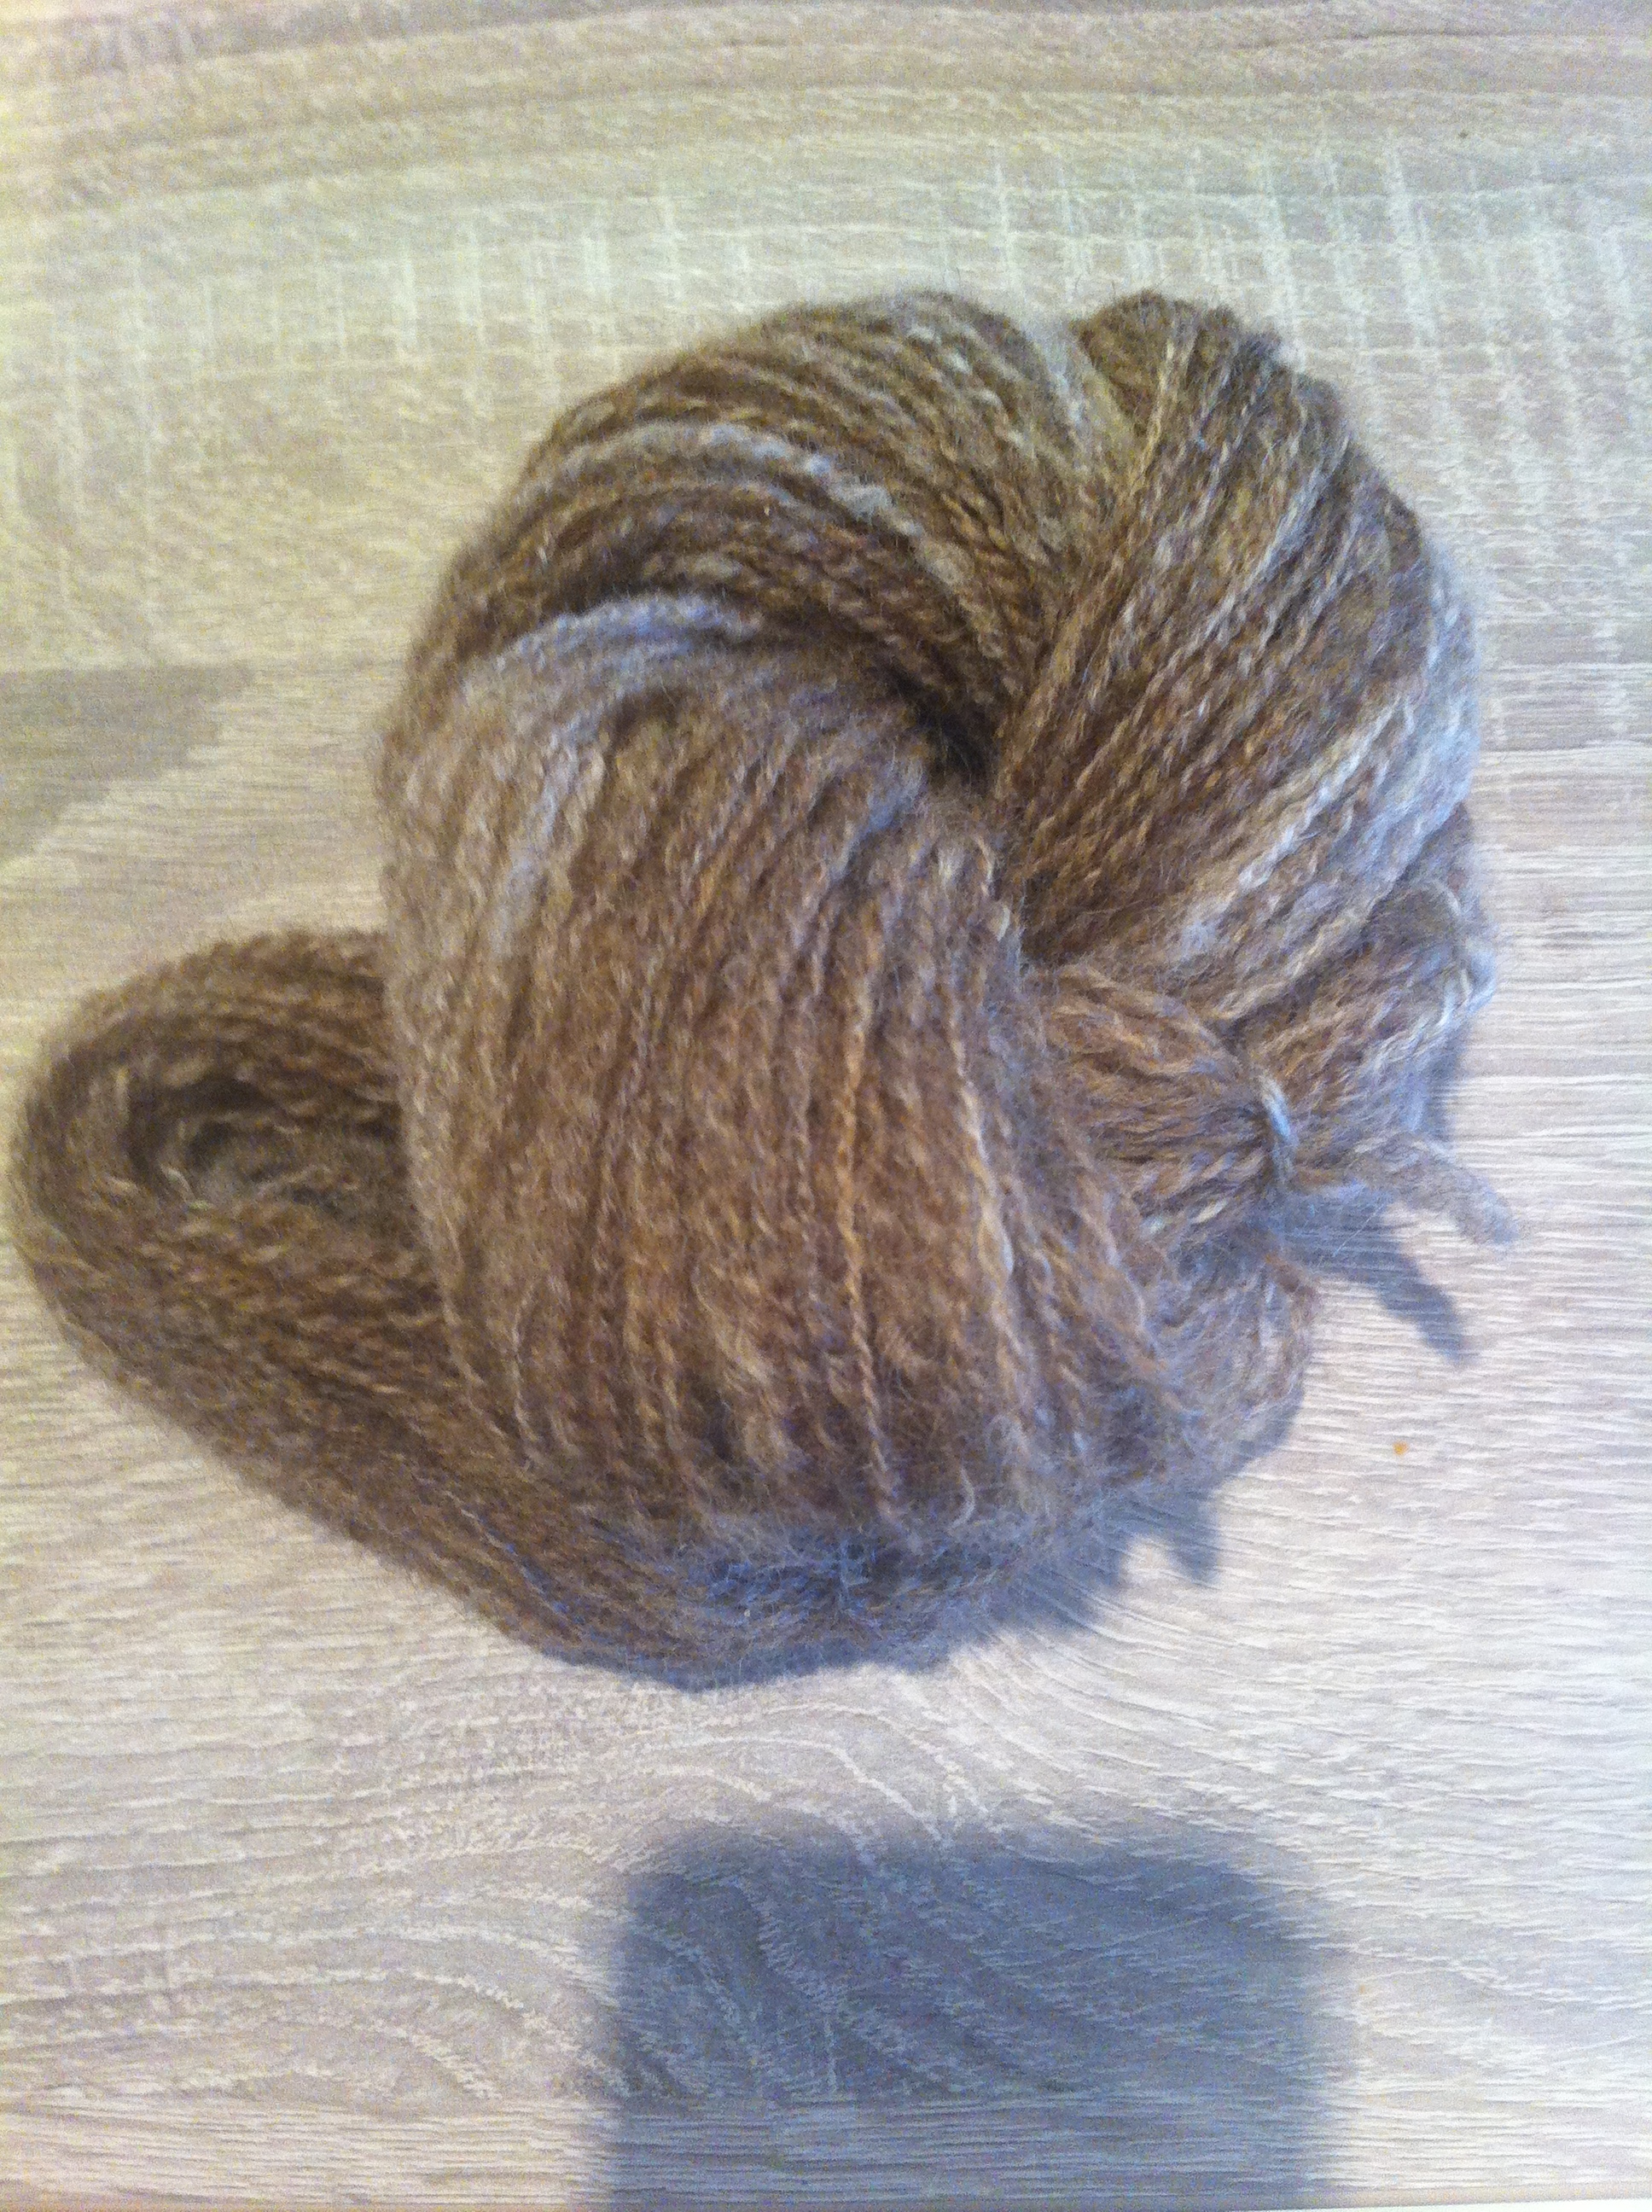
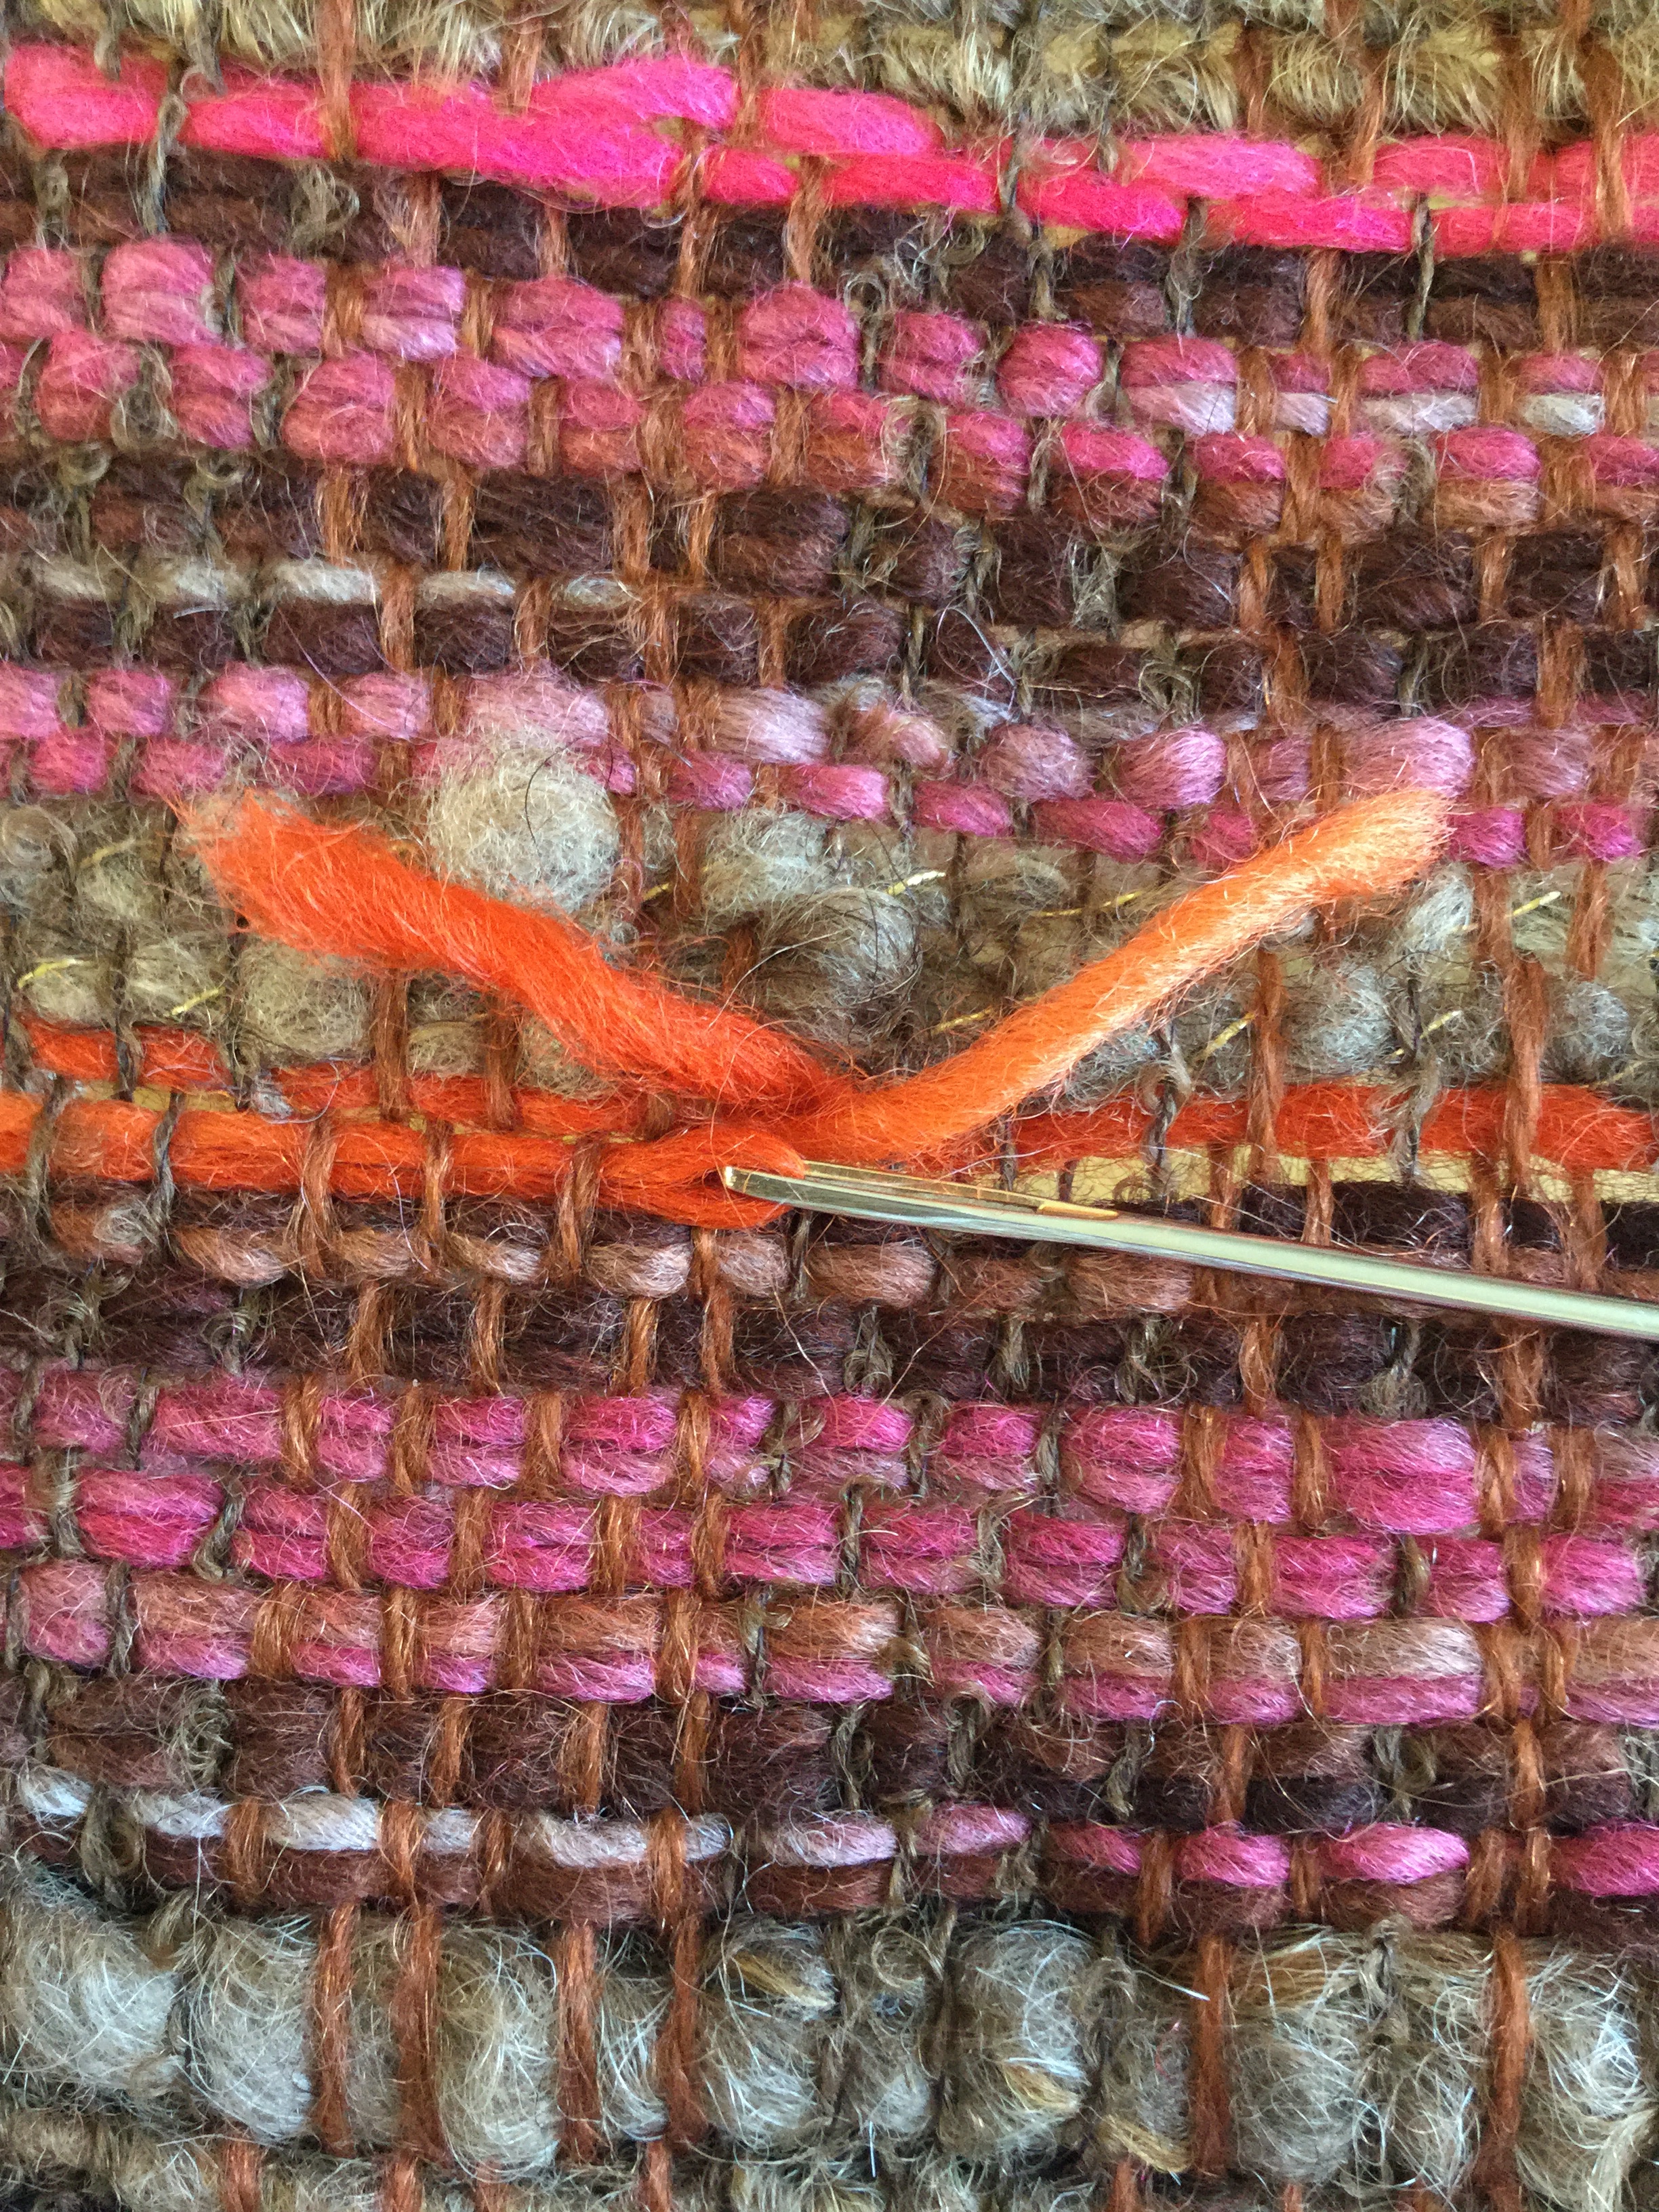
These are some examples of what are more commonly considered to be art yarn. There are the dyed locks, the thick/thin look and some bouclé-like yarn.
Bouclé, sort of
Thick thin
Yarn or art? Both?
Lexi Boeger sees it this way: “I believe the onus is on the buyer to look at the yarn and be able to determine an appropriate project to use it for. This puts more work on the buyer, but ultimately it will make that person also more creative..” (See Spinartiste)
Boeger goes on to say that art yarn can help the knitter (or weaver for that matter) think beyond the pattern and become a designer. My reading of that is: art yarn can be a starting point. It asks the question: what can you make with me?
It’s worth pointing out that Lexi Boeger isn’t making art yarn anymore.
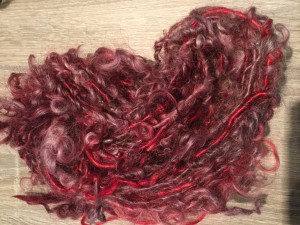
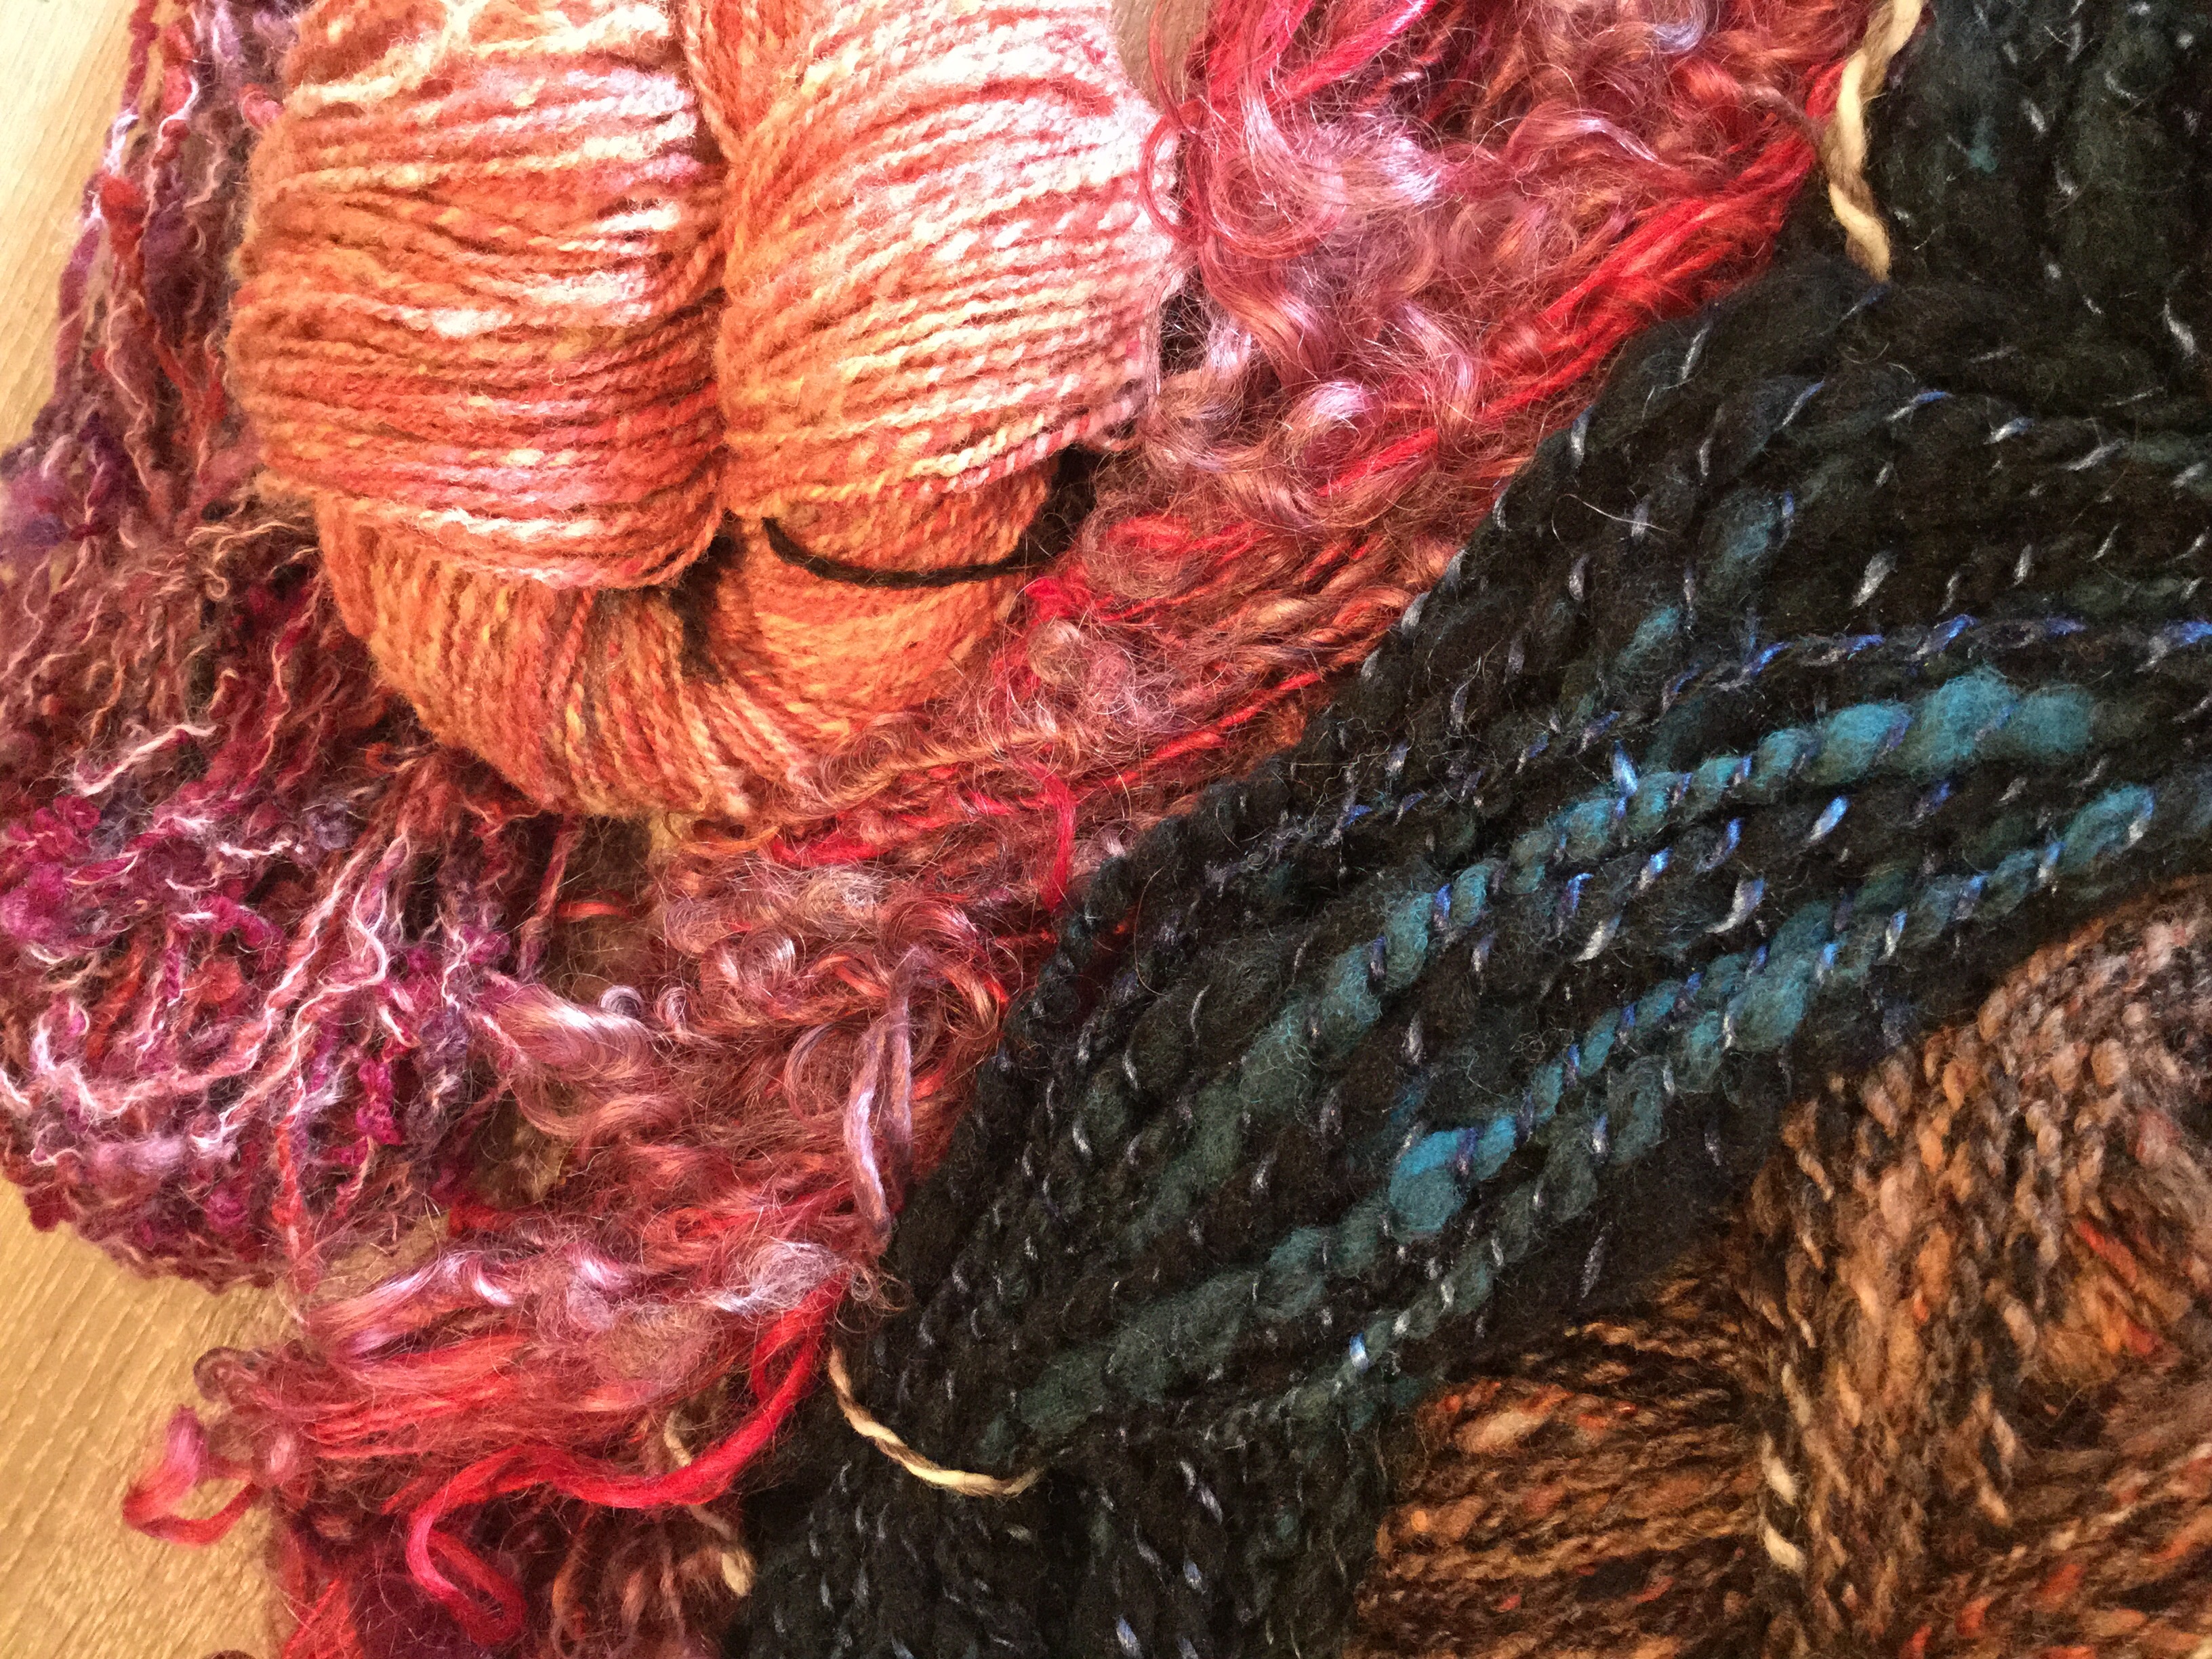
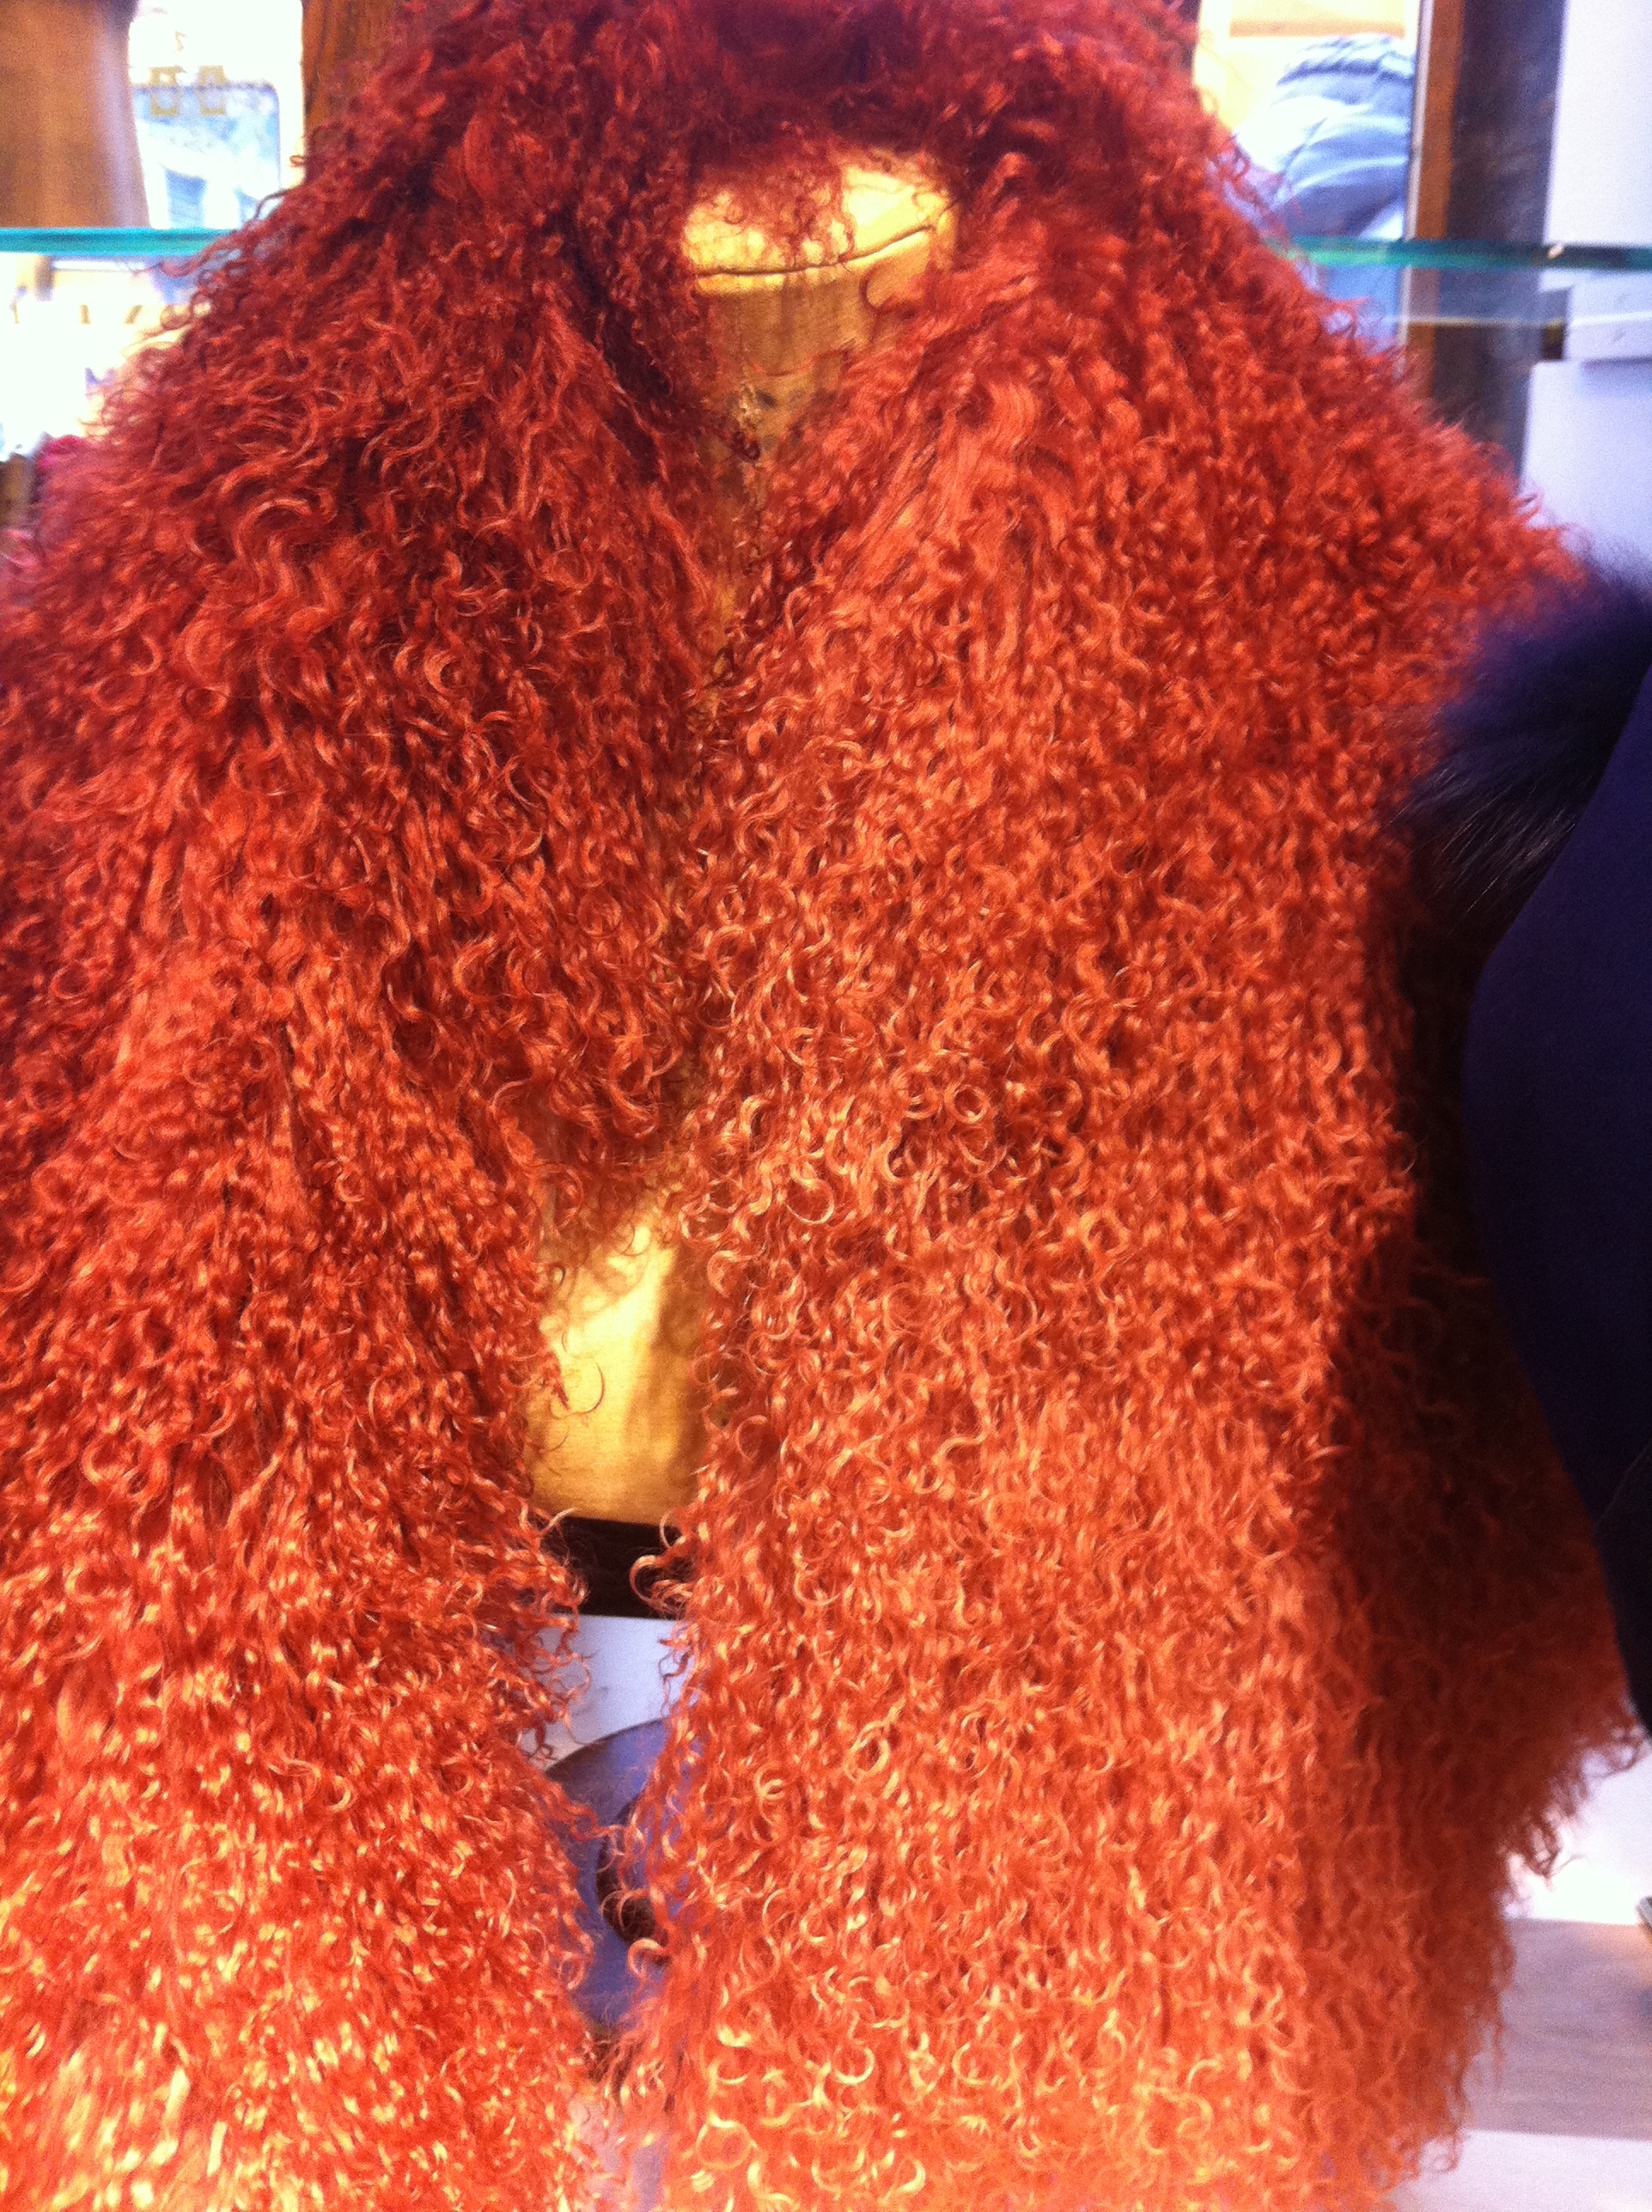
Locks
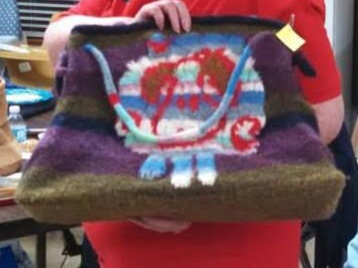
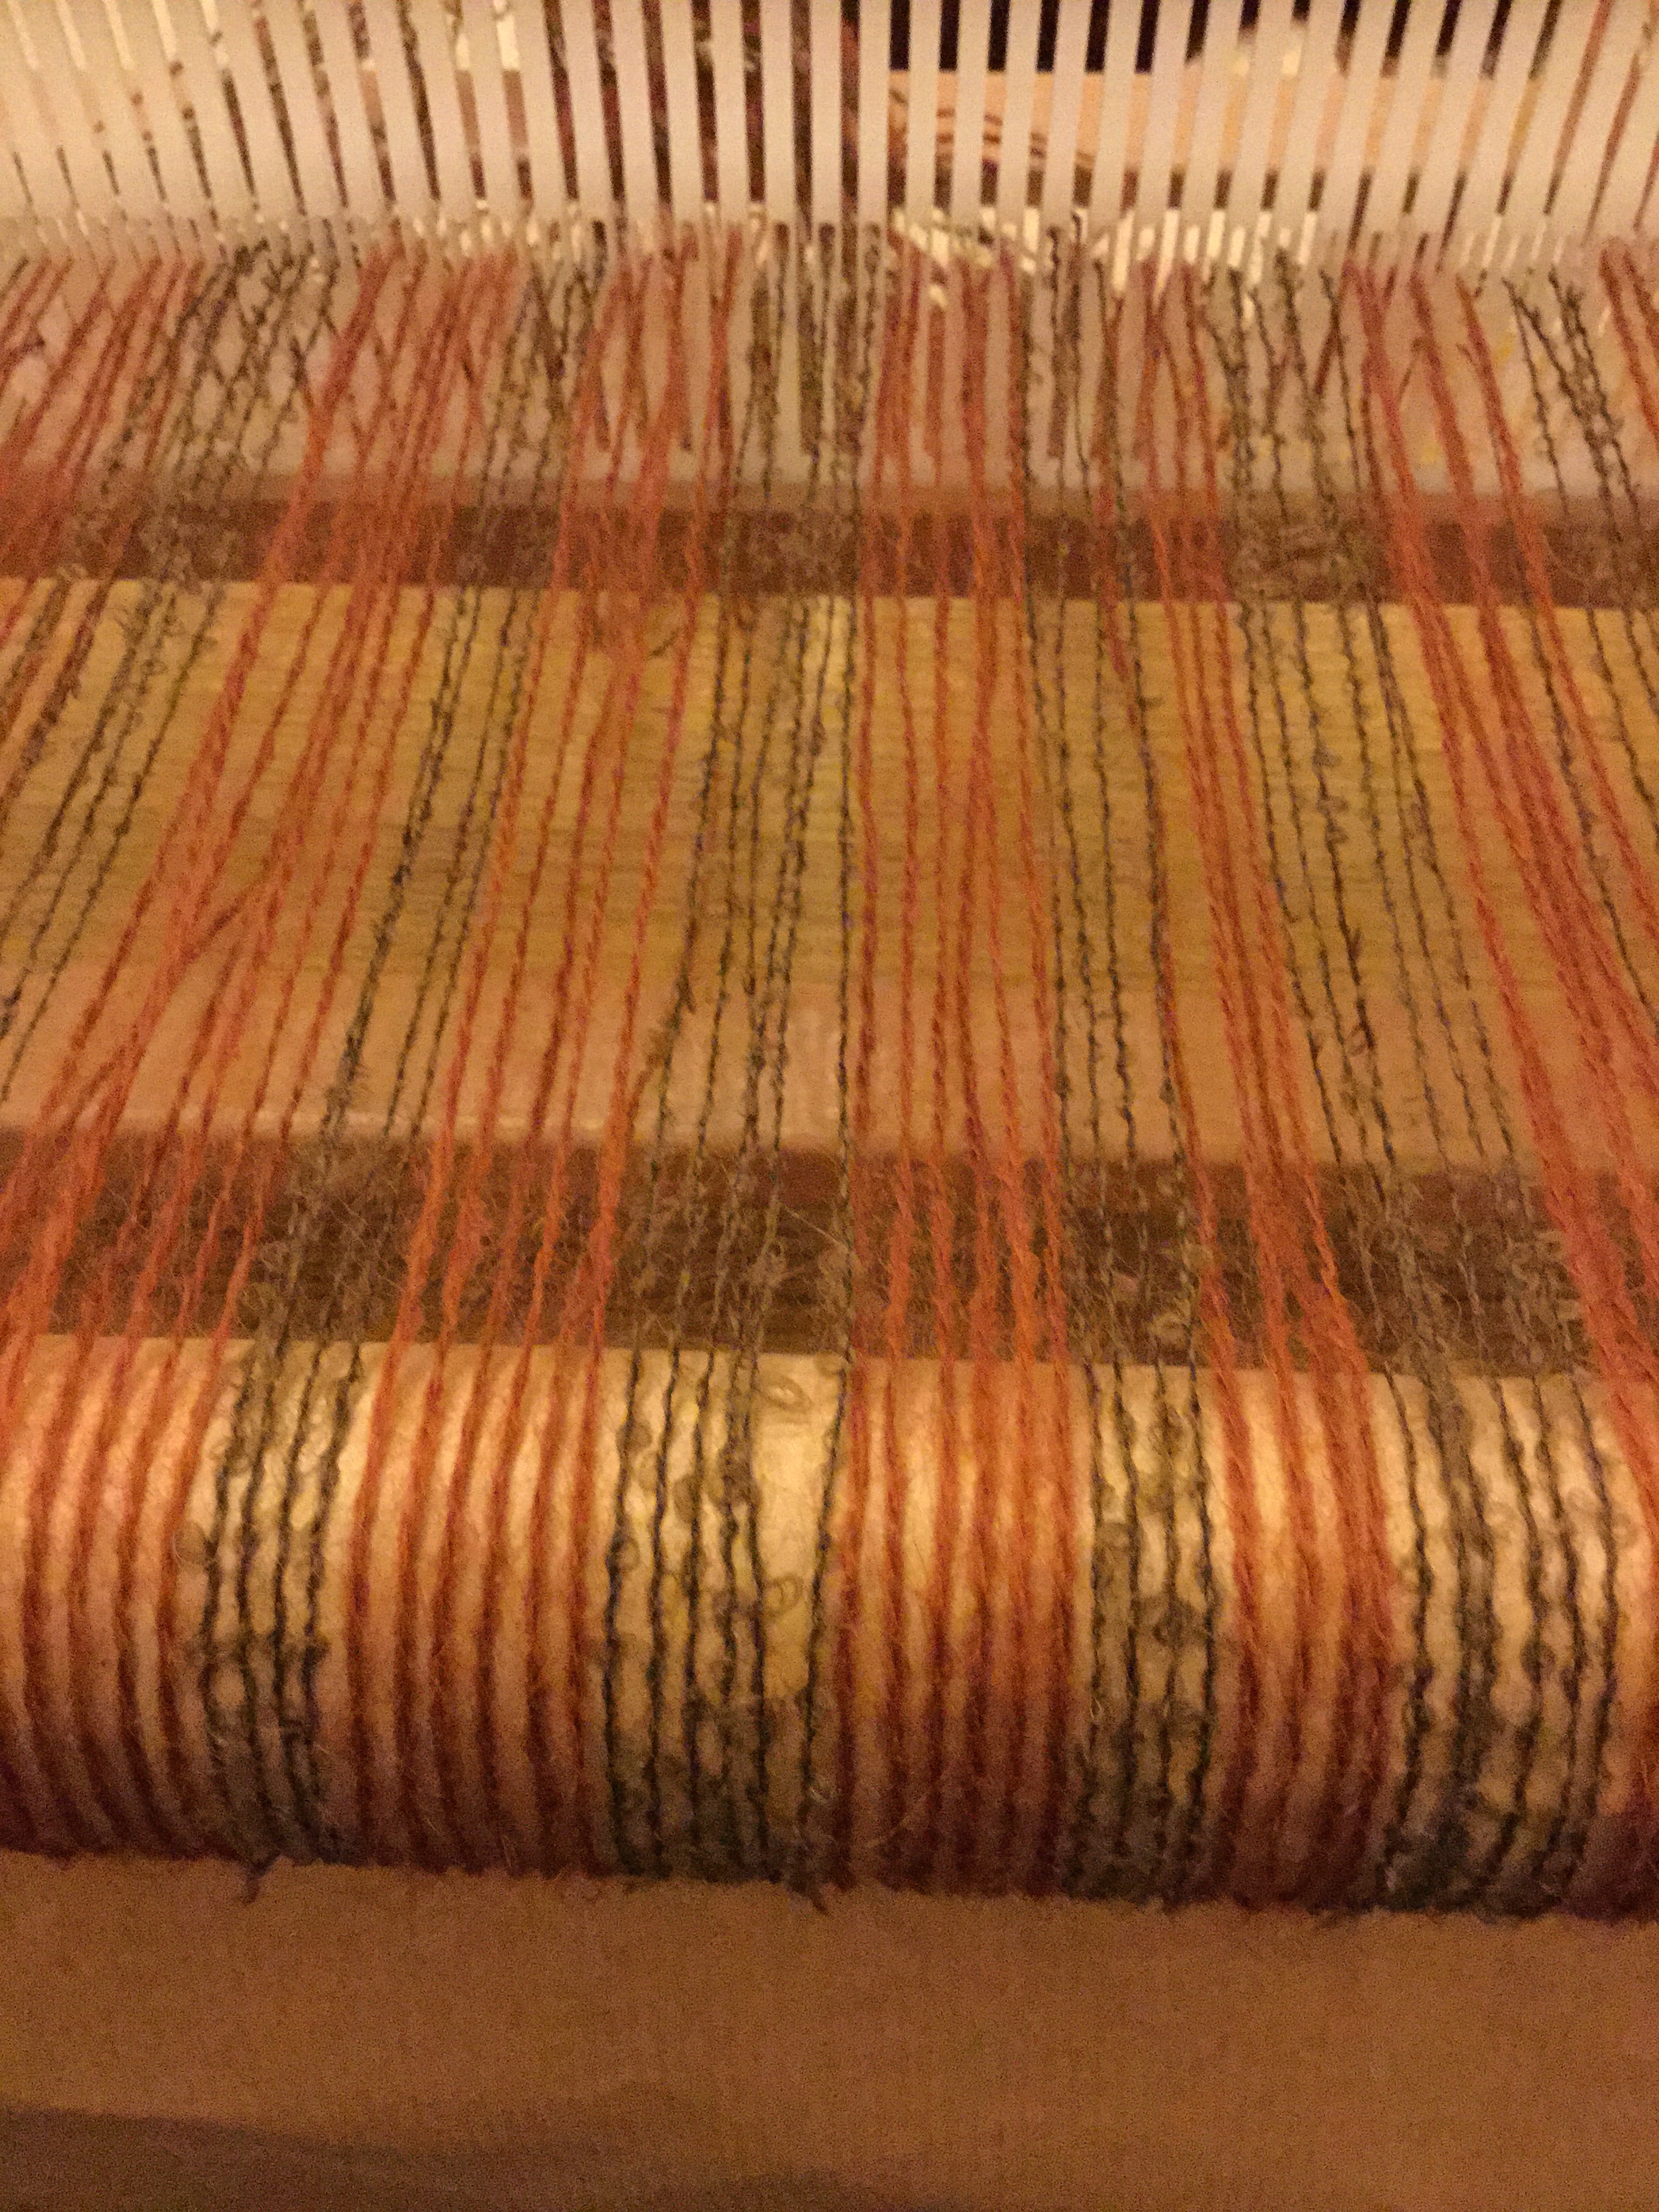
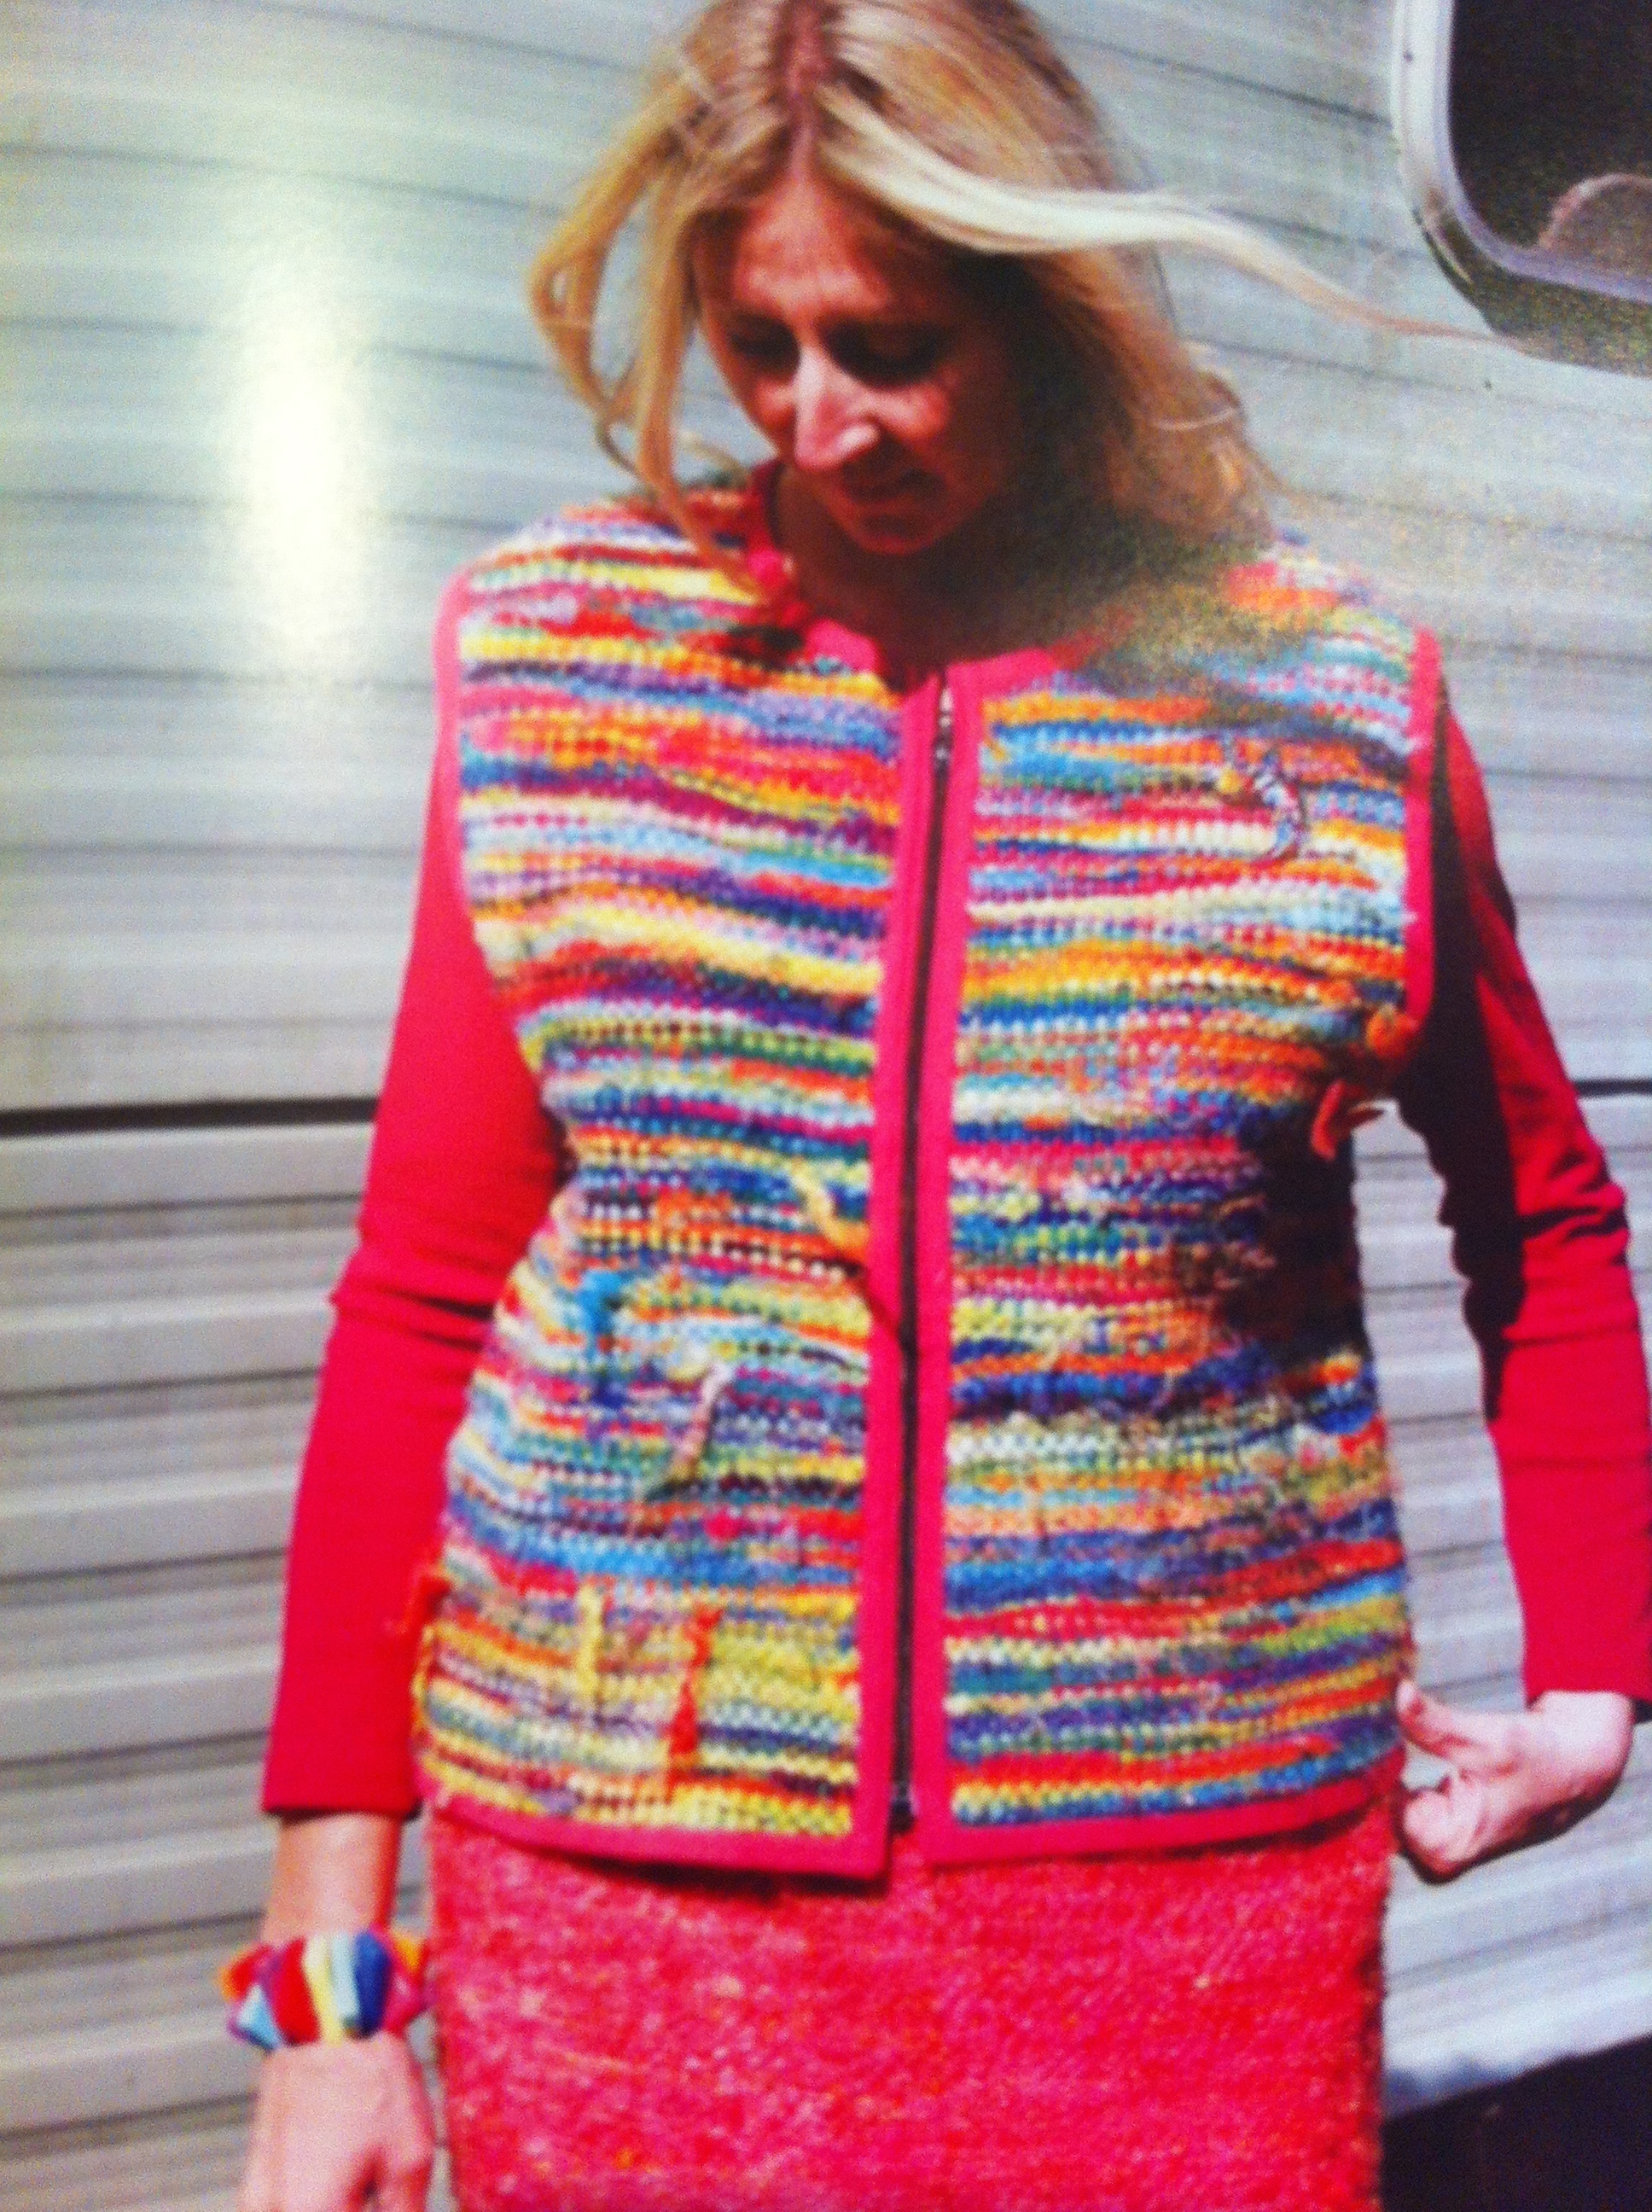
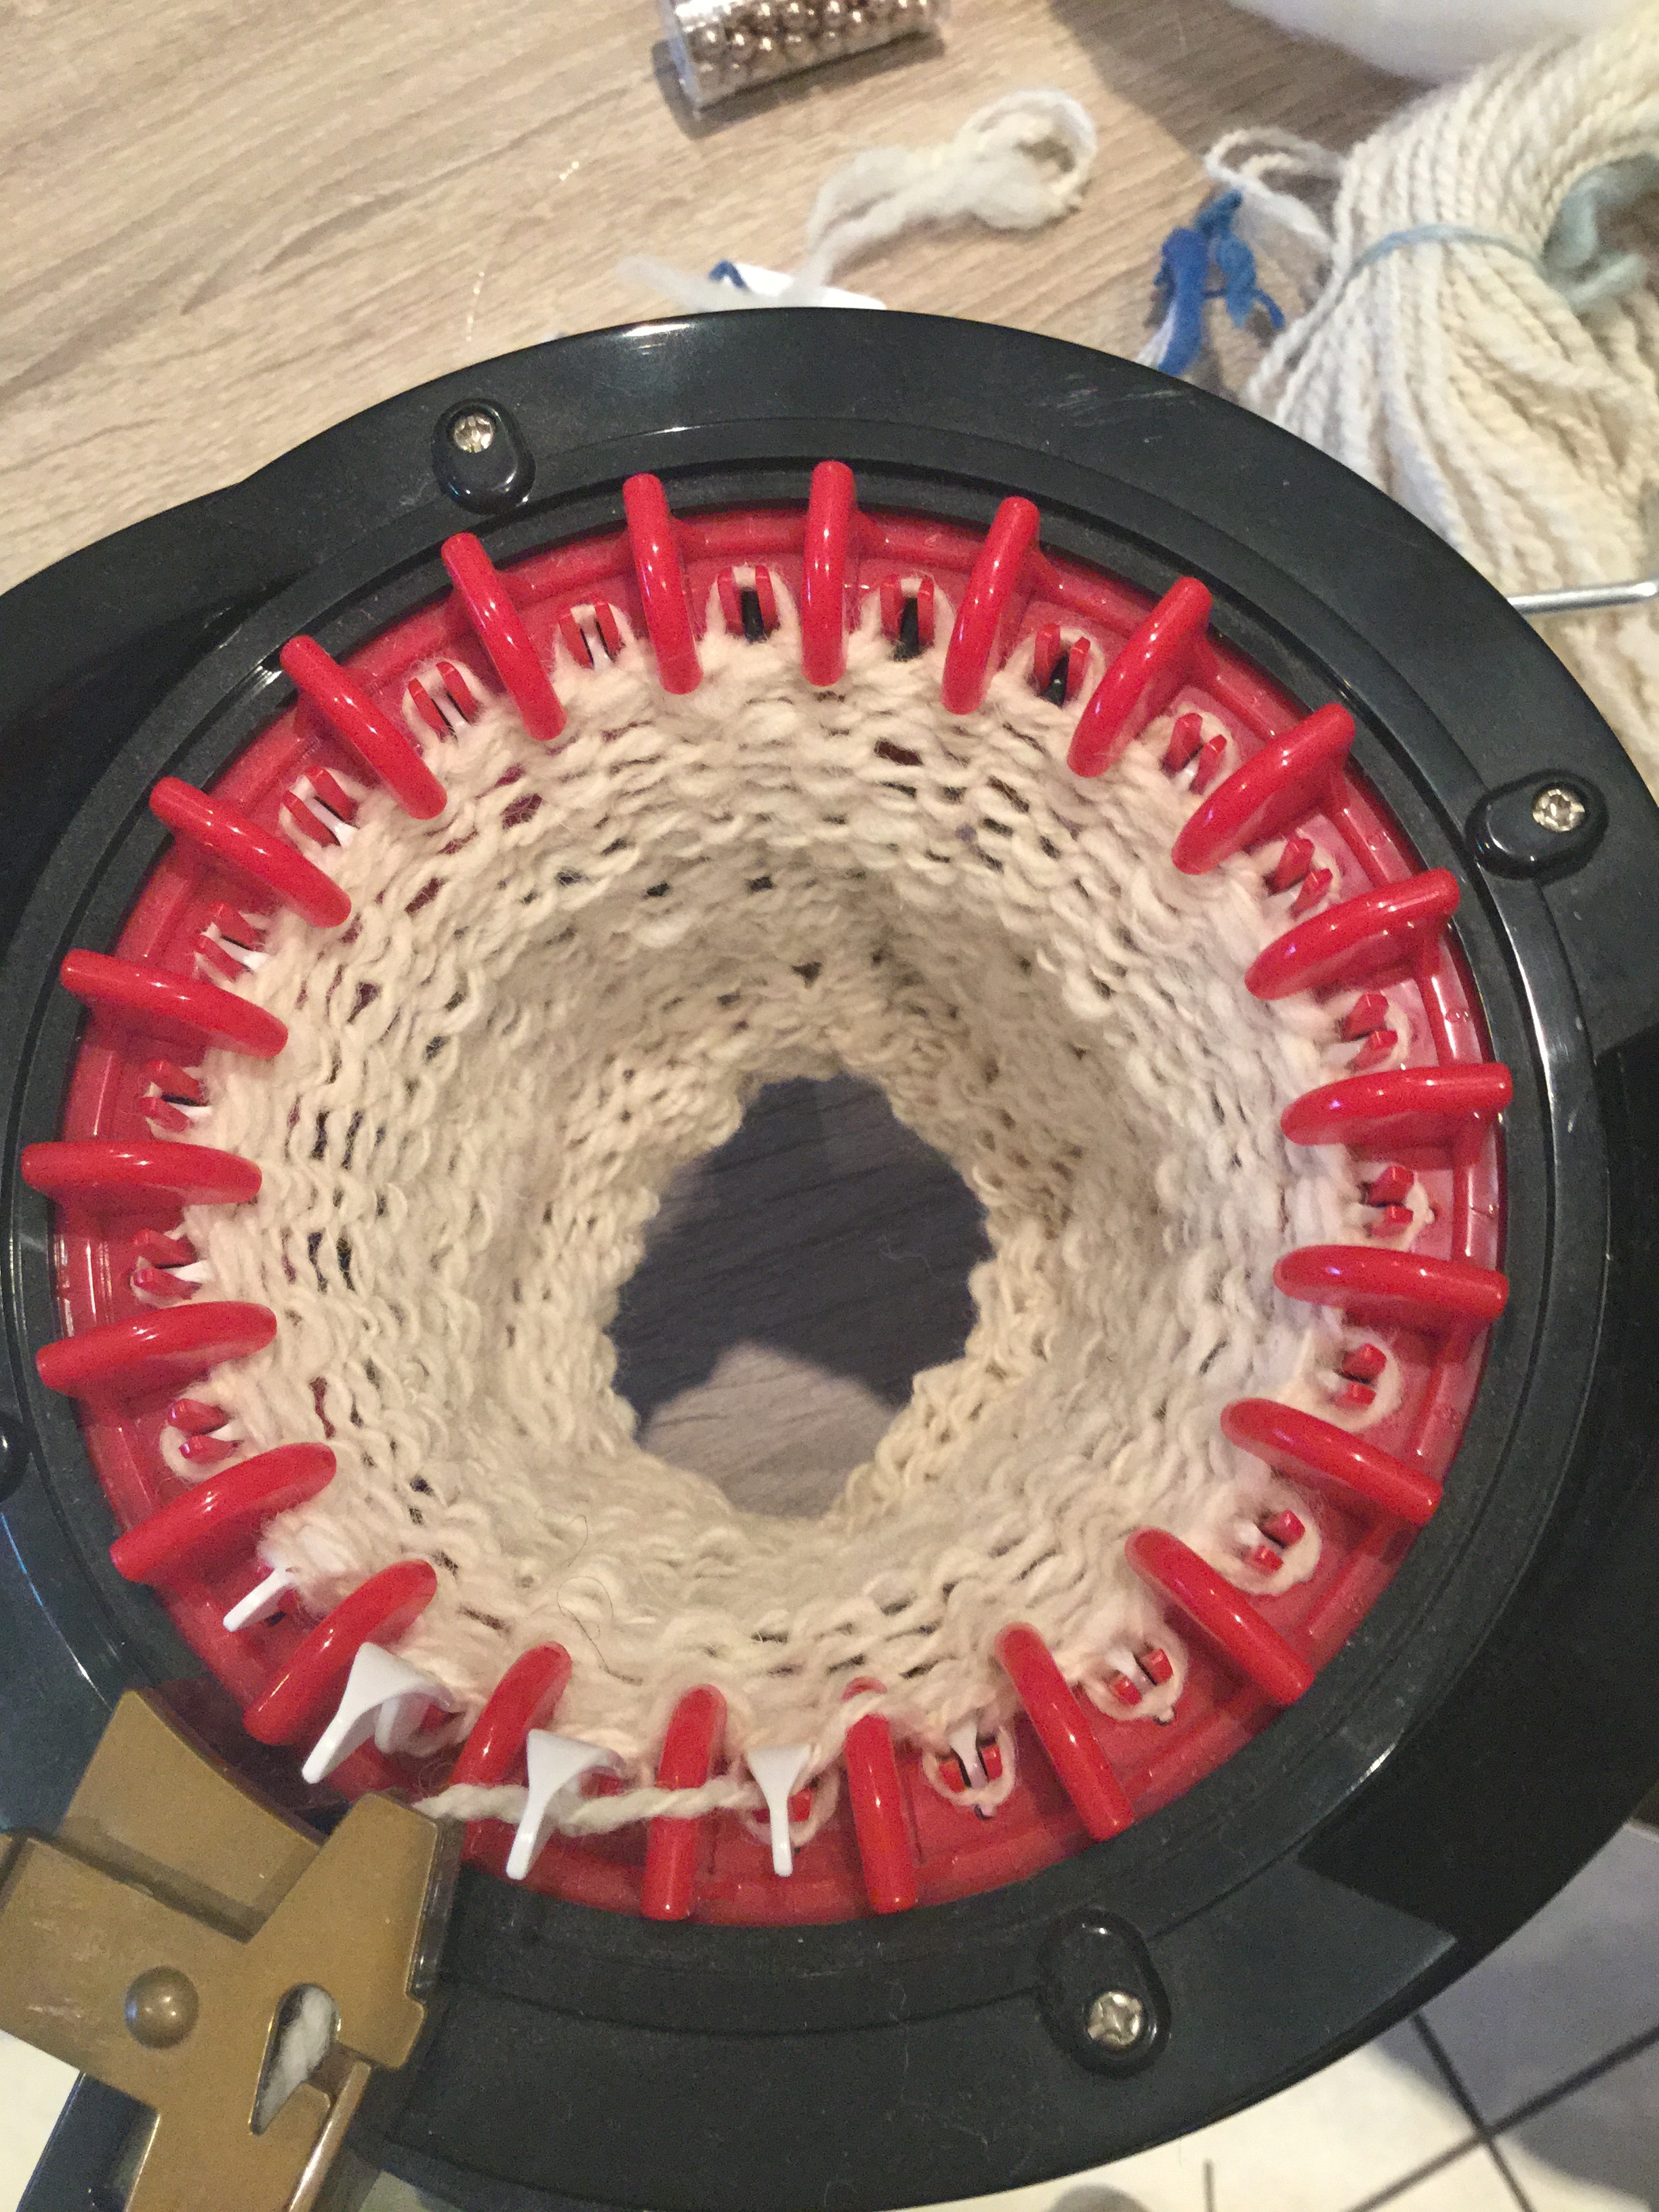
JazzTurtle has a long list of patterns that can use art yarn. But to me art yarn is perfect for weaving–especially saori weaving, which is all about experimentation and personal expression. It’s not really concerned with pattern or convention.
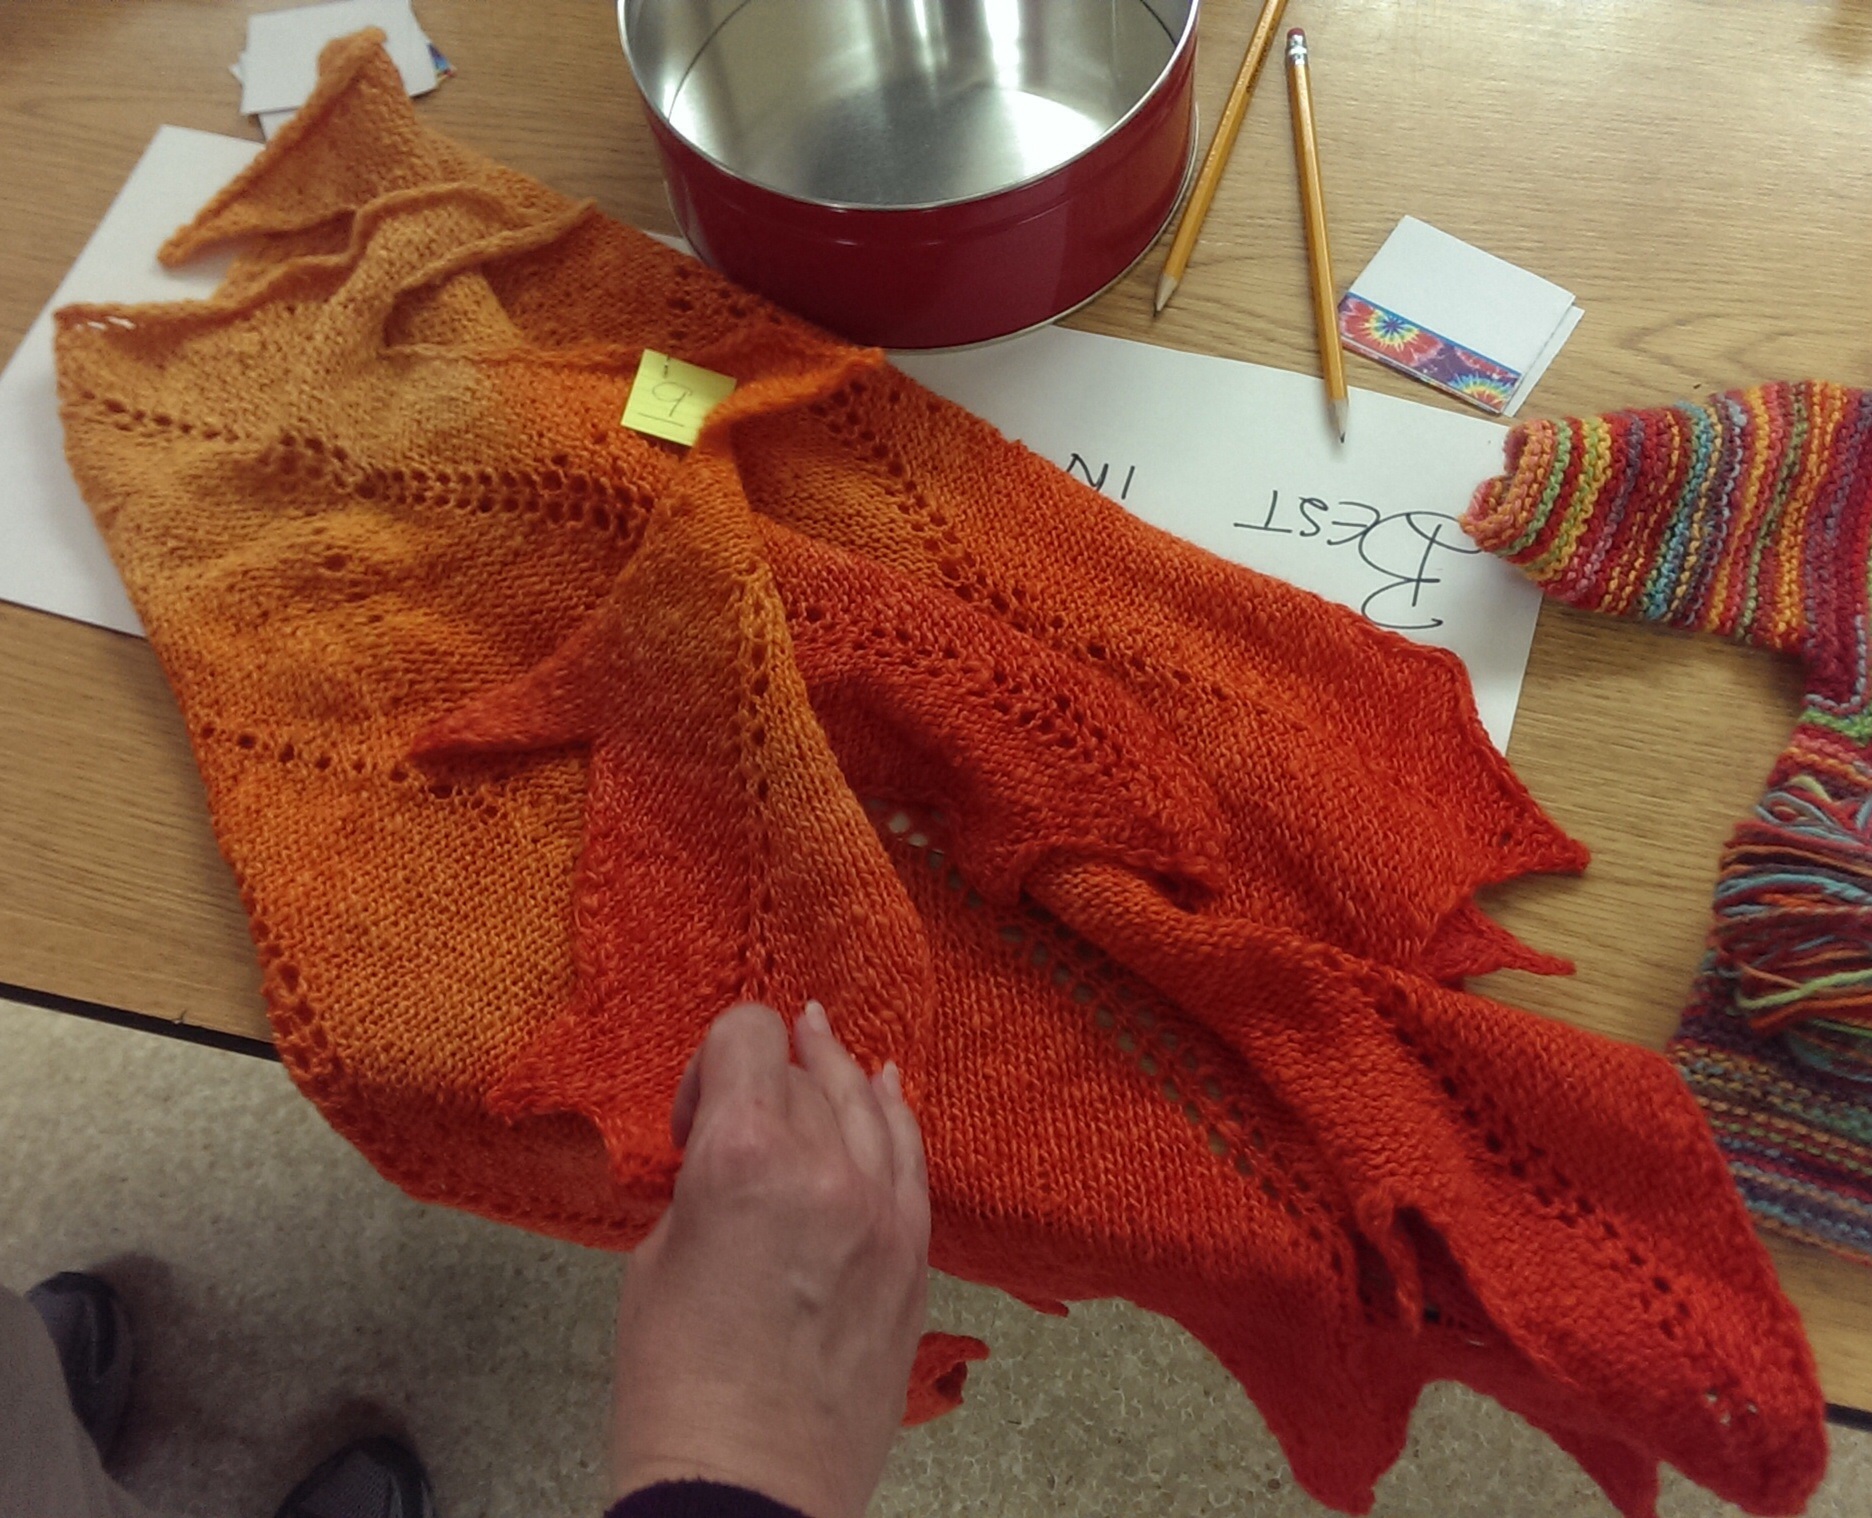
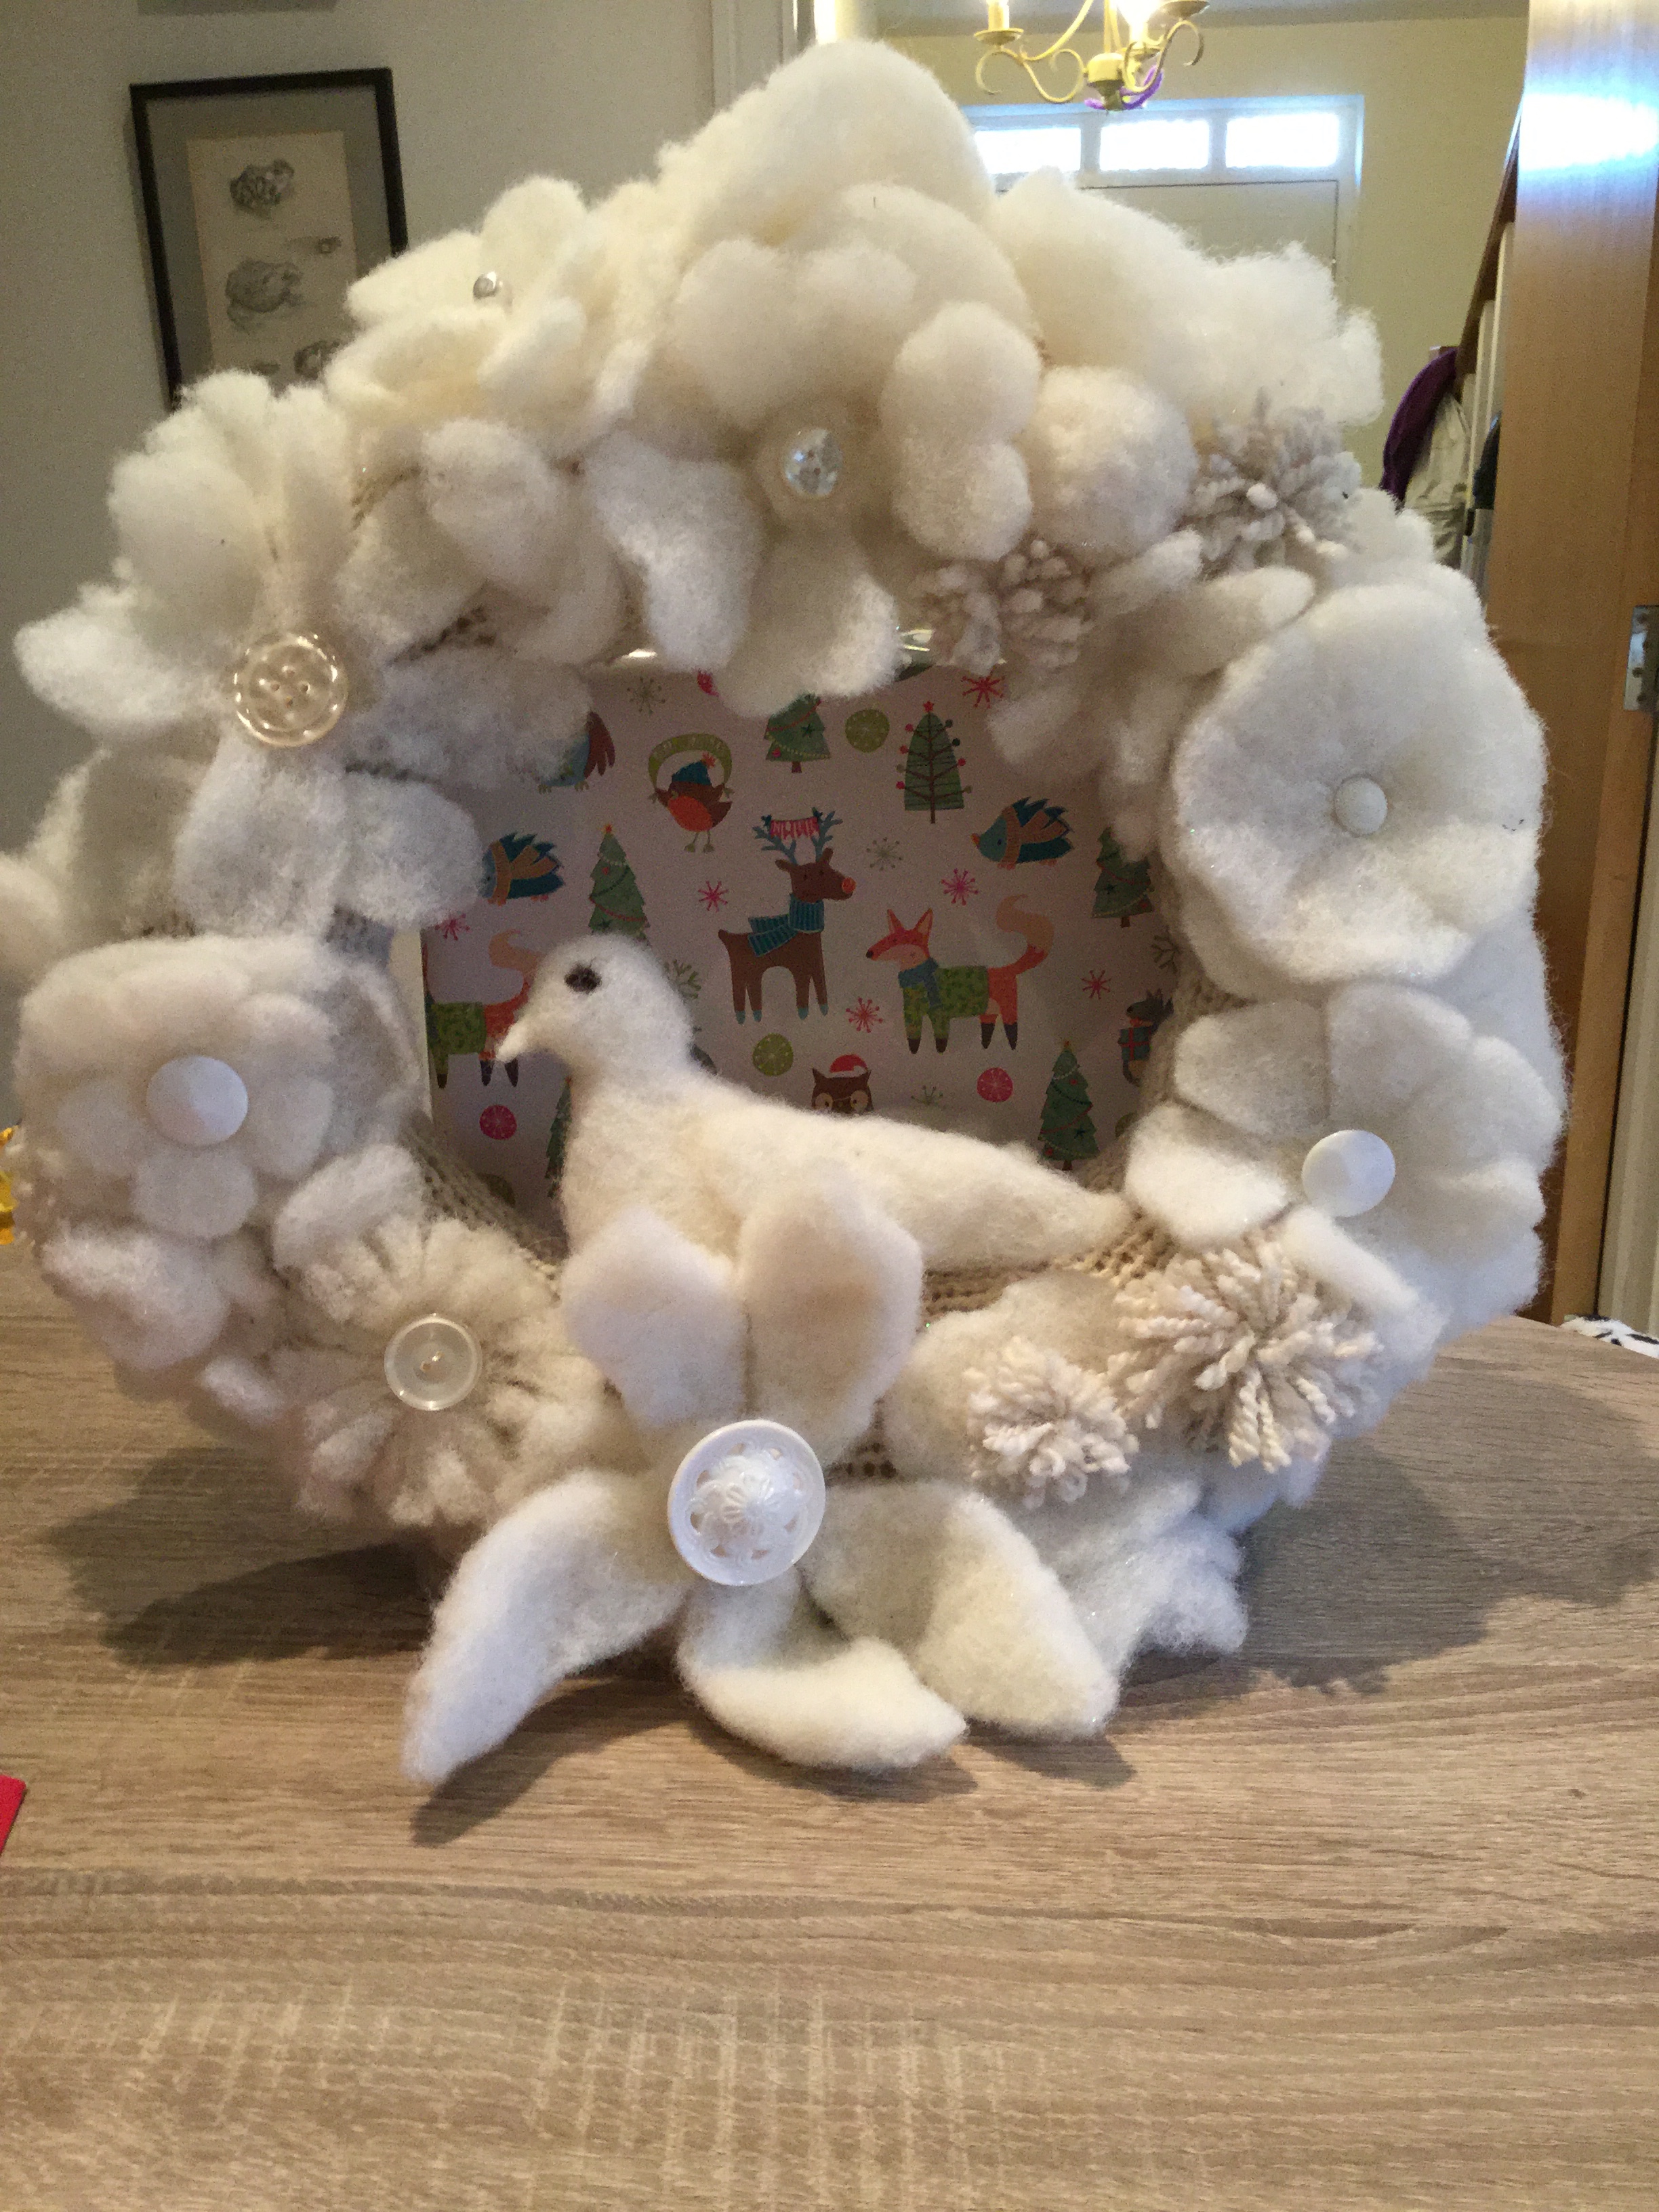
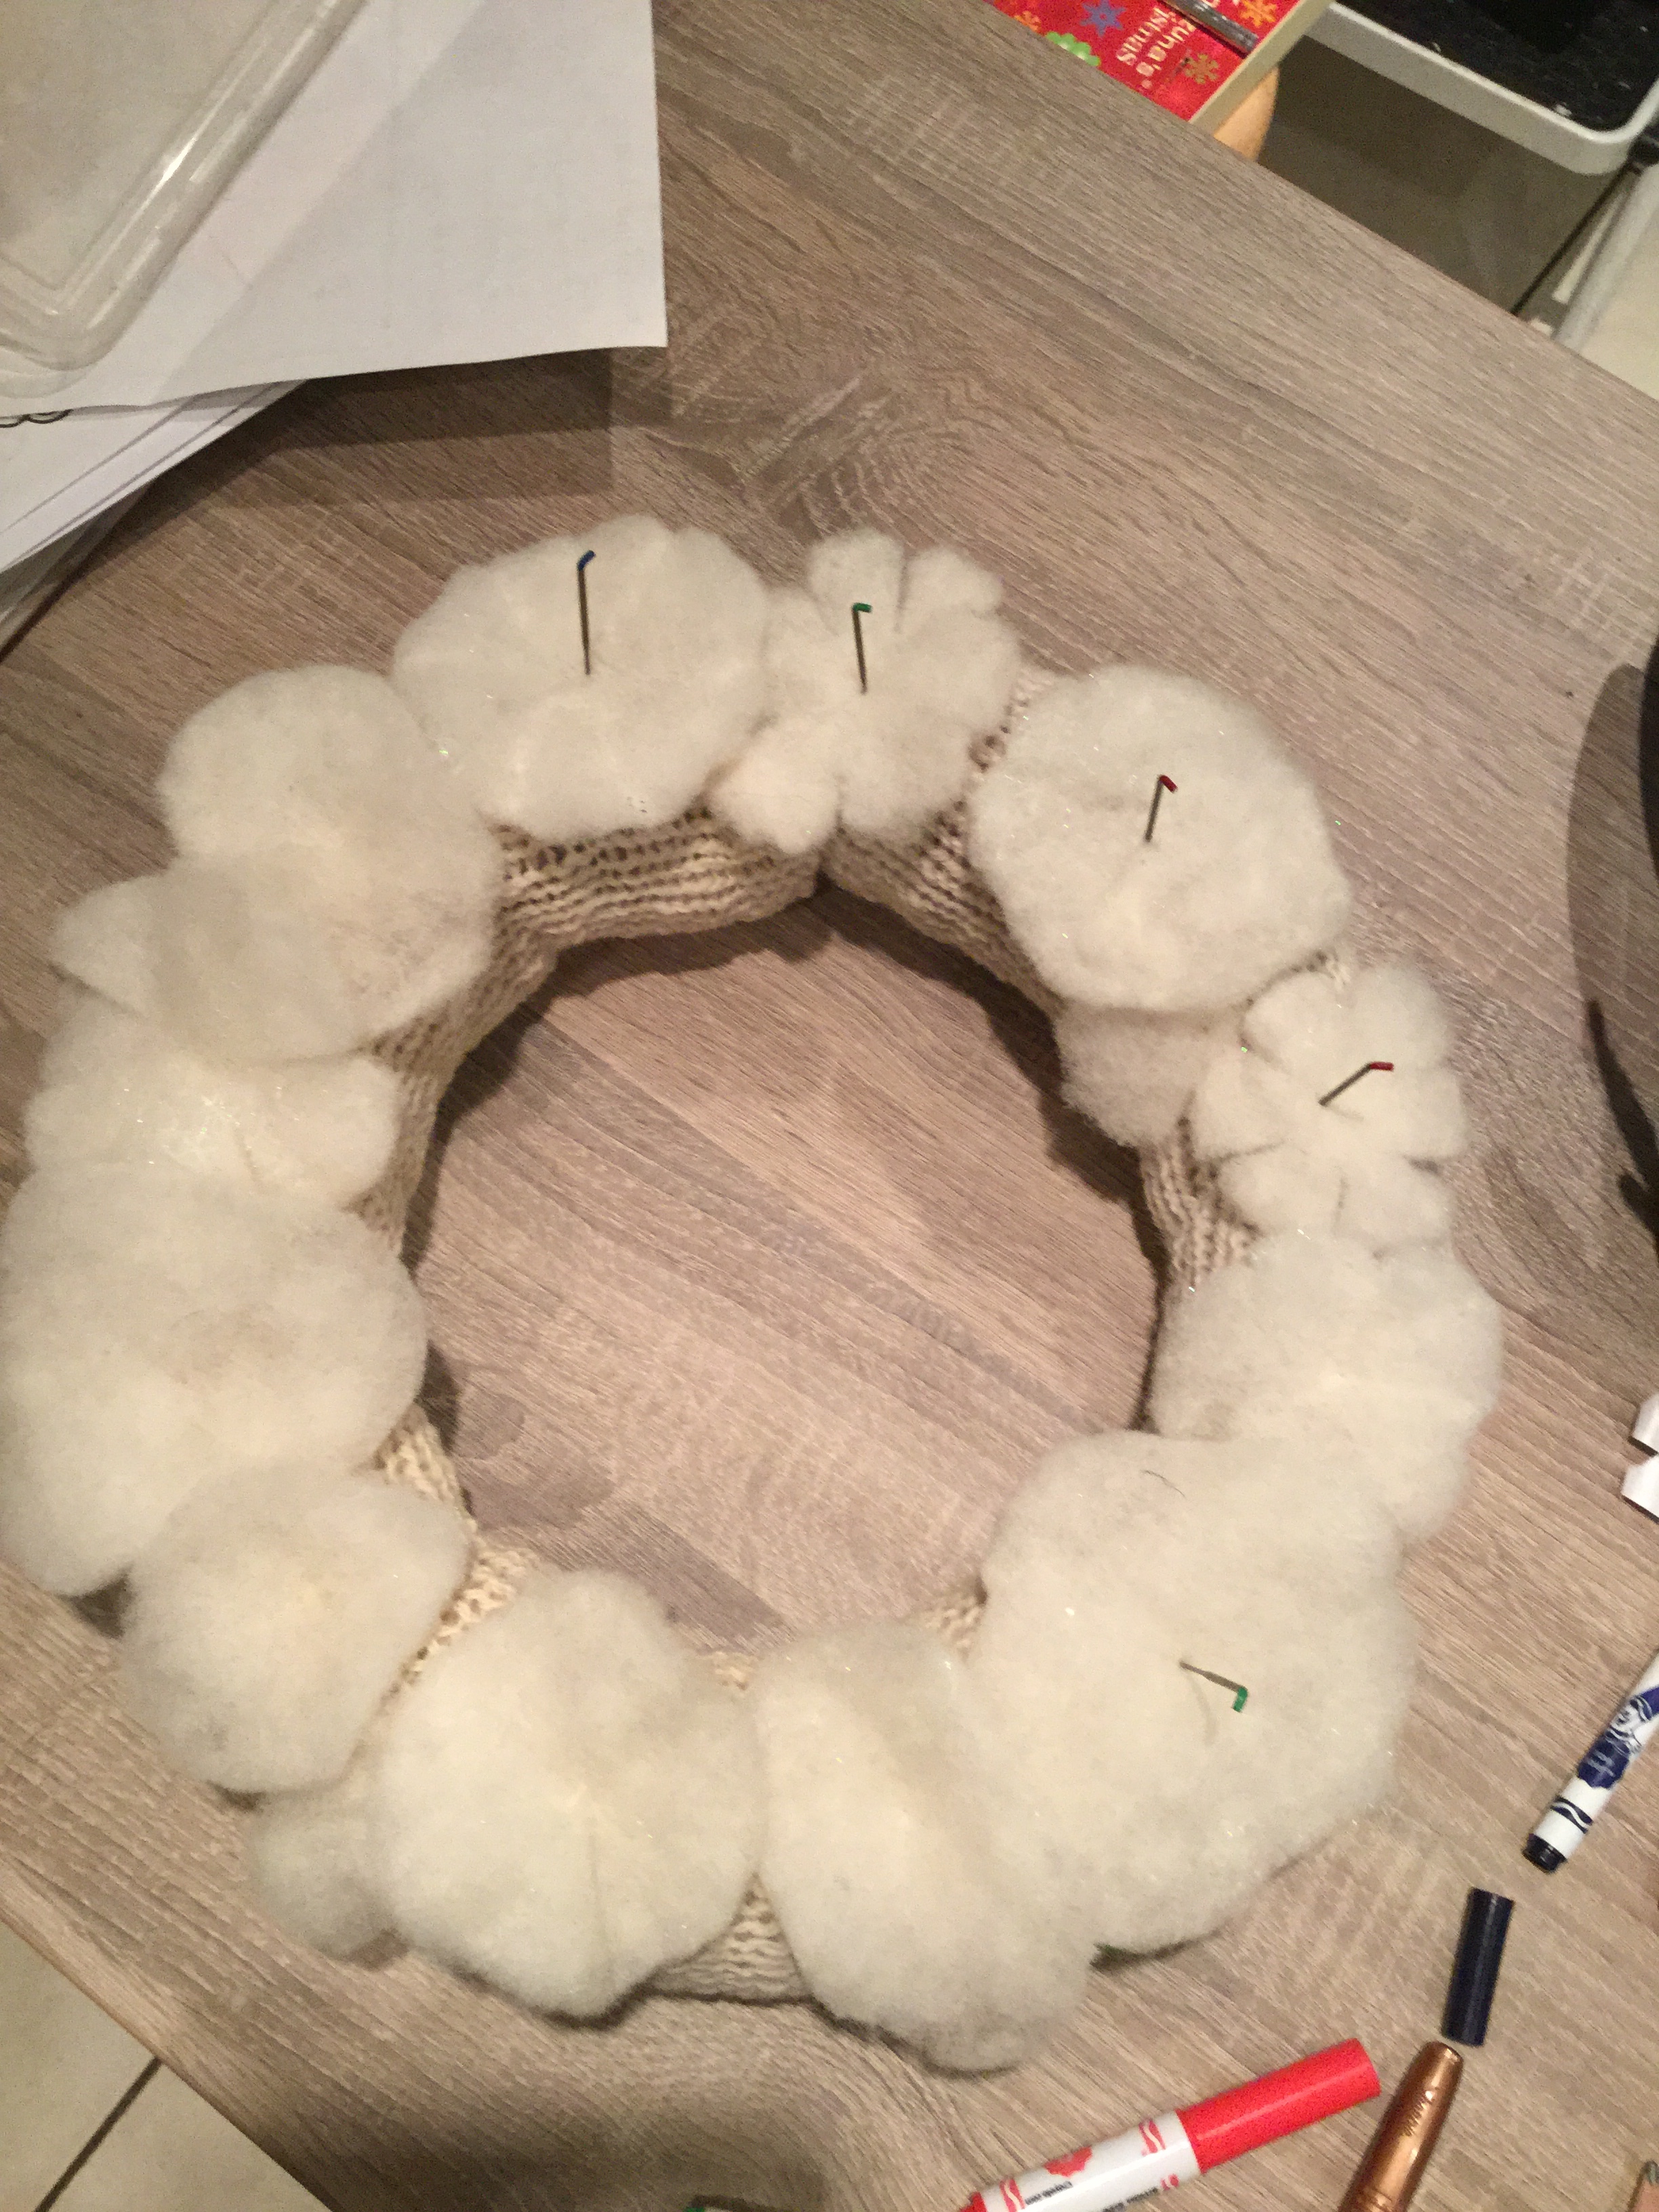
This saori-inspired piece uses some art yarn. For me this piece was a big departure from the norm. Here are colours and textures far from my comfort zone. It marks a step in a creative journey, but I’m not sure the path ends at art yarn.
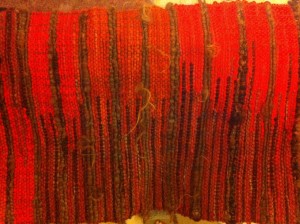
Weaving with art yarn
[Sal here. I’m going to horn in on your post for a minute]
I would argue that handspinning is technology, and as such there is an intrinsically practical component to the resulting product. Some yarns take a good deal of skill to make well (bouclé for example), or have aesthetic consideration in their colors or textures (as yours do above), and this intersection of technical skill and aesthetic consideration I would call “craft”. Calling something “art yarn” is almost oxymoronic. Yarn for yarn’s sake, as you say, really makes no sense— like building a chair that you can’t sit on. But I know plenty of people who spin and never do anything with the yarn because they don’t knit or crochet or weave, and are perfectly happy that way. I suppose there is a Venn diagram we could make that shows the people who like to build chairs, but don’t actually sit down. I think one could certainly make yarn that’s an end in and of itself, and it could be considered art instead of artisanal, but I think the intention behind it is key, because it would be subverting the concept of yarn. The rest, as you say, is novelty yarn. I’m curious what your guild speaker had to say on the subject. And if they have any good patterns.
[Now back to our regularly scheduled blog post ;)]
Fancy Yarn and permission to spin
When Alison Daykin came down from Derbyshire to talk to the Mid-Essex Guild about art yarn, like Sal I was curious what she had to say about art yarn. One reason for that curiosity was I suspected [knew] many guild members were dubious of art yarn. Many–not all–take the view that art yarn is what you make when first learning to spin. “Don’t worry,” they tell new spinners. “You’ve just made art yarn!” And then everyone laughs.
Alison Daykin described what she makes as fancy yarn, not art yarn. Fancy yarn, Alison explained was any kind of yarn you made that’s non-standard–core spun, bouclé, crepe, thick/thin–that has some irregularity in the making. That irregularity could be introduced in any or all of the steps for making yarn: prepping fiber, color blending, spinning and finishing.
According to Alison, fancy yarn isn’t anything new, in fact Mabel Ross, author of The Encyclopedia of Handspinning, was an early advocate of fancy yarn. However, when Alison started spinning in the late 80s/early 90s she felt spinning non-standard or fancy yarn was discouraged. She was taught that the point of spinning was to churn out yards and yards of yarn that looked like it had been made in a mill.
“I wanted to make different yarn and I felt inferior, because I didn’t want to spin plain yarn,” she said. But after taking a course on spinning and dyeing for tapestry weaving from Bobbie Cox, Alison felt she had, “Permission to spin whatever I wanted. Once you know the rules, you can break them.”
Art yarn, Alison said, is a term that grew out of a trend of making yarn out of recycled materials like plastic bags and cassette tape. She did not see the point in putting yarn in a bowl or hanging it up to admire.
“If I can’t use the yarn, then I’ve wasted my time. Use it to make a garment look different. If you use a little yarn in a piece, it can look lovely. Art yarn has got to be practical as well as beautiful,” she added.